Last Updated on June 25, 2026
Are you wondering where to place your reverse osmosis faucet for the best results? The right spot can make a big difference in how convenient and efficient your water system feels every day.
Whether you’re setting up a new system or upgrading an old one, knowing the ideal placement helps you get clean, fresh water exactly when and where you need it. Keep reading to discover simple tips that will save you time, avoid frustration, and make your water experience effortless.
Choosing The Right Location
Choosing the right location for your reverse osmosis faucet is key for easy use and efficient water flow. The spot should be convenient and fit well with your kitchen setup. Think about space, plumbing, and how often you will use it.
Assessing Kitchen Layout
Look at your kitchen’s design. Place the faucet where it does not block daily tasks. Near the sink is common, but make sure it does not crowd the area. Check for good lighting and easy reach. The faucet should feel natural to use.
Considering Plumbing Access
Find a spot close to water supply lines. This reduces installation work and cost. Check under the sink or nearby cabinets. Easy plumbing access helps avoid leaks and keeps maintenance simple. Plan for enough space to connect pipes.
Evaluating Countertop Space
Choose a place with enough room on the countertop. The faucet needs space for installation and use. Avoid tight corners or edges. Leave room for other appliances and kitchen tools. A clear area helps keep the faucet clean and accessible.
Types Of Reverse Osmosis Faucets
Choosing the right reverse osmosis faucet affects both style and function. Different types fit various kitchen setups and personal needs. Each type offers unique features and ease of use. Understanding these options helps you pick the best faucet for your water system.
Standard Single-handle Faucets
Standard single-handle faucets are the most common choice. They have one lever to control water flow. This design is simple and easy to operate. Many homeowners prefer them for their reliability and straightforward look. They fit well in most kitchen sinks.
Pull-out And Pull-down Faucets
Pull-out and pull-down faucets offer more flexibility. The spout extends for easier rinsing and filling. These faucets help reach corners and large pots. Their design adds convenience in busy kitchens. Both types blend well with modern kitchen styles.
Deck-mounted Vs. Wall-mounted Options
Deck-mounted faucets attach directly to the sink or countertop. They are popular for easy installation and access. Wall-mounted faucets fix to the wall above the sink. This option saves countertop space and looks sleek. Each mounting style suits different kitchen layouts and preferences.
Installation Tips
Installing a reverse osmosis faucet properly is key for clean water and smooth use. This section shares simple tips for a correct setup. Follow these steps to avoid common mistakes and ensure your faucet works well for years.
Tools And Materials Needed
- Adjustable wrench
- Drill with drill bits
- Phillips and flathead screwdrivers
- Teflon tape
- Bucket or container
- Reverse osmosis faucet kit
- Water supply tubing
- Measuring tape
- Utility knife
Step-by-step Installation Process
Start by turning off the water supply under your sink. Drain any water by opening the faucet.
Mark the spot on your sink or countertop for the new faucet hole. Use the drill to make a hole if needed.
Wrap Teflon tape around the faucet base threads to prevent leaks. Insert the faucet into the hole.
Secure the faucet from below using the provided mounting hardware. Tighten with an adjustable wrench.
Connect the water supply tubing from the reverse osmosis system to the faucet. Make sure connections are tight.
Turn the water supply back on and check for leaks. Run water through the faucet to clear air and debris.
Common Installation Challenges
Drilling the hole in the wrong spot causes faucet misalignment. Measure twice before drilling once.
Leaks often come from loose connections or missing Teflon tape. Check and tighten all fittings.
Limited space under the sink can make securing the faucet tricky. Use compact tools and work carefully.
Sometimes, tubing can kink or bend sharply. Keep tubes straight to allow smooth water flow.

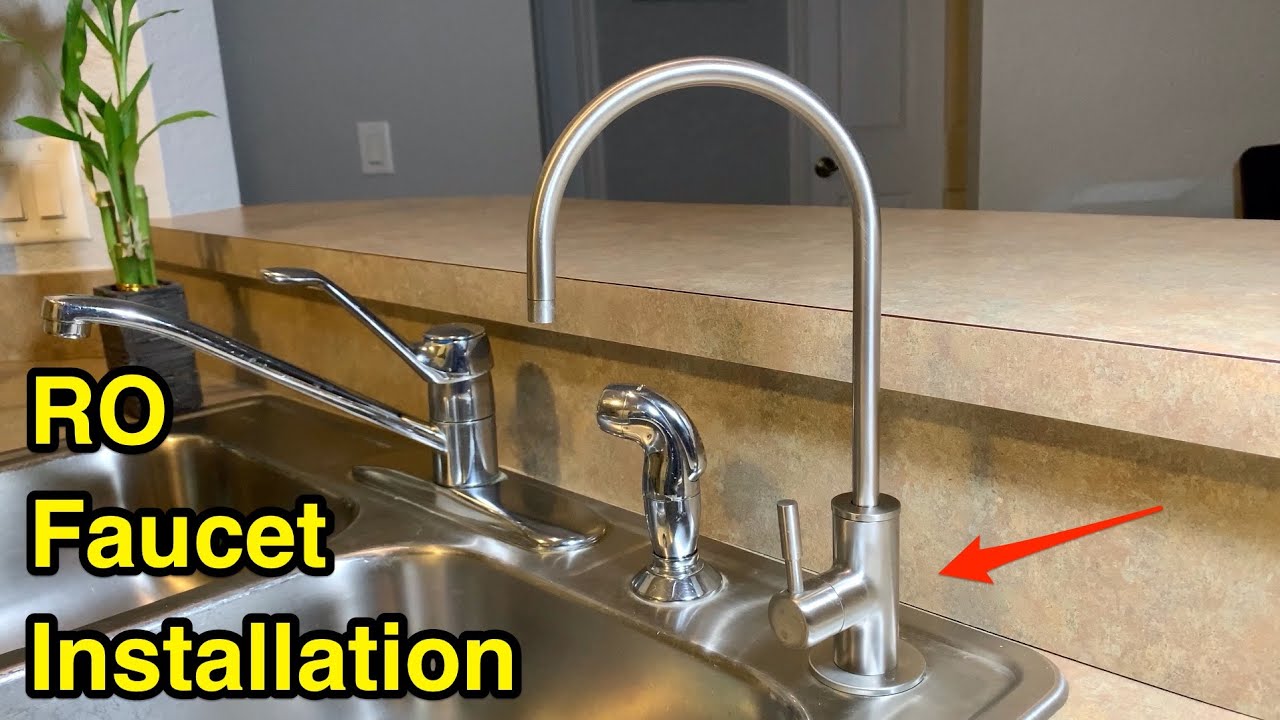
Credit: www.youtube.com
Optimizing Faucet Placement
Optimizing the placement of your reverse osmosis faucet improves both function and comfort. Proper positioning helps prevent water messes and makes daily use easier. Small adjustments in height and location create a big difference in your kitchen experience.
Height And Reach Considerations
Place the faucet at a height that suits your daily tasks. Too low makes filling tall containers hard. Too high can cause splashing and waste water. Keep the faucet within easy reach to avoid stretching or bending.
Avoiding Splash Zones
Position the faucet to minimize water splashing outside the sink. Avoid placing it near edges or over counters. Use the right angle so water falls directly into the basin. This keeps your kitchen clean and dry.
Ensuring Easy Access And Use
Choose a spot that lets you open and close the faucet easily. Avoid tight corners or crowded areas. Make sure the faucet handle moves freely without hitting other objects. Easy use saves time and effort every day.
Maintenance And Troubleshooting
Maintaining your reverse osmosis faucet is essential for clean water and smooth operation. Regular care prevents common problems and keeps the system working well. Troubleshooting helps find and fix issues early, saving time and money.
Cleaning The Faucet
Clean the faucet regularly to avoid dirt and grime buildup. Use a soft cloth with mild soap and water. Avoid harsh chemicals that can damage the finish. Rinse well and dry with a clean towel. Keep the aerator clear by soaking it in vinegar if clogged.
Detecting Leaks And Fixes
Check for leaks around the base and connections often. Look for water drops or wet spots. Tighten loose fittings with a wrench carefully. Replace worn-out washers or seals to stop leaks. Turn off water supply before any repair to avoid flooding.
Replacing Faucet Components
Replace parts like handles, cartridges, or spouts if damaged. Purchase the correct parts from your faucet’s brand. Use basic tools like screwdrivers and pliers for replacement. Follow instructions to avoid damaging other parts. Test the faucet after replacement to ensure it works well.
Credit: www.youtube.com
Enhancing Aesthetics And Functionality
Placing a reverse osmosis (RO) faucet in the kitchen affects both looks and use. The right spot and style make your kitchen neat and easy to use. A faucet that fits your kitchen’s design adds charm and feels natural. Thoughtful placement also makes water access quick and simple. This section covers how to enhance both style and function of your RO faucet.
Matching Faucet Style With Kitchen Design
Choose a faucet style that fits your kitchen’s theme. Modern kitchens suit sleek, minimal faucets. Traditional kitchens look best with classic, curved designs. Color matters too. Chrome or stainless steel fits most kitchens well. Bronze or matte finishes work in rustic spaces. Matching styles make the faucet feel like part of the kitchen, not an extra.
Adding Accessories For Convenience
Small add-ons improve faucet use. A pull-out sprayer helps fill tall pots easily. A soap dispenser next to the faucet keeps counters clean. Consider a filter indicator to know when to change cartridges. These extras save time and keep the area tidy. They make your water station more useful every day.
Upgrading For Water Efficiency
Choose faucets designed to save water. Aerators reduce flow but keep pressure strong. Some faucets have sensors to stop water when not needed. These features cut waste and lower bills. Water-efficient faucets help the environment and save money. Upgrading is a smart step for any kitchen.
Credit: www.houzz.com
Frequently Asked Questions
Where Should I Place A Reverse Osmosis Faucet?
Place the RO faucet near the sink for easy access. Install it on the countertop or sink deck where it fits best. Avoid areas with heavy splashing or obstruction to ensure convenient use and maintenance.
Can I Install The Ro Faucet On My Kitchen Island?
Yes, you can install the RO faucet on a kitchen island. Ensure the water lines can be routed properly under the island. This setup offers convenient access and a clean look but may need professional plumbing.
How Far From The Main Faucet Should The Ro Faucet Be?
Keep the RO faucet within a few inches of the main faucet. This distance allows easy use and efficient plumbing connections. Avoid placing it too far to prevent pressure drop and messy tubing.
Do I Need A Separate Hole For The Ro Faucet?
Yes, the RO faucet requires a dedicated hole on the sink or countertop. Standard size is usually 1/2 inch to 1 1/4 inch in diameter. Check your faucet specifications before drilling or buying a sink with a pre-drilled hole.
Conclusion
Choosing the right spot for your reverse osmosis faucet matters a lot. It helps you get clean water quickly and without hassle. Place the faucet where it fits your kitchen use best. Keep it easy to reach and use every day.
A good spot also keeps your counter neat and tidy. Small steps like these improve your water experience greatly. Simple, smart placement saves time and effort. Think about your needs before deciding where to install. Clean water should be easy to get, every time.