Last Updated on June 27, 2026
If you love coffee, you’ve probably noticed that the texture of your milk can make or break your drink. Microfoam milk is the secret behind that creamy, velvety finish you find in your favorite latte or cappuccino.
But what exactly is microfoam milk, and how can you create it at home to elevate your coffee experience? Keep reading, because mastering this simple skill will transform your daily cup into something truly special. Your taste buds—and your morning routine—will thank you.
Credit: fixxcoffee.com
What Is Microfoam Milk
Microfoam milk is a key ingredient in many coffee drinks. It is a type of steamed milk that has a smooth, velvety texture. This milk creates a creamy layer on top of espresso, adding flavor and a pleasant mouthfeel.
Baristas use special steam wands to make microfoam. The goal is to introduce tiny air bubbles into milk. This process creates a thick, glossy foam without large bubbles.
What Makes Microfoam Different?
Microfoam has very small, uniform bubbles. These bubbles give it a silky feel. Unlike regular foam, microfoam blends well with espresso. It creates a smooth, creamy coffee experience.
How Is Microfoam Made?
Milk is heated and steamed with a steam wand. The wand injects air slowly while heating the milk. This creates tiny bubbles and thickens the milk. The key is gentle steaming and careful technique.
Why Use Microfoam In Coffee?
Microfoam improves the taste and texture of coffee. It makes drinks creamier and richer. It also helps in making latte art. The foam holds shapes well, allowing beautiful designs.
Choosing The Right Milk
Choosing the right milk is key for great microfoam. Different milk types create different textures and flavors. Picking the right one helps you make creamy, smooth foam every time. Let’s explore some popular options and how they affect your microfoam.
Whole Milk Benefits
Whole milk is the best choice for rich microfoam. It has higher fat content than other milks. Fat helps create thick, creamy foam that lasts longer. The natural sugars in whole milk also add sweetness. This milk produces a smooth texture that blends well with espresso.
Alternatives For Foam
Not everyone drinks whole milk. Some prefer low-fat or plant-based options. Skim milk makes light, airy foam but less creamy. Almond, oat, and soy milk can foam well but vary in taste. Choose a milk that fits your diet and flavor needs. Test different types to find your favorite foam.
Temperature Impact
Milk temperature changes how foam forms. Warm milk foams better than cold milk. Heat helps release proteins that trap air bubbles. Avoid overheating milk; it can burn and taste bad. Aim for 140°F to 150°F for perfect microfoam. Use a thermometer to get the right heat every time.
Tools For Microfoam
Creating perfect microfoam requires the right tools. Each tool plays a key role in shaping the texture and quality of the milk. Using proper equipment helps make smooth and creamy microfoam every time.
Steam Wand Techniques
The steam wand is the most important tool for microfoam. Position it just below the milk’s surface. This introduces air to create tiny bubbles. Move the pitcher slightly to keep the milk swirling. Stop adding air once the milk doubles in volume. Then, fully submerge the wand to heat the milk evenly.
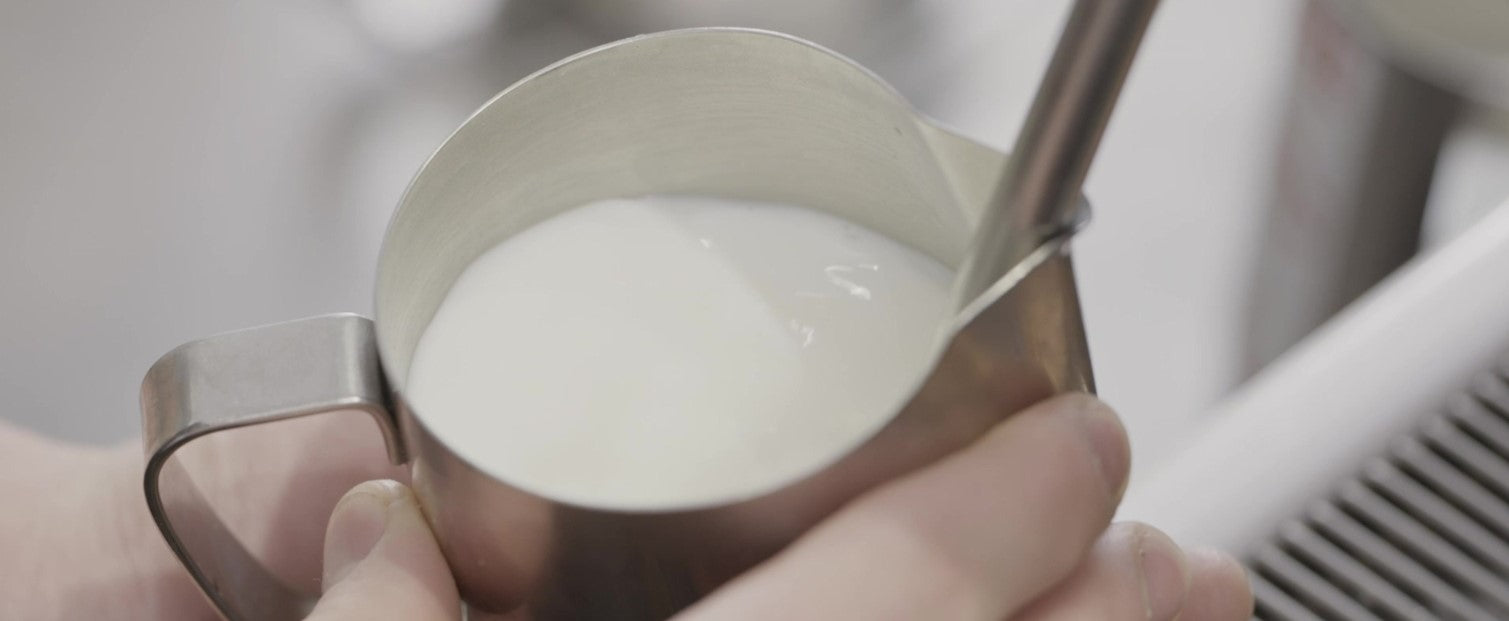
Pitcher Selection
Choose a stainless steel pitcher with a spout for easy pouring. A 12 to 20-ounce size is ideal for most drinks. The shape helps control the milk flow. A narrower spout allows precise latte art. A smooth interior helps create consistent foam.
Thermometer Use
Milk temperature affects foam texture and flavor. Use a thermometer to check the heat. Ideal temperature for microfoam is 140°F to 150°F. Avoid overheating, which breaks down proteins and ruins texture. Stop steaming as soon as the milk reaches the right warmth.

Credit: en.wikipedia.org
Steaming Techniques
Steaming milk to create microfoam is an art and science. Proper steaming techniques make your milk smooth and creamy. These techniques help create the perfect texture for lattes and cappuccinos. Understanding the steps improves your coffee experience and presentation.
Creating Fine Bubbles
Start by positioning the steam wand just below the milk surface. This introduces air slowly and creates tiny bubbles. Avoid large bubbles; they make foam rough. Listen for a gentle hissing sound. It means the milk is aerating correctly. Keep the wand steady to maintain fine bubbles throughout.
Stretching And Texturing
Stretching means pulling air into the milk. Texturing blends air and milk for smoothness. After adding air, lower the wand deeper. This heats and swirls the milk. The whirlpool motion breaks down bubbles. It results in silky, velvety microfoam. Use slow, steady movements for best texture.
Ideal Temperature Range
Milk should reach between 140°F and 150°F for microfoam. Below 140°F feels cold and thin. Above 150°F risks burning the milk. Overheated milk tastes bitter and loses sweetness. Use a thermometer or feel the pitcher’s side. Stop steaming when it is hot but not too hot.
Troubleshooting Common Issues
Creating perfect microfoam milk is not always easy. Common problems can ruin the texture and taste of your coffee. Understanding these issues helps you fix them fast. Below are simple solutions for the most frequent microfoam troubles.
Avoiding Large Bubbles
Large bubbles make foam look rough and feel heavy. To stop this, keep the steam wand just below the milk surface. Move the pitcher slowly in a circle. This helps mix air evenly into the milk. Use fresh, cold milk for better foam. Clean the steam wand before each use to prevent bubbles.
Fixing Flat Foam
Flat foam means there is no creamy texture. This happens if you add too little air. Insert the steam wand deeper into the milk. Stretch the milk longer by letting more air in at first. The foam should grow in volume and feel soft. Avoid overheating because it also flattens the foam.
Preventing Overheating
Overheated milk tastes burnt and loses sweetness. Stop steaming at about 65°C (150°F). Use a thermometer to check the temperature. Touch the pitcher carefully; it should be warm but not too hot. Overheating breaks down proteins needed for good foam. Cool the milk quickly if it gets too hot.

Credit: www.fratellocoffee.com
Pouring For Latte Art
Pouring for latte art is a skill that turns simple coffee into a work of art. It needs the right microfoam texture and careful pouring. With practice, anyone can create beautiful designs on their latte surface.
Milk Consistency Tips
Good latte art starts with smooth, velvety microfoam. The milk should look shiny and creamy without big bubbles. Warm the milk to about 140°F for best texture. Use fresh milk for better foam and taste. Tap the milk pitcher on the counter to remove large bubbles. Swirl the milk gently to mix foam and liquid evenly.
Pouring Speed And Height
Pour the milk slowly at first from a higher position. This helps the milk sink under the espresso. Lower the pitcher close to the cup as you pour. Pour faster and move the pitcher to create the design. Keep steady hands and control the flow for cleaner patterns.
Basic Art Patterns
Start with simple shapes like a heart or a rosette. Pour milk in the center, then wiggle the pitcher side to side for a leaf shape. For a heart, pour in the middle, then lift the pitcher and pull through the foam. Practice these patterns to build confidence and improve your latte art skills.
Cleaning And Maintenance
Cleaning and maintenance keep your microfoam milk quality high. They also protect your equipment and ensure safety. Dirty tools cause bad taste and block steam nozzles. Clean parts often to enjoy smooth, creamy foam every time.
Wand Cleaning Tips
After each use, wipe the steam wand with a damp cloth. This removes milk residue and stops buildup. Purge the wand by releasing steam for a few seconds. It clears any milk inside the nozzle. Soak the wand in warm water and mild detergent once a day. Use a small brush to clean the tip gently. Avoid using harsh chemicals that can damage the wand.
Pitcher Care
Rinse the milk pitcher immediately after frothing milk. Warm water helps remove milk fats and proteins. Wash the pitcher with soap and a soft sponge daily. Avoid abrasive scrubbers that scratch the surface. Dry the pitcher thoroughly before storing it. Regular cleaning prevents bad odors and bacterial growth. Keep the pitcher shiny and ready for perfect microfoam.
Frequently Asked Questions
What Is Microfoam Milk In Coffee Making?
Microfoam milk is steamed milk with tiny, uniform bubbles. It creates a smooth, velvety texture ideal for espresso drinks like lattes and cappuccinos. This texture enhances flavor and allows for latte art.
How Do You Create Perfect Microfoam Milk?
To create perfect microfoam, steam cold milk with a steam wand. Introduce air slowly, then submerge the wand to heat milk evenly. Aim for silky, glossy foam without large bubbles.
Why Is Microfoam Important For Espresso Drinks?
Microfoam improves the taste and texture of espresso drinks. It blends smoothly with espresso, adding sweetness and creaminess. It also supports latte art, enhancing visual appeal.
Can All Types Of Milk Make Microfoam?
Most dairy and plant-based milks can create microfoam. Whole milk steams best for creamy texture. Almond, oat, and soy milk can also foam well but vary in texture and stability.
Conclusion
Microfoam milk adds a smooth texture to your coffee drinks. It improves flavor and makes drinks more enjoyable. Creating good microfoam takes practice and patience. Use fresh milk and the right steaming technique. This small step can lift your coffee experience.
Try making microfoam at home today. Taste the difference and enjoy each cup. Keep practicing to get better every time. Your coffee will thank you.