Last Updated on June 27, 2026
Do you love the rich, creamy froth that tops your favorite coffee drinks? Imagine creating that perfect foam right at home, without any fancy equipment.
Foaming milk in the microwave is easier than you think, and you can achieve café-quality results in just minutes. You’ll discover simple steps that will transform your morning coffee routine and impress anyone who tries your drinks. Ready to learn the secret to creamy, fluffy milk foam?
Keep reading and make every cup feel special.

Credit: pamsdailydish.com
Milk Selection Tips
Choosing the right milk is key to making good foam in the microwave. Different milks create different foam textures. Some foams are thick and creamy, while others are light and airy. Picking the right milk helps you get the best froth for your coffee or latte.
Best Milk Types For Frothing
Whole milk works well for frothing because of its fat content. The fat helps create rich, creamy foam that lasts longer. Milk with higher protein levels also froths better. Look for fresh milk for the best results. Avoid ultra-pasteurized milk; it may not foam as well.
Whole Vs. Skim Milk
Whole milk gives thick, creamy foam with a smooth taste. It feels richer in your mouth. Skim milk makes lighter, airier foam with bigger bubbles. This foam is less creamy but can be fluffier. Choose whole milk for a richer drink and skim milk for a lighter froth.

Credit: www.thekitchn.com
Tools You’ll Need
Foaming milk in the microwave is simple with the right tools. These tools help create smooth, creamy foam fast. Understanding what you need makes the process easier and more fun.
Microwave-safe Containers
Choose a microwave-safe container to heat your milk. Glass or ceramic cups work well. Avoid plastic containers that might melt or release chemicals. The container should be tall enough to hold milk and foam without spilling.
Use a container with a lid or cover to prevent splatters. Make sure it is clean and dry before use. A container with a wide mouth helps to whisk or froth milk easily.
Handheld Frothers And Alternatives
Handheld frothers quickly create milk foam in seconds. They are small, easy to use, and affordable. Just immerse the frother in warm milk and turn it on to start frothing.
If you do not have a frother, try alternatives. A small whisk or a jar with a tight lid can work. Shake the milk in the jar vigorously to create foam. These tools help you enjoy foamed milk without special equipment.
Step-by-step Frothing Process
Foaming milk in the microwave is simple and quick. This step-by-step process helps create creamy foam for coffee or hot chocolate. You only need milk, a jar, and a microwave. Follow these easy steps to make perfect foam at home.
Heating The Milk Properly
Pour milk into a microwave-safe jar. Fill it halfway to leave room for foam. Secure the lid tightly to avoid spills. Heat the milk in the microwave for 30 seconds. Check the temperature carefully. The milk should be warm, not hot. Overheating can burn the milk and ruin the taste.
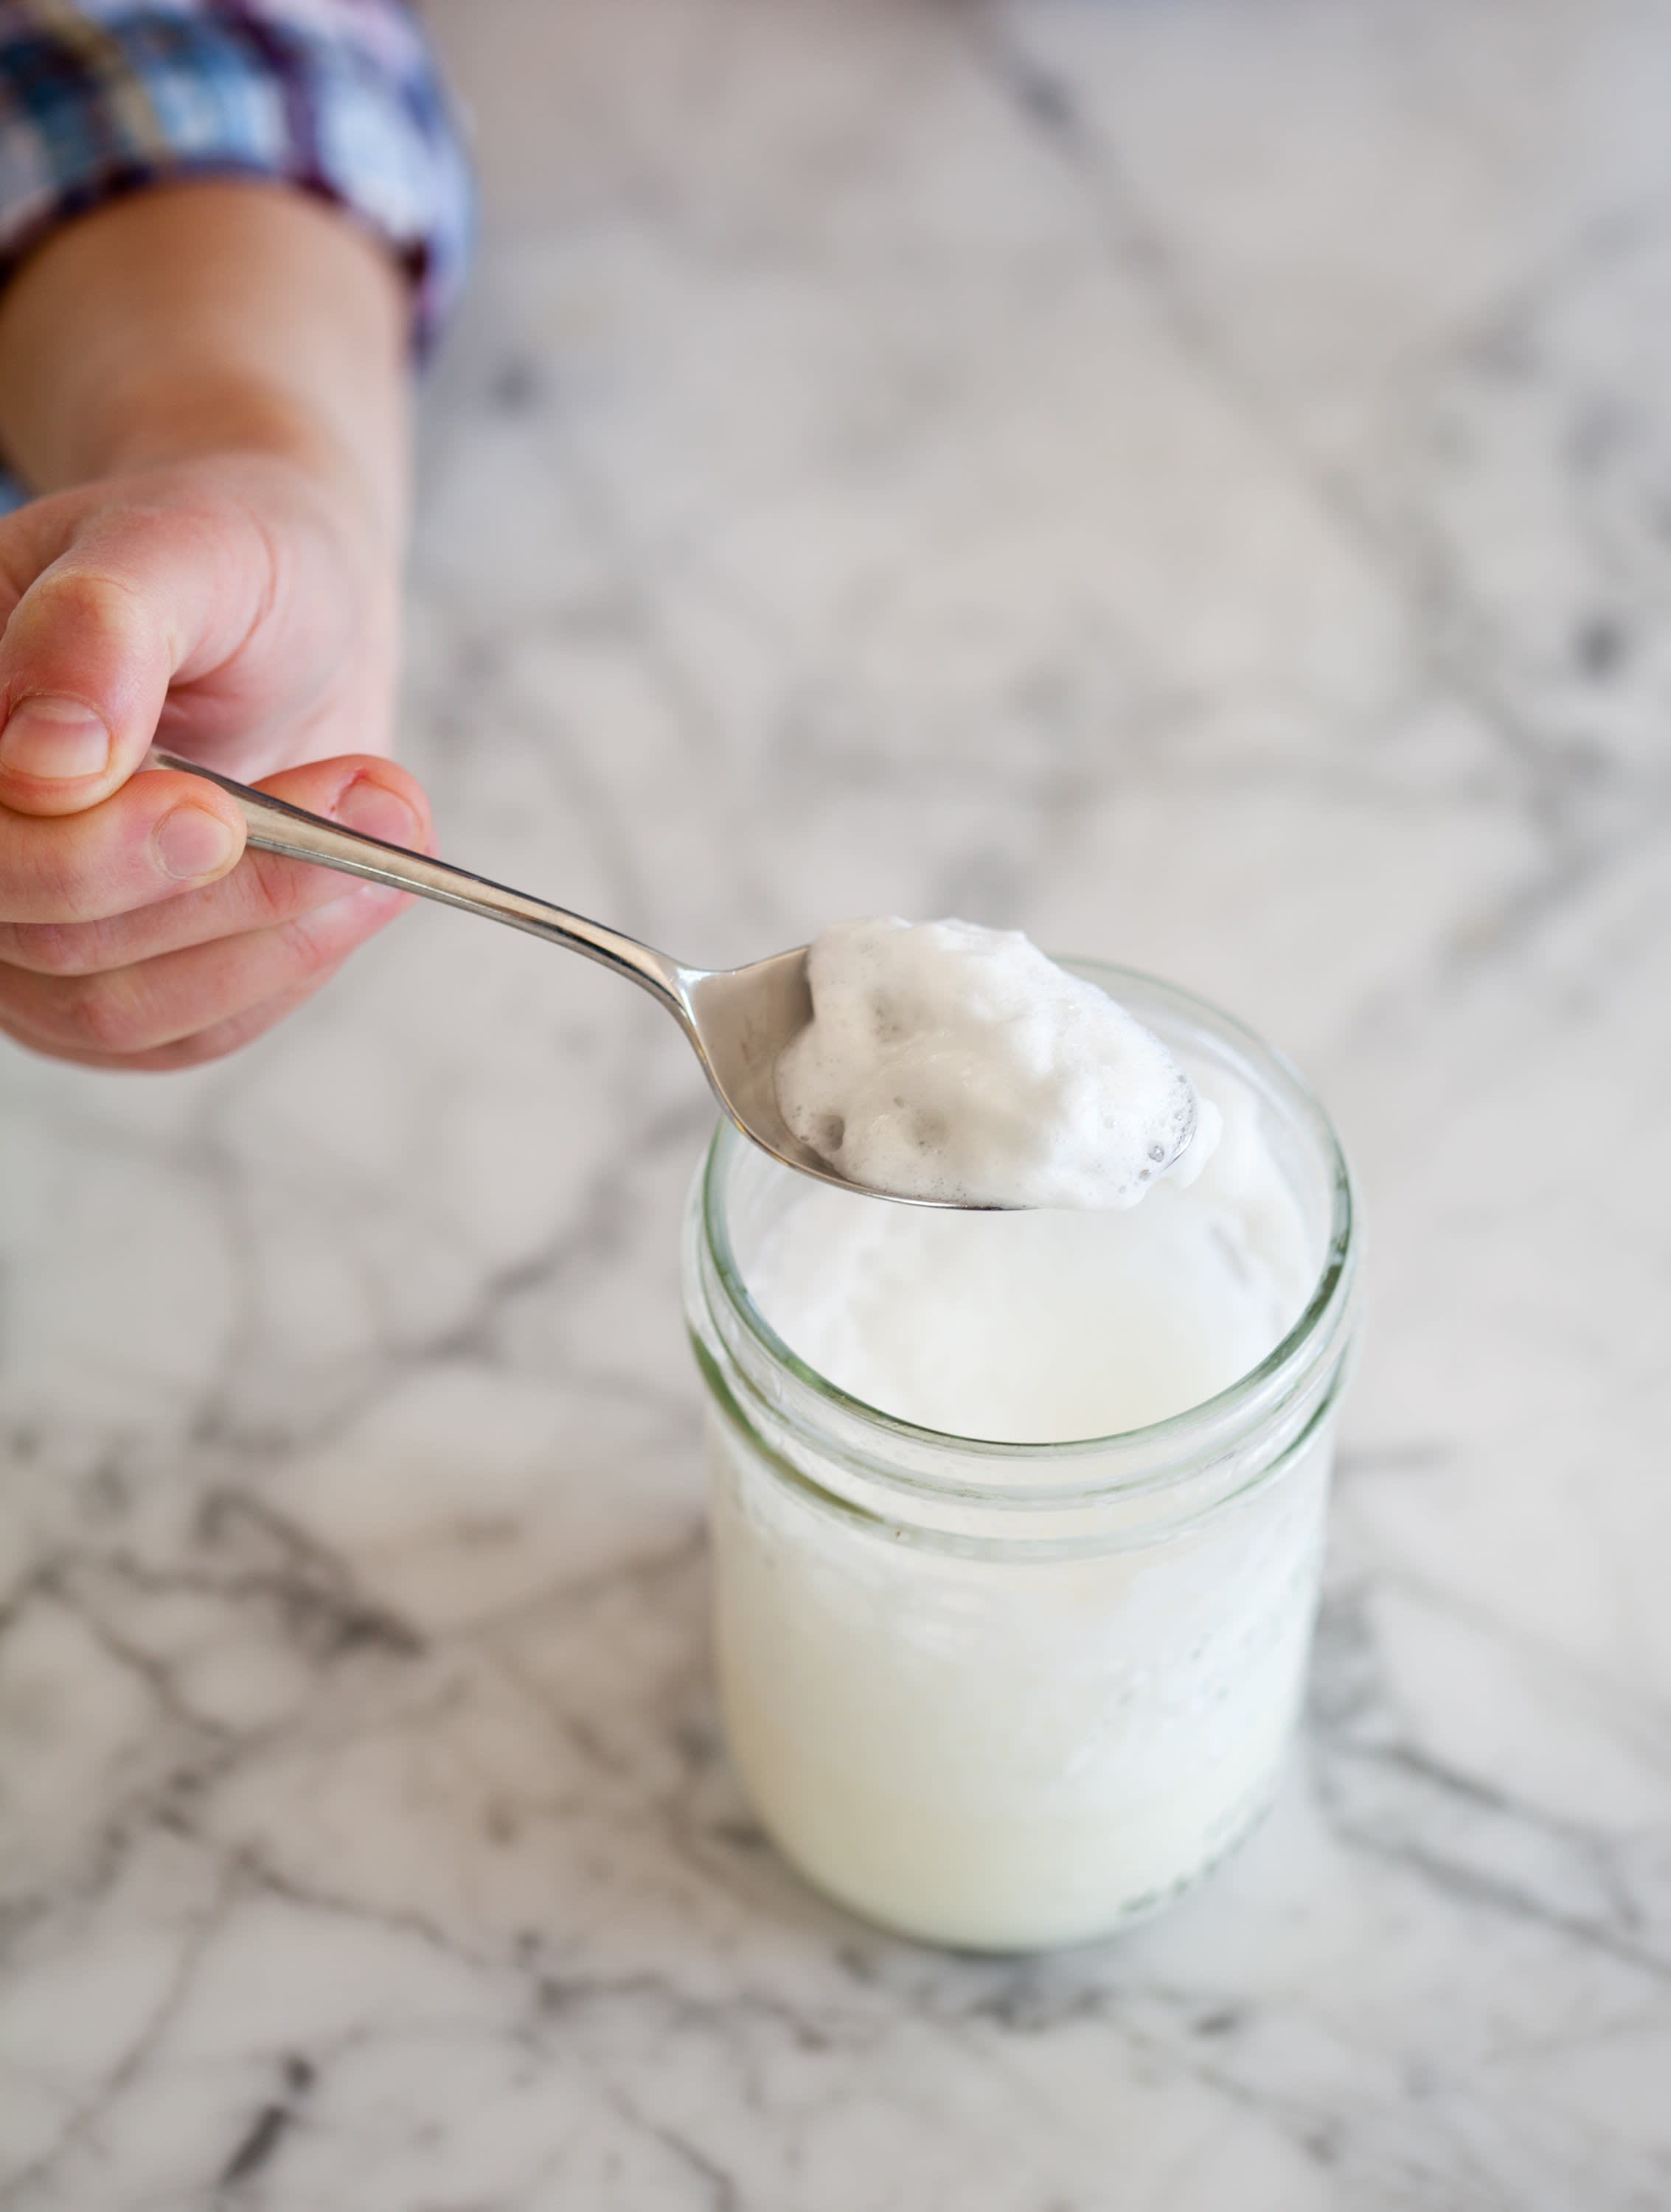
Creating Foam Without A Frother
Shake the jar vigorously for 30 to 60 seconds. The shaking creates bubbles and forms foam. Stop shaking when you see thick foam on top. Remove the lid carefully. Pour the milk gently into your cup. Spoon the foam over your drink. The foam adds a creamy texture and a nice look.
Troubleshooting Common Issues
Troubleshooting common issues can help improve your milk foaming experience. Many beginners face problems like overheating milk or getting flat foam. Understanding simple fixes can save time and produce better results.
Avoiding Overheating
Overheating milk causes it to scorch or taste burnt. Heat milk in short bursts of 20 seconds. Stir gently between bursts to spread heat evenly. Avoid heating milk beyond 150°F (65°C). Use a microwave-safe container for best results. Stop heating when the container feels warm but not hot.
Fixing Flat Foam
Flat foam lacks bubbles and feels dense. Use fresh, cold milk for better foam. Choose milk with higher fat or protein content. Shake milk in a jar for 30 seconds before microwaving. Let the foam rest for a few seconds to set. Avoid overheating as it breaks down foam structure.
Enhancing Your Froth
Enhancing your milk froth can make your coffee or latte taste better and look more inviting. Small changes in how you foam your milk can improve its texture and flavor. This section shows easy ways to add taste and get creamier foam using a microwave.
Adding Flavors And Sweeteners
Try adding vanilla extract or cinnamon to your milk before foaming. These flavors blend well and give a nice aroma. A small amount of honey or sugar can sweeten the foam without changing its texture. Mix these into the milk before heating to spread the taste evenly. Avoid adding too much, or the foam might become watery.
Tips For Creamier Foam
Use whole milk for thicker and creamier foam. Cold milk works best, so chill it before foaming. Foam the milk by shaking it in a jar or whisking it before microwaving. Heat the milk in short bursts to avoid overheating. Let the foam sit for a few seconds to stabilize before pouring. These steps help create smooth and lasting foam for your drink.
Credit: www.thekitchn.com
Using Frothed Milk In Drinks
Frothed milk adds a creamy texture and rich taste to many drinks. It makes coffee and other beverages feel special and smooth. Using frothed milk can turn simple drinks into something cozy and delightful. This section shows easy ways to use foamed milk in your drinks.
Lattes And Cappuccinos
Lattes and cappuccinos are popular coffee drinks that use frothed milk. Pour steamed milk first, then add foam on top. This creates a soft, creamy layer that feels light. The foam helps balance strong coffee flavors. A latte has more milk and less foam. A cappuccino has equal parts milk and foam for a thicker texture.
Cold Coffee And Other Beverages
Frothed milk is great for cold drinks too. Add foam to iced coffee for a smooth finish. It gives a creamy touch without melting fast. Use it in milkshakes or hot chocolate to add lightness. Even fruit smoothies taste better with a foam layer on top. Frothed milk can change ordinary drinks into a treat.
Frequently Asked Questions
How Do You Foam Milk Using A Microwave?
To foam milk in a microwave, pour warm milk into a jar. Shake it vigorously for 30 seconds. Remove the lid and microwave for 30 seconds. The milk will foam and be ready for your coffee or latte.
What Type Of Milk Foams Best In A Microwave?
Whole milk and 2% milk foam best in a microwave. They create rich, creamy foam due to higher fat content. Non-dairy milks like oat or almond can foam but with less volume.
Can You Use Any Container To Foam Milk In Microwave?
Use a microwave-safe jar or container with a lid. It must be sturdy enough to shake vigorously. Avoid thin plastic or metal containers to prevent damage or accidents.
How Long Should I Microwave Milk To Create Foam?
Microwave milk for about 30 seconds after shaking. Timing may vary based on microwave power and milk quantity. Avoid overheating, as it can burn the milk or reduce foam quality.
Conclusion
Foaming milk in the microwave is quick and easy. Use a jar or cup with a lid to shake the milk well. Heat the milk for short bursts to avoid burning. Remember, fresh and cold milk foams best. Practice a few times to get the texture you like.
Now, enjoy creamy coffee or hot chocolate at home. Simple steps, great taste, no special tools needed. Give it a try today!