Last Updated on June 27, 2026
Do you love that creamy, frothy layer on your coffee that makes every sip feel special? Learning how to make foam for coffee at home can turn your ordinary cup into a café-quality treat.
Imagine impressing your friends with perfectly textured foam or starting your day with a rich, velvety coffee crafted by your own hands. You’ll discover simple techniques and tips to create that smooth, fluffy foam easily. Ready to elevate your coffee game?
Let’s dive in and make every cup a little more magical.
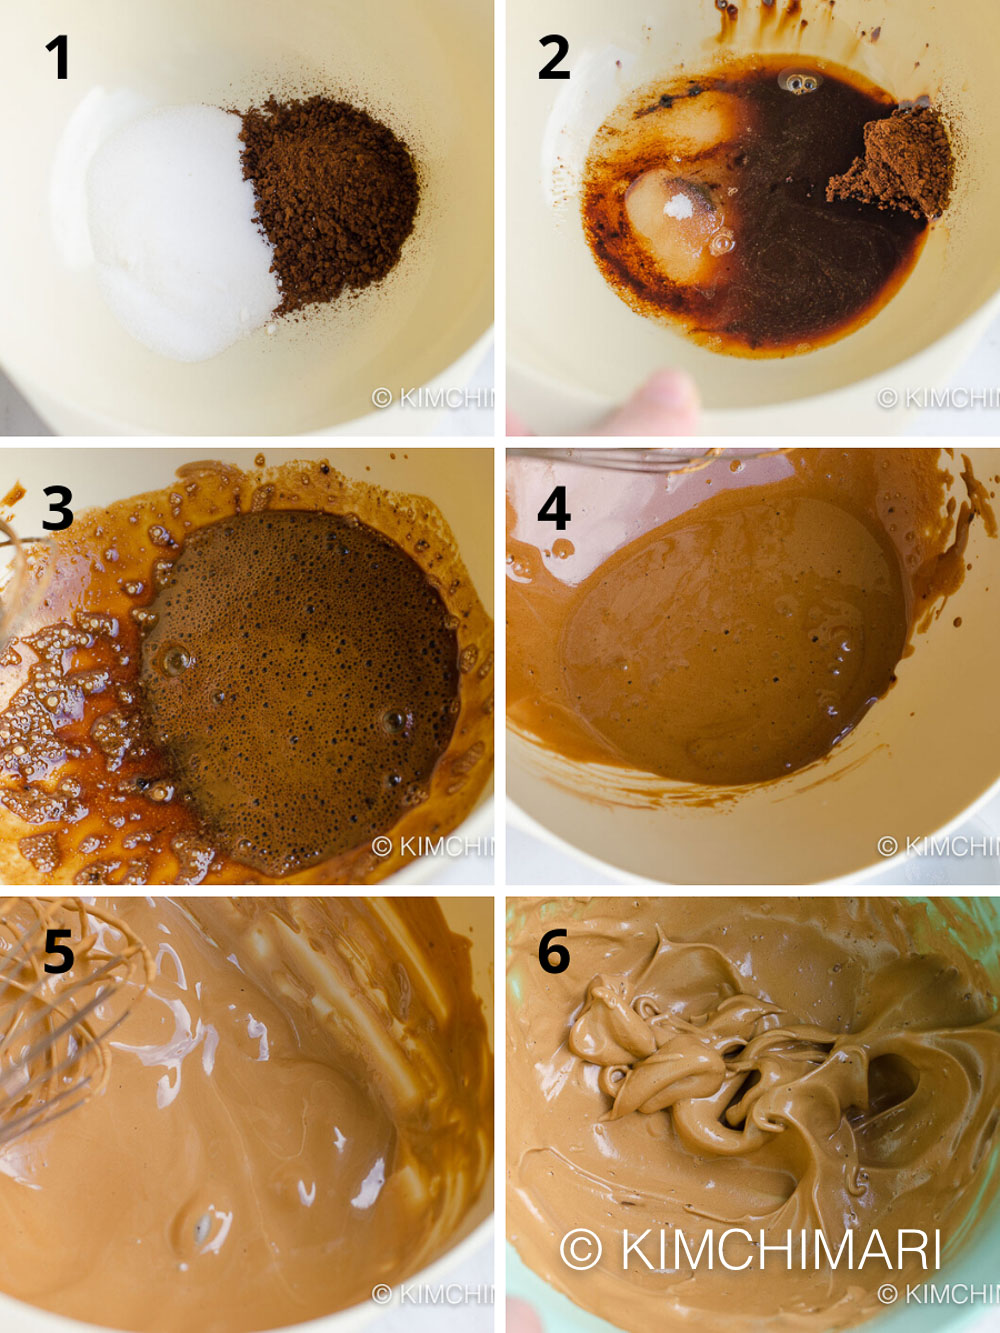
Credit: kimchimari.com
Choosing The Right Milk
Choosing the right milk is important for making good coffee foam. Different types of milk create different foam textures and flavors. The milk’s fat and protein content affect how thick and creamy the foam will be.
Understanding which milk to use helps you get the best foam for your coffee. Here are some tips on selecting milk and its temperature for perfect froth.
Whole Milk Vs. Alternatives
Whole milk has more fat, which makes foam rich and creamy. It holds bubbles well and gives a smooth texture. This milk is great for classic cappuccinos and lattes.
Milk alternatives like almond, soy, or oat milk foam differently. They often create lighter, less stable foam. Some brands add ingredients to improve frothing. Choose the one that suits your taste and dietary needs.
Milk Temperature Tips
Cold milk froths better than warm milk. Start with milk straight from the fridge. Warm milk loses the ability to hold bubbles well.
Heat the milk after frothing. The best temperature is around 140°F (60°C). Too hot milk can burn and taste bad. Use a thermometer for accuracy.
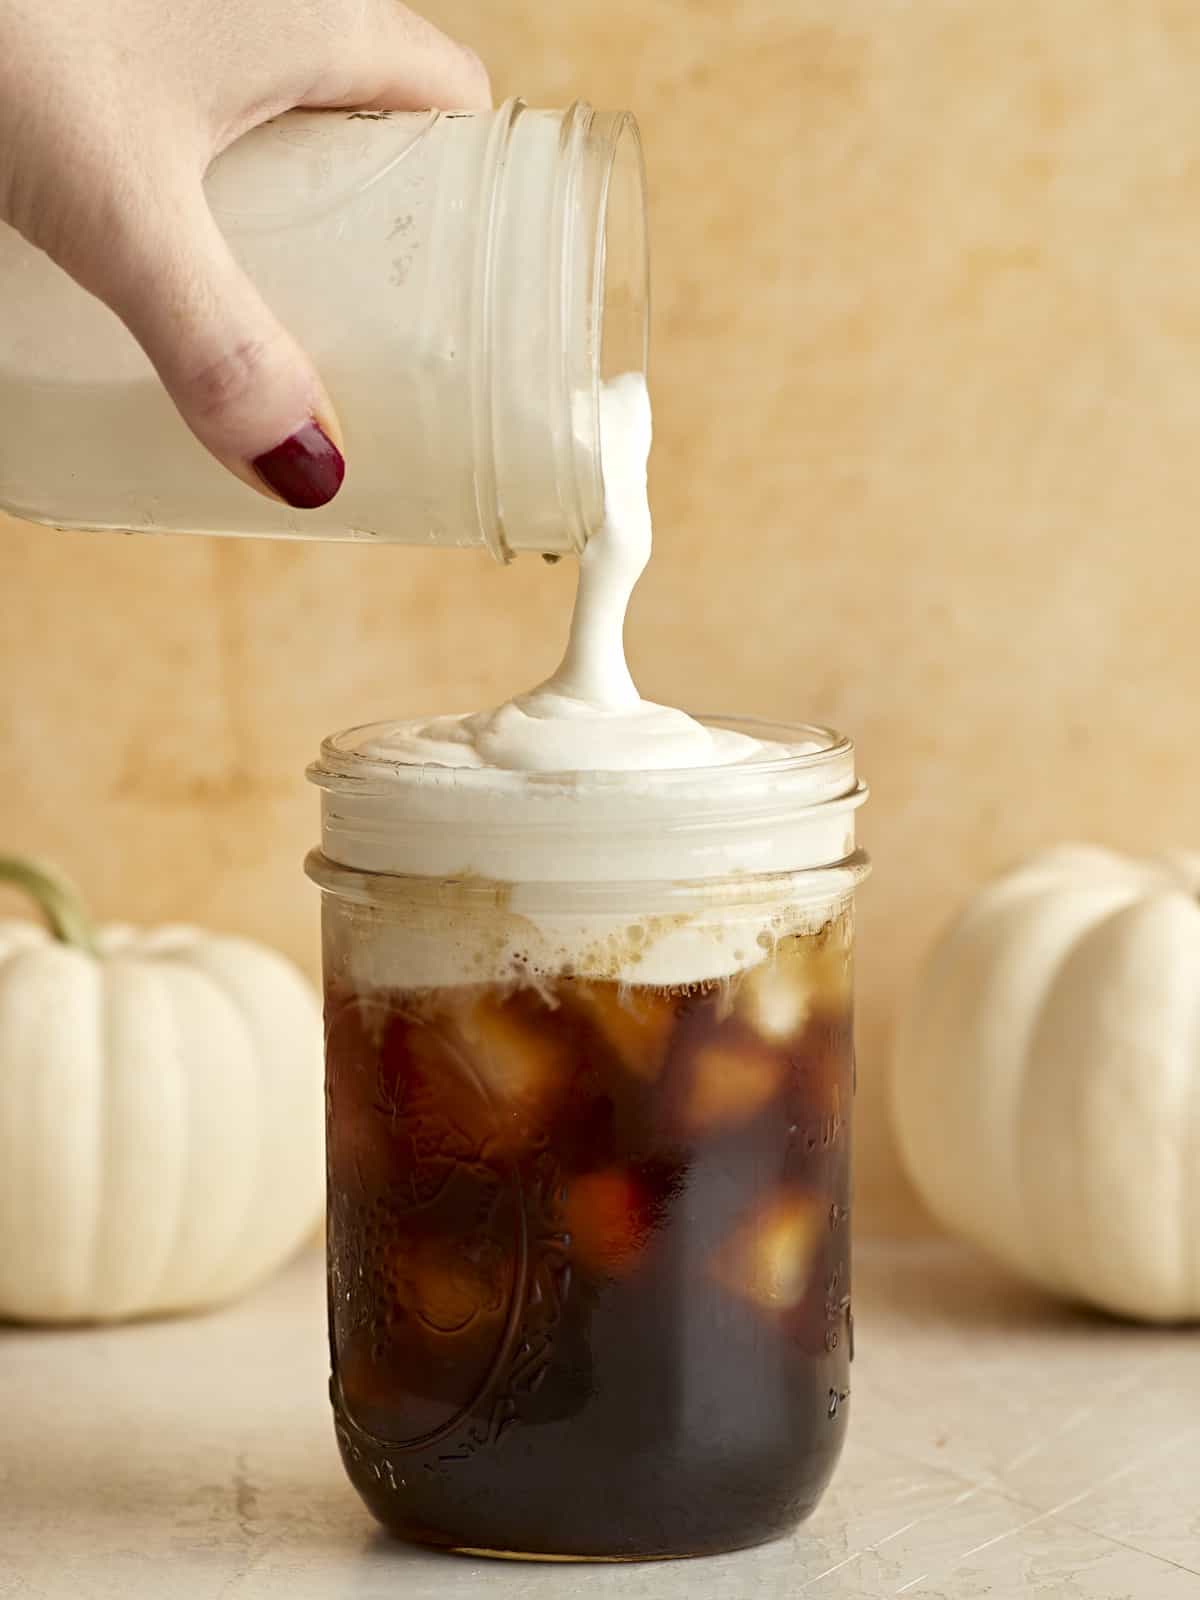
Credit: www.budgetbytes.com
Essential Tools For Frothing
Foaming milk for coffee needs the right tools. These tools help create smooth, creamy foam that improves your drink. Choosing the correct frother depends on your budget and coffee style. Each tool offers a unique way to make foam. Learn about the essential tools below to find what suits you best.
Manual Frothers
Manual frothers are simple and affordable. They usually have a plunger with a mesh screen. You pump the plunger up and down to create foam. These frothers work well for small amounts of milk. They need some effort but give good control over foam texture.
Electric Frothers
Electric frothers are easy to use and fast. You pour milk into the device and press a button. The machine heats and froths milk automatically. Some models offer different foam settings. Electric frothers are great for convenience and consistent results.
Using A Steam Wand
Steam wands come with espresso machines. They use hot steam to froth milk quickly. The wand injects air while heating the milk. This method creates thick and velvety foam. It requires some skill but produces professional-quality foam. A steam wand is perfect for espresso lovers.
Step-by-step Frothing Process
Creating foam for coffee is simple with the right steps. This process helps you enjoy creamy, smooth coffee at home. Follow these clear steps to froth milk perfectly.
Preparing The Milk
Choose fresh milk for the best foam. Whole milk creates creamier foam, but low-fat milk works too. Pour cold milk into a clean container. Use enough milk to allow room for frothing. Keep the container chilled before frothing.
Frothing Techniques
Use a frother, steam wand, or jar with a lid. For a steam wand, place the tip just below milk surface. Turn on the steam and lower the container slowly. Move the wand to mix air and milk evenly. If using a frother, switch it on and move it up and down. With a jar, shake milk vigorously for 30 seconds.
Achieving The Perfect Texture
Foam should be thick and creamy with tiny bubbles. Avoid large bubbles or watery foam. Tap the container gently on a surface to remove big bubbles. Swirl the milk to blend foam and liquid. The foam is ready when it holds shape and feels smooth.
Troubleshooting Common Issues
Making foam for coffee can sometimes be tricky. You may face problems like thin foam or milk that won’t froth well. These issues are common and easy to fix. Knowing what causes them helps you get better foam every time.
Foam Too Thin Or Large Bubbles
Thin foam or large bubbles mean air is not mixed well with the milk. This happens if the milk is too warm or the steaming wand is too far from the milk. Keep the steam tip just below the milk surface. Move the pitcher gently to create fine, smooth foam.
Using fresh, cold milk also helps. Old or warm milk makes foam less stable. Try whole milk for creamier foam. Avoid overheating the milk above 150°F (65°C). Hot milk breaks down foam quickly.
Milk Not Frothing Properly
Milk may not froth if the steam wand is dirty or clogged. Clean the steam tip after each use. Check for blockages that stop steam flow. Another cause is the type of milk. Non-dairy milk can be harder to froth without additives.
Try using fresh, cold milk straight from the fridge. Warm milk before frothing makes less foam. Also, the size and shape of the pitcher matter. Use a small, metal pitcher for better control and heat distribution.
Creative Uses For Coffee Foam
Coffee foam is more than just a creamy topping. It offers many creative uses that enhance your coffee experience. Foam can change the look and taste of your drink. It can also make your coffee feel special and fun. Below are two simple ways to use coffee foam creatively.
Latte Art Basics
Latte art is a popular way to decorate coffee foam. Pour steamed milk carefully to make patterns on espresso. Common designs include hearts, leaves, and flowers. Practice makes it easier to control the foam flow. A smooth, thick foam works best for clear shapes. Latte art adds beauty and a personal touch to coffee.
Flavor Variations
Mix flavors into your coffee foam for a new twist. Add cinnamon, cocoa powder, or vanilla to the milk before frothing. You can also sprinkle spices or flavored syrups on top. This changes the taste and aroma of the coffee. These small changes make each cup unique and enjoyable. Experimenting with flavors keeps coffee exciting and fresh.
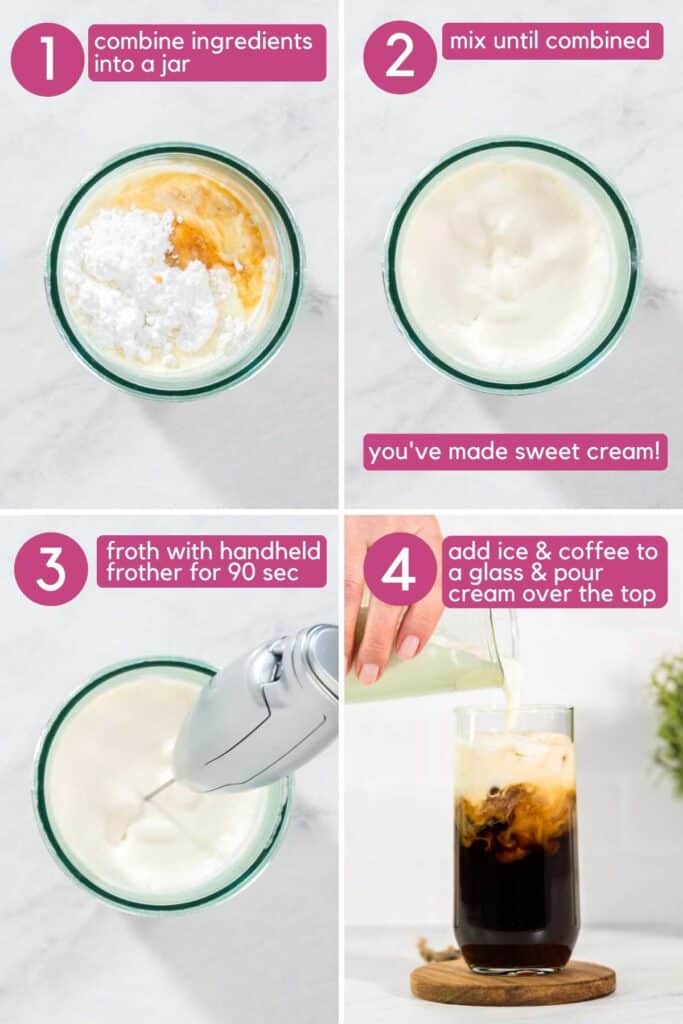
Credit: colleenchristensennutrition.com
Frequently Asked Questions
How Do You Make Perfect Foam For Coffee At Home?
Use cold milk and a frother or whisk. Heat the milk gently after frothing. This creates creamy, stable foam for your coffee.
What Type Of Milk Works Best For Coffee Foam?
Whole milk produces the richest foam due to its fat content. Skim milk creates lighter, airier foam. Choose based on your texture preference.
Can I Make Coffee Foam Without A Frother?
Yes, use a jar or whisk vigorously. Shake heated milk in a jar or whisk in a bowl until frothy. It’s simple and effective.
How Long Should I Froth Milk For Coffee Foam?
Froth milk for about 20 to 30 seconds. Stop once the milk doubles in volume and becomes creamy and thick.
Conclusion
Making foam for coffee is easier than it seems. With simple tools and fresh milk, anyone can create creamy foam. Practice helps improve your technique and results. Foam adds a smooth texture and a nice look to your drink. Enjoy experimenting with different methods to find what works best.
Soon, your coffee will feel special every time. Give it a try and taste the difference yourself.