Last Updated on July 15, 2026
Is your Ninja Creami leaving you with icy, hard treats instead of the smooth, creamy texture you expected? You’re not alone.
Many users wonder why their delicious creations turn out more like frozen blocks than soft desserts. Understanding the reasons behind this can help you fix the problem and enjoy perfect creamy results every time. Keep reading to discover the simple tweaks you can make to say goodbye to icy treats and hello to creamy perfection.
Common Causes Of Icy Creami
When your Ninja Creami ice cream turns out icy, it can be disappointing. Understanding the common causes helps fix the problem. Several factors affect the texture and creaminess of your frozen treat. Identifying these issues can improve your next batch.
Incorrect Base Mixture
The base mixture is the foundation of creamy ice cream. Using too much water or not enough fat causes ice crystals. A thin mixture freezes harder and becomes icy. Follow the recipe carefully for the best results. Cream, milk, and sugar balance is important. Too much sugar helps reduce ice crystals.
Insufficient Mixing
Mixing breaks down ice crystals and adds air for softness. Not mixing enough leaves large ice crystals behind. The Ninja Creami needs proper spinning to create smooth texture. Give the machine enough time to work. Skipping or rushing the process results in icy ice cream.
Freezer Temperature Issues
The freezer temperature affects how the mixture freezes. If the freezer is too warm, ice crystals grow larger. If too cold, the mixture freezes too fast and unevenly. Set the freezer to the right temperature, usually around -0.4°F (-18°C). Avoid opening the freezer often during freezing.
Overfilling The Pint
Overfilling the pint causes uneven freezing and poor mixing. The Creami needs room to spin and break up ice crystals. Filling above the max fill line can block the blade. This results in icy and hard texture. Always fill the pint to the recommended level.

Credit: healthyslowcooking.com
Adjusting Ingredients For Creamier Texture
Getting the perfect creamy texture from your Ninja Creami depends a lot on the ingredients you use. Adjusting these ingredients can help reduce icy or hard textures. Small changes in your recipe can make a big difference in smoothness and taste. Focus on sugar, fat, and the freshness of your ingredients for better results.
Balancing Sugar And Fat Content
Sugar helps lower the freezing point of your mixture. This stops ice crystals from forming too large. Fat adds richness and smoothness to your ice cream. Use whole milk or cream for better fat content. Avoid using low-fat or skim milk only. A good balance keeps the texture soft and creamy.
Adding Alcohol Or Stabilizers
Alcohol can help keep ice cream soft by lowering freezing temperature. Use small amounts like a teaspoon per batch. Too much alcohol will prevent freezing. Stabilizers like gelatin or corn syrup improve texture. They stop ice crystals from growing too big. These ingredients make your ice cream smoother and less icy.
Using Fresh Ingredients
Fresh ingredients improve both flavor and texture. Old or frozen fruits may add extra water to your mix. This water turns into ice crystals during freezing. Use fresh fruits or well-drained frozen fruits. Fresh dairy products also help create creamier results. Always check ingredient quality for the best ice cream.
Optimizing Freezing And Processing
Optimizing freezing and processing plays a big role in making your Ninja Creami less icy. Proper techniques help achieve a creamy texture. Small changes during freezing and processing can make a big difference in your final treat.
Proper Freezer Settings
Set your freezer to the coldest setting possible. The temperature should be at or below 0°F (-18°C). This ensures the pint freezes solid and evenly. A warmer freezer causes ice crystals to form, making the treat icy.
Correct Freeze Time
Freeze the pint for at least 24 hours. Shorter freeze times leave the mixture soft and uneven. A fully frozen pint allows the Creami to process smoothly. Avoid removing the pint too soon to prevent icy results.
Ensuring Pint Is Fully Frozen
Check that the pint is completely frozen before processing. The mixture should feel rock hard and not slushy. Partial freezing causes uneven texture and ice chunks. Patience here leads to the best creamy outcome.
Machine Maintenance Tips
Keeping your Ninja Creami in good shape helps avoid icy textures in your treats. Regular care improves performance and taste. Simple steps can keep your machine running smoothly and cold-free.
Cleaning The Blade Assembly
Remove the blade assembly carefully after each use. Wash it with warm, soapy water. Use a soft brush to clean hard-to-reach spots. Dry the blade fully before reassembling. Clean blades prevent ice buildup and ensure smooth blending.
Checking For Mechanical Issues
Check the blade for any dents or damage. Ensure it spins freely without noise. Inspect the motor for unusual sounds or vibrations. Tighten any loose parts gently. Fixing small problems early stops bigger issues.
Regular Maintenance Schedule
Set a routine for cleaning and checks every week. Wipe the outer surfaces with a damp cloth. Deep clean the blade and container every month. Keep a log to track maintenance dates. Consistency keeps the Ninja Creami working well.
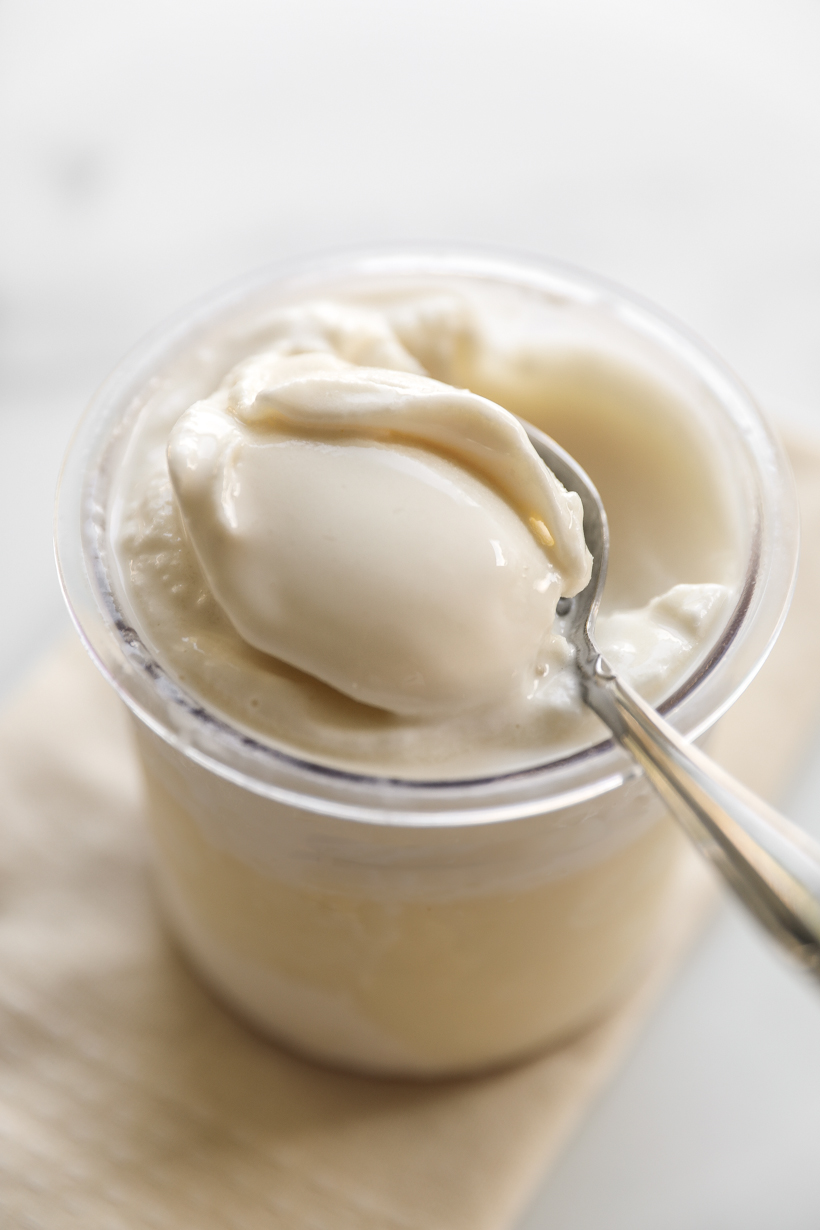
Quick Fixes For Frosty Texture
Dealing with icy texture in your Ninja Creami can be frustrating. Small changes can make a big difference. Quick fixes help improve the creaminess without wasting your batch. These simple steps bring back the smooth, creamy feel you want.
Reprocessing The Ice Cream
Reprocessing your ice cream is an easy fix. Place the frozen pint back in the machine. Run the Creami cycle again to break up ice crystals. This step helps make the texture smoother. Repeat if the ice cream still feels too icy.
Letting It Soften Slightly
Allow the ice cream to sit outside the freezer for a few minutes. Softening helps reduce hardness and icy chunks. Check every 3 to 5 minutes. It becomes easier to scoop and tastes creamier once softened.
Adding Mix-ins To Improve Texture
Mix-ins can improve texture and add flavor. Try stirring in small bits like chocolate chips or nuts. They create a better mouthfeel and break up icy parts. Add them after the ice cream softens slightly for best results.

Credit: www.reddit.com
Credit: lovegrowswild.com
Frequently Asked Questions
Why Is My Ninja Creami Icy Instead Of Creamy?
Your Ninja Creami may be icy due to insufficient mixing or improper ingredient ratios. Ensure you follow the recipe’s cream-to-liquid balance and allow proper freezing time for smooth texture.
How Can I Fix Icy Texture In Ninja Creami Desserts?
To fix icy texture, try reprocessing your dessert using the “Re-spin” function. Also, add more fat or sugar to the mixture to improve creaminess and reduce ice crystals.
Does Freezing Time Affect Ninja Creami’s Icy Texture?
Yes, freezing time impacts texture. Freeze your mixture for at least 24 hours in a flat, even layer. Inadequate freezing can cause uneven ice crystals and icy results.
Can Ingredient Choices Cause Icy Results In Ninja Creami?
Absolutely. Using low-fat or water-heavy ingredients increases ice formation. Opt for full-fat dairy or add sugars and stabilizers to prevent icy, grainy texture in your frozen treats.
Conclusion
An icy Ninja Creami can spoil your dessert experience. Check the ingredients and mixing process carefully. Using too much liquid or not blending well causes ice crystals. Adjusting these steps can improve texture quickly. Try smaller batches or different recipes next time.
Keep your machine clean and follow the user guide. These simple fixes help you enjoy smooth, creamy treats. With patience and care, your Ninja Creami will work better every time. Enjoy making delicious ice cream without icy surprises!