Last Updated on May 2, 2026
Is your bread knife struggling to slice through your favorite loaf? A dull bread knife can make even the simplest task frustrating and messy.
But sharpening it doesn’t have to be a chore you avoid. In this guide, you’ll learn easy and effective ways to bring back your knife’s sharp edge. By the end, you’ll be slicing bread with precision and ease, every single time.
Ready to make your kitchen tasks smoother? Let’s get started!
Choosing The Right Tools
Choosing the right tools is key to sharpening a bread knife well. A bread knife has a serrated edge that needs special care. Using the wrong tools can damage the blade or make it dull faster. Good tools make the job easier and keep the knife sharp longer.
Focus on tools made for serrated knives. These fit the shape of the blade better. Also, prepare some extra supplies to protect the knife and yourself during sharpening.
Types Of Sharpeners
Round or tapered ceramic rods work best for bread knives. They fit between the serrations to sharpen each tooth. Some sharpeners have diamond coating. This makes sharpening faster and more effective. Electric sharpeners often do not fit serrated blades well. Manual sharpening tools give more control.
Additional Supplies Needed
A soft cloth helps clean the blade before and after sharpening. Use a small brush to remove crumbs from serrations. Gloves protect your hands from accidental cuts. A cutting board or towel provides a stable surface. These supplies make sharpening safe and neat.

Credit: www.youtube.com
Preparing The Knife
Preparing the bread knife properly makes sharpening easier and safer. This step ensures the knife is clean and stable. It helps you see any damage and hold the knife firmly. Taking time here improves the sharpening process and results.
Cleaning And Inspecting
Start by washing the knife with warm water and mild soap. Remove crumbs and grease from the blade. Dry the knife completely to avoid slipping. Check the blade for chips, bends, or rust spots. Small damages affect sharpening and cutting performance. Fix or replace the knife if damage is severe.
Securing The Knife
Place the knife on a stable surface. Use a non-slip mat or towel under the blade. Hold the handle firmly to prevent movement. Some use clamps or a sharpening guide for extra safety. A steady knife allows precise sharpening and reduces injury risk.
Sharpening Techniques
Sharpening a bread knife needs the right technique. This keeps the blade effective and safe. Using the proper tools helps restore the knife’s edge smoothly. Three common ways work well for most people. Choose one that fits your skill and tools.
Using A Whetstone
A whetstone is a flat stone with a rough surface. It sharpens blades by grinding and honing the edge. Start by soaking the stone in water for about 10 minutes. Hold the knife at a 20-degree angle against the stone. Move the blade gently across the stone in a circular motion. Repeat this on both sides until the edge feels sharp. Whetstones give fine control over the sharpening process.
Using A Manual Sharpener
Manual sharpeners are easy and quick to use. They have slots with abrasive material inside. Pull the knife through these slots several times. The sharpener aligns and sharpens the blade edges. Keep the blade straight and pull evenly. This method works well for small touch-ups and regular maintenance. It is safe for beginners and requires little effort.
Using An Electric Sharpener
Electric sharpeners use motorized wheels to sharpen blades fast. Turn on the machine and slowly pull the knife through the slots. The electric wheels grind the blade edges quickly and evenly. It is good for very dull knives or frequent sharpening. Use light pressure and keep the blade steady. This tool saves time and gives consistent results.
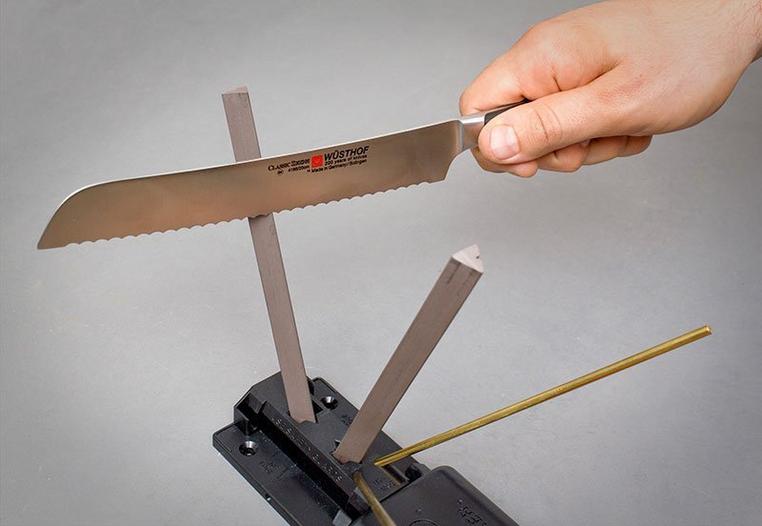
Credit: www.knivesandtools.com
Maintaining The Serrations
Maintaining the serrations on a bread knife keeps it cutting cleanly. Serrations are the small teeth along the blade edge. They help slice through bread without crushing it. Regular care of these serrations keeps the knife sharp and effective.
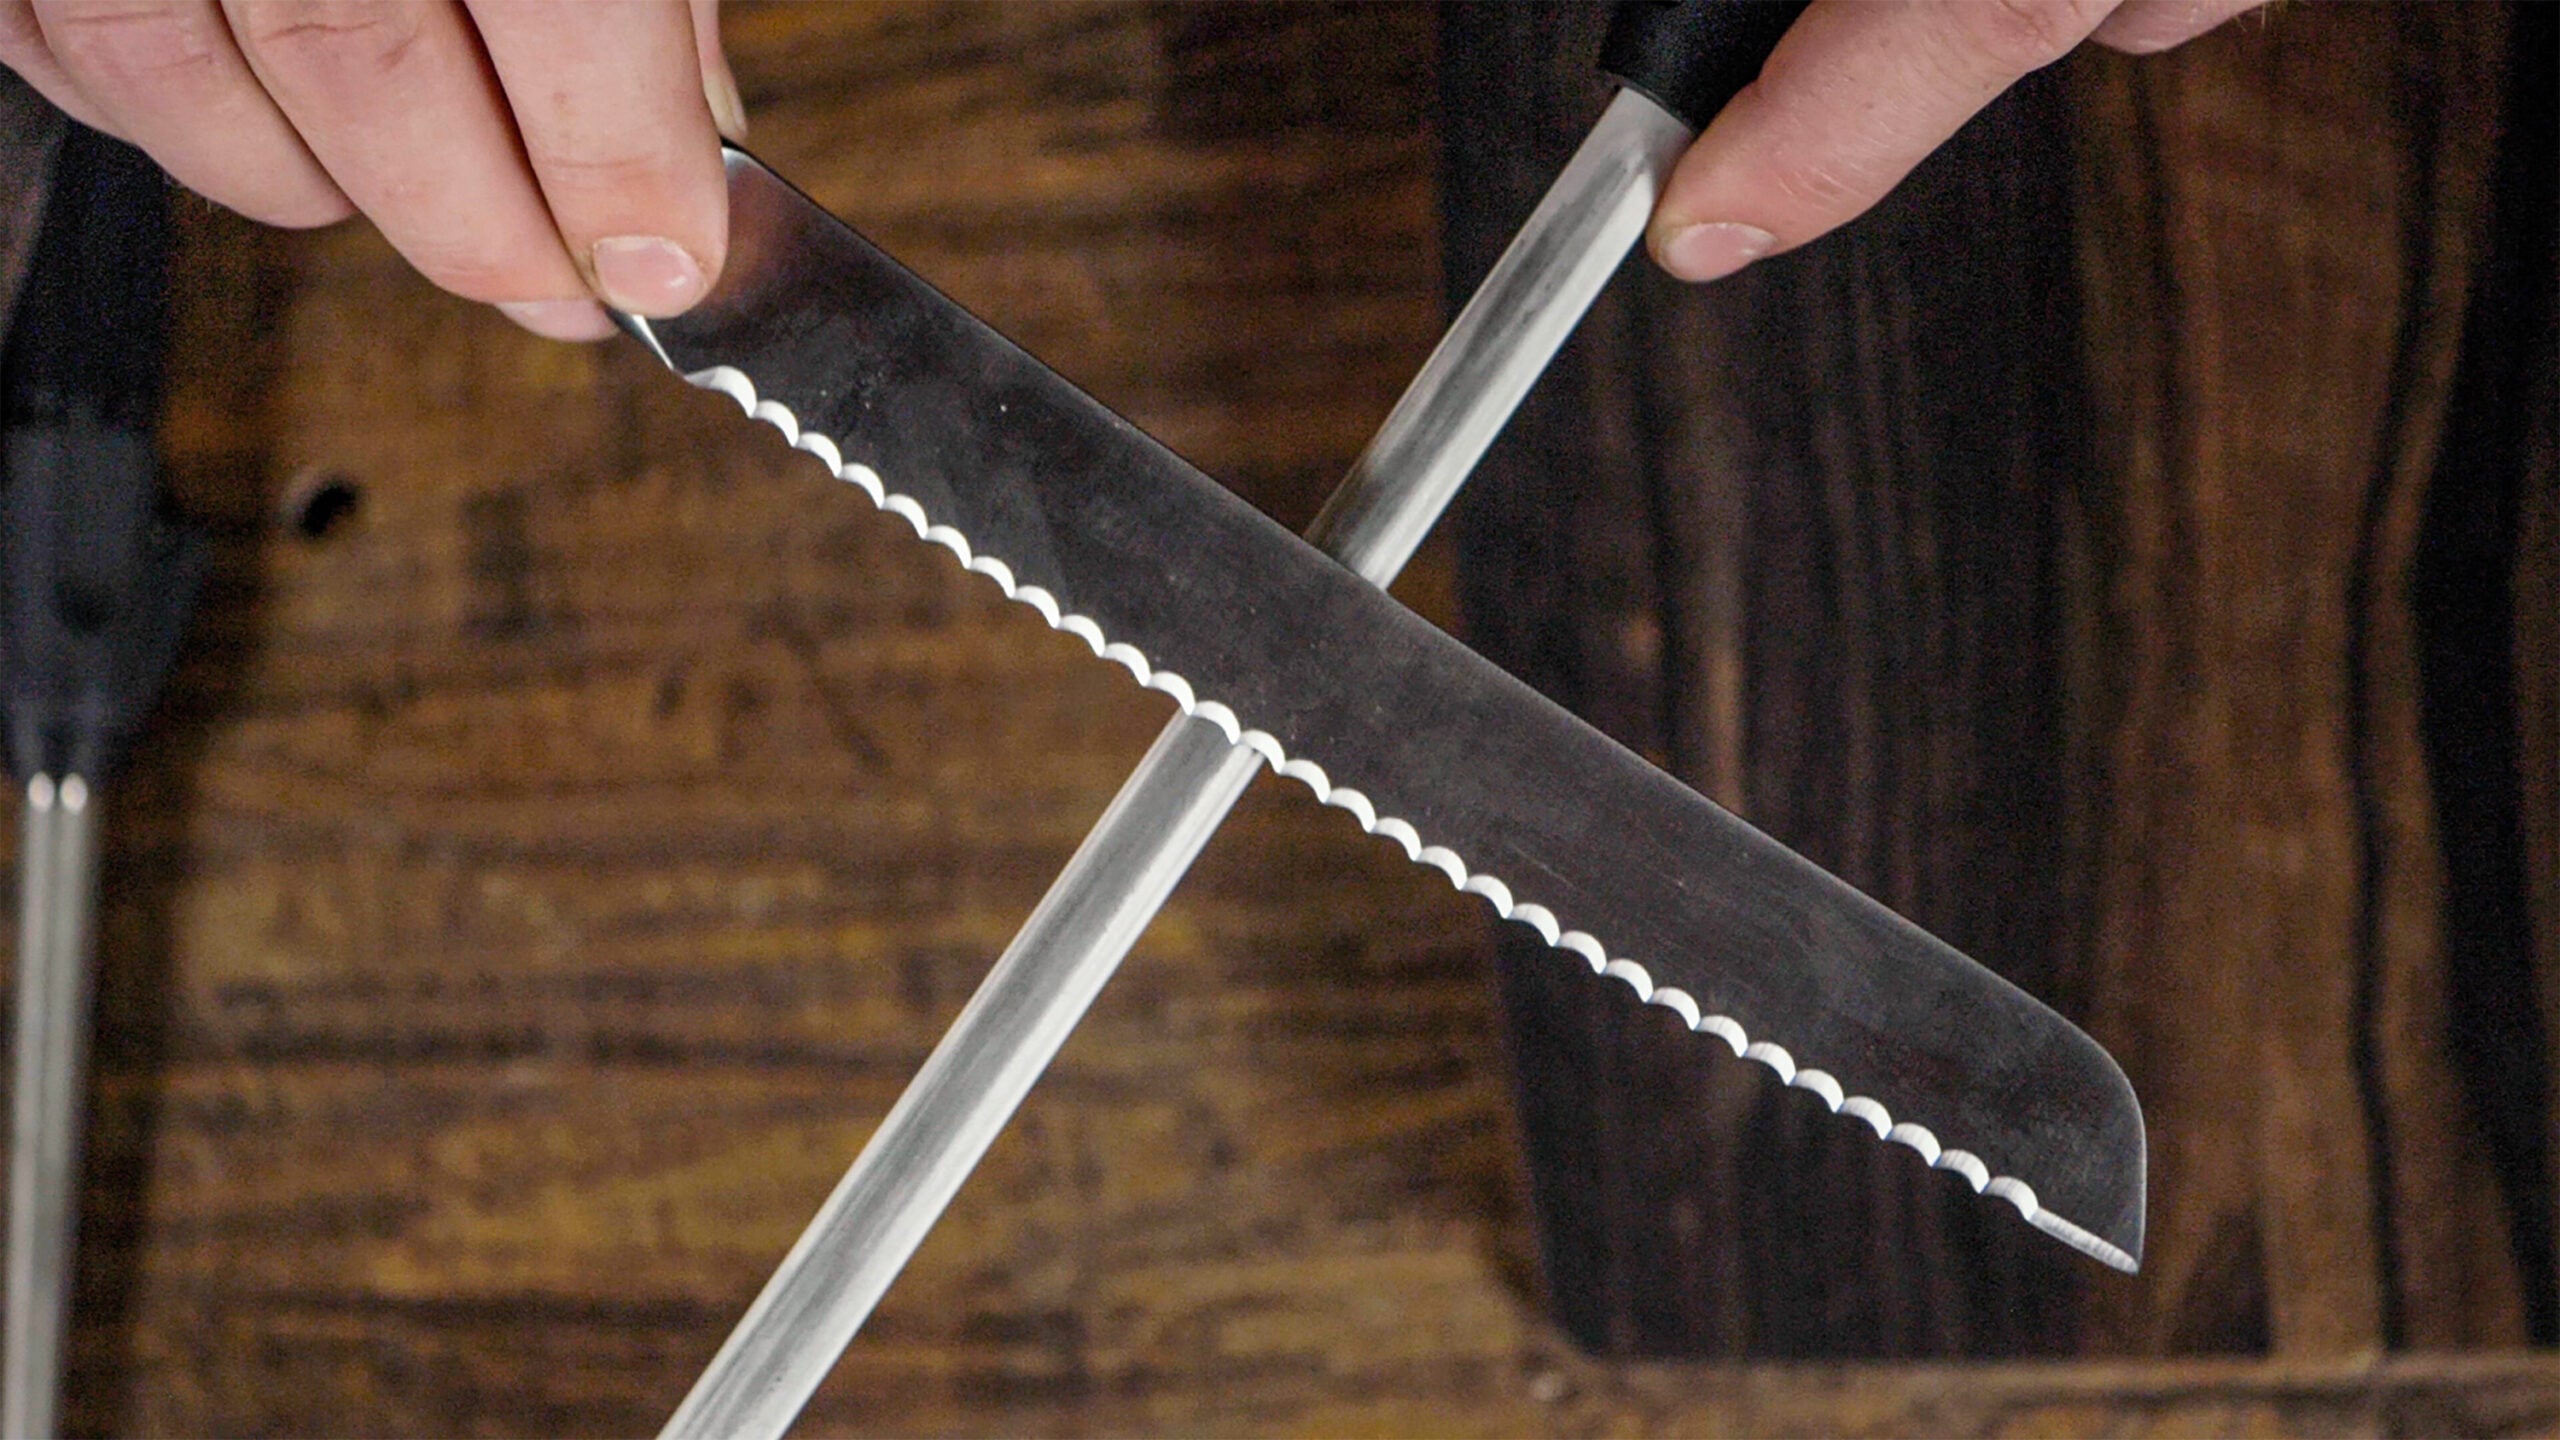
Sharpening Each Tooth
Use a thin, pointed sharpening tool for each serration. A small round file works best. Place the file inside each tooth gently. Move it back and forth with light pressure. Sharpen all teeth evenly for the best result. Take your time to keep the shape intact.
Avoiding Damage
Do not use large or flat sharpeners on serrations. They can dull or break the teeth. Avoid pressing too hard while sharpening. Check the blade often to prevent over-sharpening. Store the knife safely to protect the serrations from bending or chipping.
Testing Sharpness
Testing sharpness is a key step after sharpening your bread knife. It shows how well the blade cuts. A sharp knife makes slicing easier and safer. You can test sharpness with simple methods at home. These tests help you know if the knife is ready to use. Try these two easy ways to check your bread knife’s edge.
Paper Test
Hold a piece of paper in one hand. Use the knife to slice through the paper. A sharp knife cuts cleanly without tearing. The blade should glide through the paper smoothly. If the knife struggles or tears the paper, it needs more sharpening. This test is quick and shows edge sharpness well.
Tomato Test
Pick a ripe tomato for this test. Try slicing it without pressing hard. A sharp bread knife cuts the tomato skin easily. The slices come out smooth and neat. If the knife squashes the tomato, it is dull. This test checks how the knife handles soft foods. It is a good way to test sharpness safely.
Post-sharpening Care
Proper care after sharpening keeps your bread knife sharp for longer. It protects the blade and maintains its cutting edge. Small steps make a big difference in the knife’s life.
Cleaning The Knife
Wipe the blade gently with a soft cloth after sharpening. Avoid water or harsh chemicals right away. Use warm, soapy water only if the blade is dirty. Dry the knife fully to stop rust or spots. Clean the handle too, to keep it safe and strong.
Proper Storage
Store the bread knife in a dry place away from other utensils. A knife block or magnetic strip works best. Avoid tossing the knife in a drawer with other tools. This stops the blade from dulling or bending. Keep the knife protected and ready for the next use.
Tips For Long-lasting Sharpness
Keeping your bread knife sharp saves time and effort. Sharp knives cut cleanly and safely. A few simple habits help your bread knife stay sharp longer. Follow easy tips to protect your knife’s edge and improve its life.
Regular Maintenance
Sharpen your bread knife regularly to maintain its edge. Use a sharpening stone or a knife sharpener designed for serrated blades. After sharpening, clean the blade with warm water and dry it well. Store the knife in a knife block or blade guard. Avoid tossing it in a drawer with other utensils. Regular checks help catch dullness early and keep your knife ready for use.
Safe Cutting Practices
Cut on soft surfaces like wooden or plastic cutting boards. Avoid glass, stone, or metal boards that dull blades quickly. Let the serrated blade do the work—use a gentle sawing motion. Do not press down hard while cutting. Avoid using your bread knife to cut hard items like bones or frozen foods. These actions protect the blade and keep it sharp longer.
Credit: worksharptools.com
Frequently Asked Questions
How Often Should I Sharpen A Bread Knife?
Sharpen your bread knife every few months with regular use. Frequent sharpening maintains cutting efficiency and prolongs blade life. If you notice difficulty slicing or tearing bread, it’s time to sharpen. Proper maintenance ensures clean, even slices without crushing the bread.
What Tools Are Best For Sharpening A Bread Knife?
Use a sharpening stone or a ceramic rod designed for serrated blades. Avoid standard knife sharpeners, as they can damage serrations. Specialized tools ensure precise sharpening and maintain the knife’s original edge shape, enhancing cutting performance.
Can I Sharpen A Bread Knife At Home Safely?
Yes, you can sharpen a bread knife at home using the right tools. Carefully follow instructions for serrated knives and work slowly to avoid injury. Practicing proper technique ensures safety and achieves a sharp, effective blade without professional help.
Why Is Sharpening A Bread Knife Different From Other Knives?
Bread knives have serrated edges, requiring specialized sharpening methods. Unlike straight edges, serrations need individual attention to maintain their shape. Standard sharpeners may dull or damage serrations, so use appropriate tools for best results.
Conclusion
Sharpening a bread knife keeps it cutting clean and easy. Use the right tools and follow the steps carefully. Regular sharpening saves time and improves your kitchen work. A sharp knife makes slicing bread neat and safe. Practice often to keep your knife in top shape.
Remember, a little care goes a long way. Your bread will always look and taste better with a sharp knife. Try these tips and enjoy better slicing every day.