Last Updated on May 11, 2026
Are your grout lines looking dull and stained no matter how much you clean? You’re not alone.
Grout can easily trap dirt, mold, and mildew, making your floors and walls look tired and worn out. But what if there was a simple solution to bring back that fresh, bright look? Grout bleach might be exactly what you need to restore your surfaces without scrubbing endlessly.
You’ll discover how grout bleach works, why it’s effective, and how to use it safely to transform your space. Keep reading to find out how to make your grout shine like new again!
Why Grout Gets Dirty
Grout gets dirty easily because it is porous and absorbs dirt. It sits between tiles and often faces water, spills, and foot traffic. Over time, these factors make grout look stained and old. Understanding why grout gets dirty helps to clean it better.
Common Causes Of Grout Stains
Dirt and dust settle on grout lines regularly. Water spills leave mineral deposits that darken grout. Mold and mildew grow in damp areas like bathrooms. Oil and food stains happen in kitchens. Heavy foot traffic grinds dirt into grout on floors.
Types Of Grout Discoloration
Grout can turn yellow from soap scum and hard water. Black stains often come from mold or mildew growth. Brown or reddish marks may appear due to rust or dirt buildup. White haze is caused by leftover cleaning products or efflorescence.
Credit: www.thekitchn.com
Benefits Of Using Grout Bleach
Grout bleach offers several important benefits for maintaining clean and fresh tile surfaces. It targets tough stains and helps restore grout to its original color. Using grout bleach also improves the overall look of tiled areas, making them appear newer and well-kept.
Besides cleaning, grout bleach helps kill germs and bacteria. This adds a layer of hygiene to kitchens, bathrooms, and other tiled spaces. The product is easy to use and works quickly, saving time on deep cleaning tasks.
Effective Stain Removal
Grout bleach removes stubborn stains that regular cleaners cannot. It breaks down dirt, mold, and mildew trapped in grout lines. This results in a brighter, cleaner appearance without scrubbing hard. It works best on white or light-colored grout.
Sanitizing Properties
The bleach kills bacteria and germs hiding in grout. This reduces the risk of mold and mildew growth. Clean grout means a healthier home environment. It is especially useful in damp areas like bathrooms and kitchens.
Improved Tile Appearance
Using grout bleach restores the original color of grout. This makes tiles look fresh and new again. Clean grout highlights the beauty of tile patterns and colors. It enhances the overall style of any tiled room.
Choosing The Right Grout Bleach
Choosing the right grout bleach is important for a clean and safe home. The wrong product can damage your tiles or harm your health. It is best to know the types of bleach available, safety tips, and eco-friendly choices. This helps you pick the best bleach for your grout.
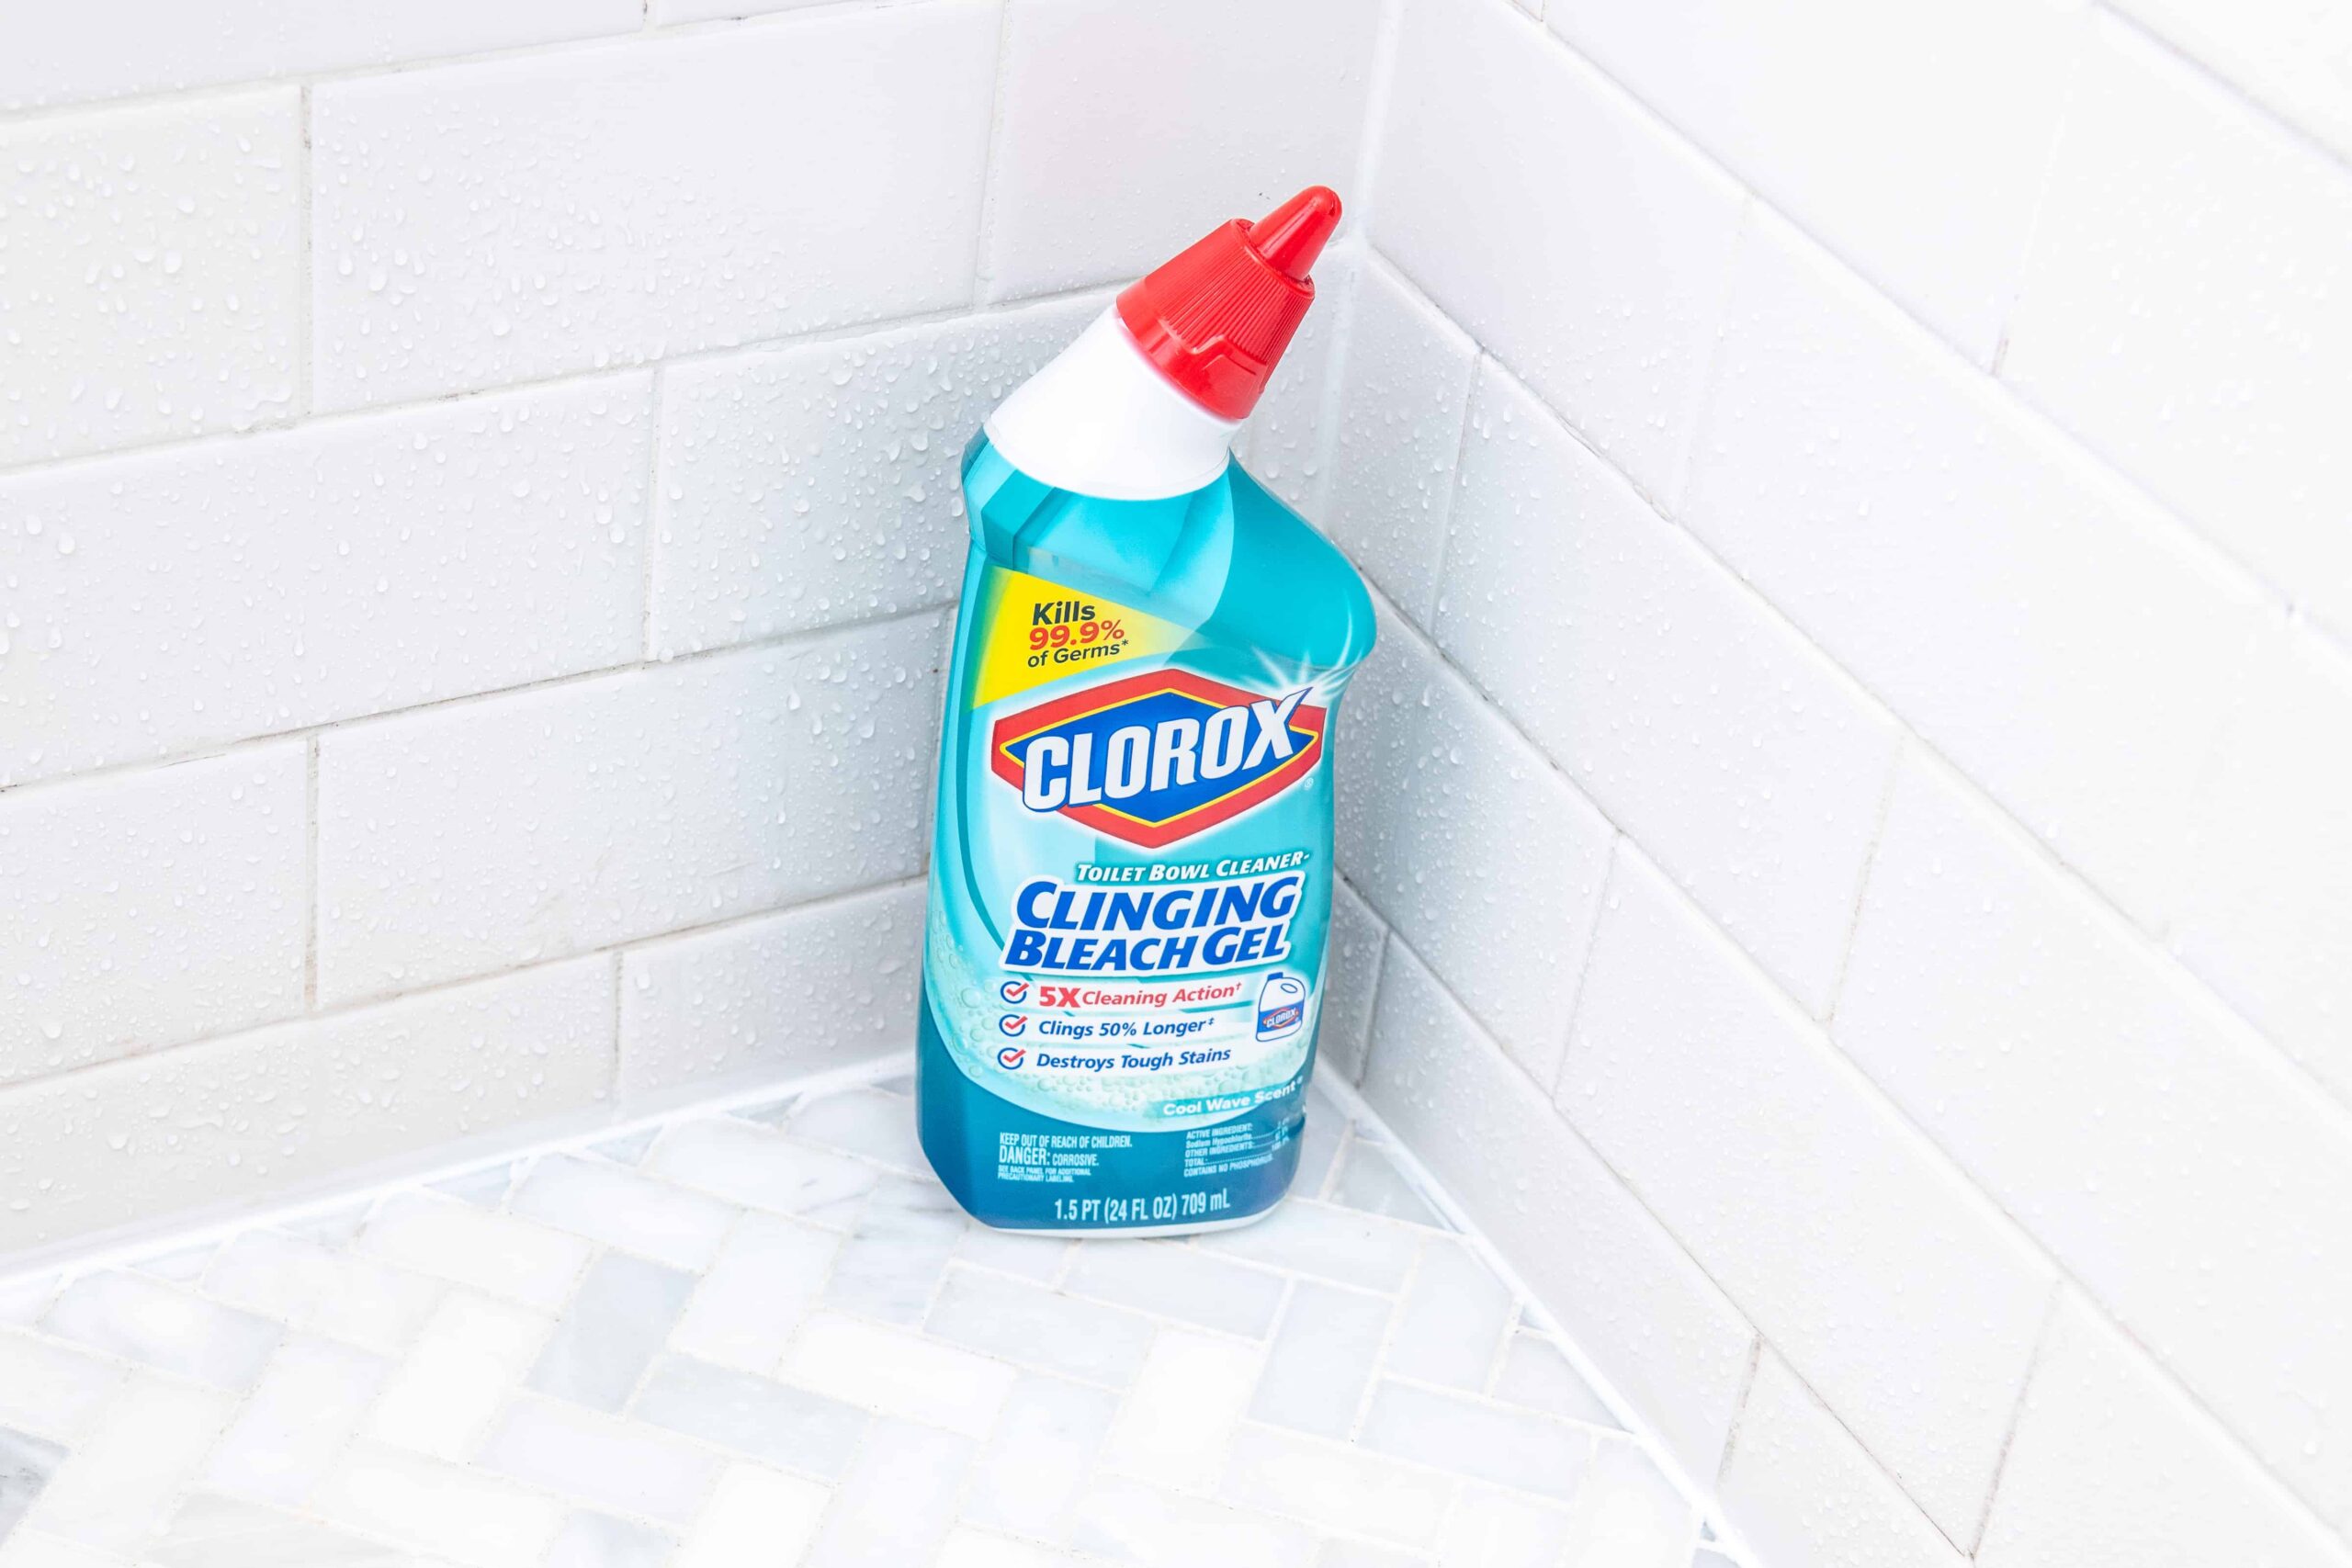
Different Types Of Bleach Products
There are several bleach types for grout cleaning. Chlorine bleach is strong and removes tough stains fast. Oxygen bleach is gentler and safe for colored grout. Gel bleaches stick to grout longer for deep cleaning. Powdered bleach mixes with water for easy use. Each type suits different cleaning needs and grout types.
Safety Considerations
Bleach products can irritate skin and eyes. Always wear gloves and work in a well-ventilated area. Avoid mixing bleach with other cleaners, especially ammonia. Test bleach on a small grout area first. Keep bleach away from children and pets. Following safety rules protects your home and health.
Eco-friendly Options
Eco-friendly bleaches use natural ingredients. They break down quickly and do not pollute water. Some use vinegar, baking soda, or hydrogen peroxide. These options are safe for people and pets. They may take longer but reduce chemical risks. Choose eco-friendly bleach for a greener clean.
Credit: marialouisedesign.com
Preparing For Grout Bleaching
Preparing for grout bleaching is an important step to get the best results. Taking time to prepare the area and gather the right tools makes the job easier. Proper preparation helps avoid damage and keeps your space clean and safe.
Gathering Necessary Supplies
Start by collecting all supplies before you begin. You will need grout bleach, a stiff brush, gloves, and old rags. A spray bottle and a bucket of water are also helpful. Having everything ready saves time and keeps the process smooth.
Protecting Surrounding Areas
Cover floors and walls near the grout with plastic sheets or old towels. This prevents bleach from splashing on surfaces that can stain or get damaged. Tape the edges to keep coverings in place. Protecting the area keeps your home looking neat.
Safety Precautions
Wear gloves and eye protection to keep bleach off your skin and eyes. Work in a well-ventilated room to avoid strong fumes. Keep children and pets away from the area. Follow instructions on the bleach label for safe use.
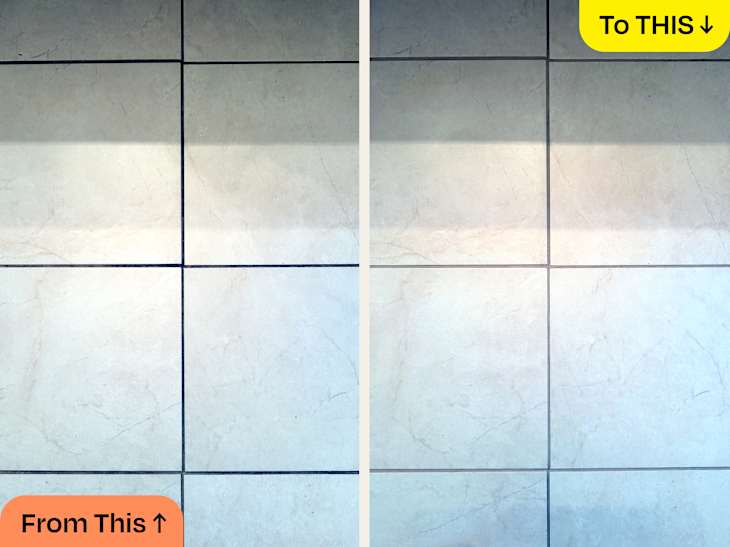
Step-by-step Grout Bleaching Process
Cleaning grout with bleach can brighten your tiles quickly. The process has simple steps anyone can follow. It removes stains and restores grout’s original color. This guide breaks down the process into easy actions. Each step helps you get clean, fresh-looking grout.
Applying The Bleach
Wear gloves to protect your skin. Use a small brush or sponge. Dip it in the bleach solution. Apply the bleach directly to the grout lines. Cover all the stained areas evenly. Let the bleach sit for 5 to 10 minutes. Avoid letting it dry completely. This time lets the bleach work deeply.
Scrubbing Techniques
Use a stiff brush or old toothbrush. Scrub the grout with firm, circular motions. Focus on the darkest spots first. Do not scrub too hard to avoid damage. Reapply bleach if needed during scrubbing. Keep scrubbing until stains start to fade. This helps remove dirt and mildew effectively.
Rinsing And Drying
Rinse the area with clean water. Use a sponge or cloth to wipe away bleach. Make sure no residue stays on grout. Dry the tiles with a clean towel. Let the grout air dry fully. Proper drying prevents mold and mildew growth. Your grout should now look much brighter.
Tips For Maintaining Clean Grout
Keeping grout clean makes your floors and walls look fresh and new. Dirt and stains can build up fast. Regular care helps grout last longer and look better. Follow simple steps to maintain clean grout easily.
Regular Cleaning Routines
Clean grout regularly with mild soap and water. Use a soft brush to scrub gently. Avoid harsh chemicals that can damage grout. Dry the area after cleaning to stop mold growth. Frequent cleaning prevents tough stains and discoloration.
Sealing Grout Lines
Apply grout sealer every six months. Sealing protects grout from water and dirt. Choose a sealer made for your grout type. Follow instructions carefully for best results. Sealed grout stays cleaner and resists stains longer.
Avoiding Common Mistakes
Do not use bleach too often; it can weaken grout. Avoid using wire brushes that can scratch grout lines. Avoid letting spills sit for long periods. Clean spills immediately to stop stains. These small actions keep grout strong and clean.
Alternatives To Bleach For Grout Cleaning
Bleach is a common choice for cleaning grout, but it is not the only option. Some people avoid bleach because it can be harsh and damage grout over time. There are safer and effective alternatives that clean grout well. These options protect your tiles and improve indoor air quality.
Natural Cleaning Solutions
Natural cleaners use simple ingredients like baking soda and vinegar. Baking soda scrubs grout gently and removes stains. Vinegar breaks down dirt and kills germs. Mix baking soda with water to make a paste. Apply it to grout and scrub with a brush. Spray vinegar over the paste for extra power. Let it sit for a few minutes before rinsing.
Lemon juice also works as a mild bleach and freshener. It brightens grout and leaves a clean smell. These natural options are safe for kids and pets.
Commercial Grout Cleaners
Many stores sell cleaners made just for grout. These products use special formulas to remove tough stains. They often work faster than home remedies. Choose a cleaner that matches your grout type. Follow the instructions carefully. Wear gloves to protect your skin. Test the cleaner on a small area first to avoid damage.
Using Steam Cleaners
Steam cleaners use hot steam to clean grout without chemicals. The heat loosens dirt and kills bacteria. Steam cleaning is eco-friendly and safe for most grout types. It also dries quickly and prevents mold growth. Use a small brush to scrub grout after steaming for better results. This method is gentle and reduces the need for harsh cleaners.
Handling Stubborn Grout Stains
Stubborn grout stains can ruin the look of your tiles. These stains often resist regular cleaning methods. They may appear dark, moldy, or discolored. Removing them requires special care and stronger cleaning solutions.
Understanding how to handle tough grout stains helps keep your floors and walls fresh. Proper methods protect grout from damage and keep it looking new longer.
Using Stronger Bleach Solutions
Stronger bleach solutions can remove deep stains. Use bleach that is safe for grout and tiles. Always dilute bleach with water as instructed. Apply the solution with a brush for better reach. Let it sit for a few minutes to work. Rinse thoroughly to avoid residue or damage. Wear gloves and ensure good ventilation during use.
Professional Cleaning Services
Professional cleaners have special tools and products. They can tackle stains that home methods cannot. Experts know how to protect your grout and tiles. Hiring a professional saves time and effort. They can also give advice on grout care. Consider this option for very stubborn or large stains.
When To Replace Grout
Sometimes stains cannot be removed. Grout may crack, crumble, or look worn out. Replacing grout restores the appearance and function. Remove old grout carefully to avoid tile damage. Apply new grout evenly and seal it well. This gives a fresh, clean look to tiled surfaces.
Credit: www.homedepot.com
Frequently Asked Questions
What Is Grout Bleach Used For?
Grout bleach is used to clean and whiten grout lines. It removes stains, mold, mildew, and discoloration. This product restores grout’s original appearance. It’s ideal for tiled floors, walls, and bathrooms. Grout bleach improves cleanliness and bathroom hygiene effectively.
Is Grout Bleach Safe For All Tile Types?
Grout bleach is generally safe for ceramic and porcelain tiles. However, it can damage natural stone tiles like marble or granite. Always test a small area first. Follow product instructions carefully to avoid discoloration or etching on delicate surfaces.
How Often Should I Use Grout Bleach?
Use grout bleach every 3 to 6 months for maintenance. Frequent use can weaken grout over time. Regular cleaning keeps grout fresh and prevents mold buildup. Spot treat stains promptly to avoid deep discoloration.
Can Grout Bleach Remove Mold And Mildew?
Yes, grout bleach effectively kills mold and mildew on grout lines. It sanitizes the surface and prevents further growth. Use it in well-ventilated areas and wear gloves for safety. Regular cleaning helps maintain mold-free grout.
Conclusion
Grout bleach helps keep your tiles bright and clean. It removes stains and kills mold quickly. Use it carefully to avoid damage to surfaces. Always follow instructions for the best results. Regular cleaning with grout bleach saves time later. A fresh look makes any room feel nicer.
Try grout bleach and see the difference yourself. Clean grout means a cleaner, healthier home environment.