Last Updated on June 13, 2026
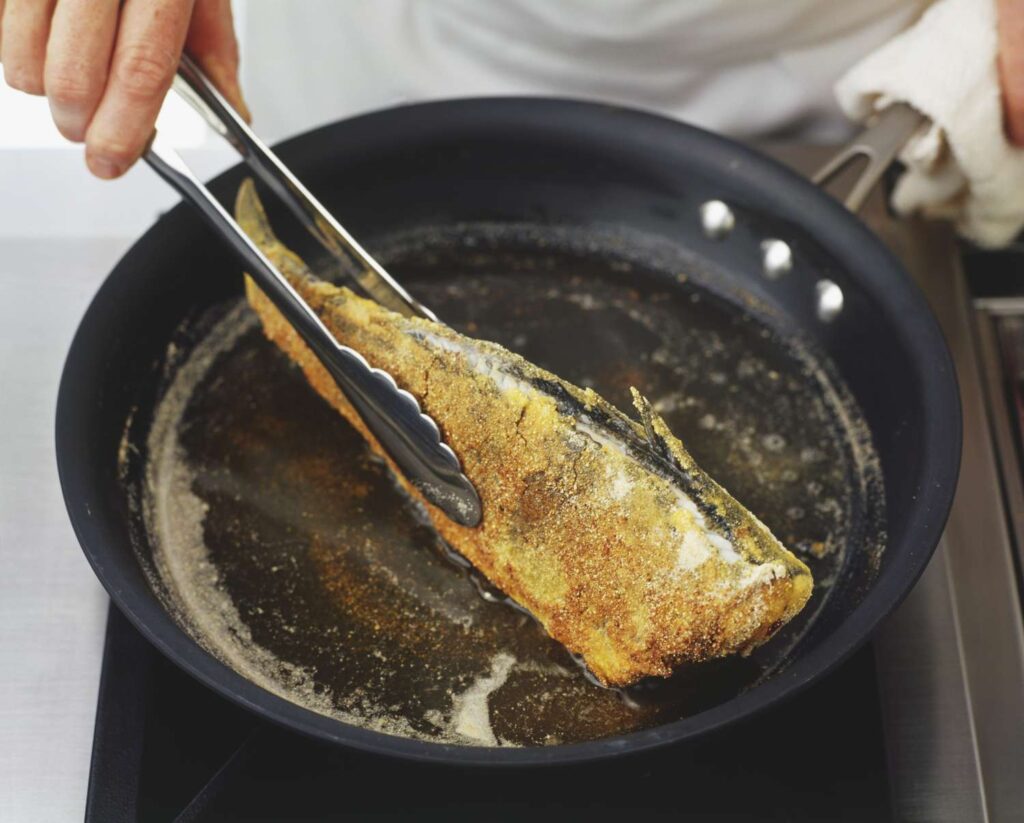
To clean a Dutch Oven, use hot water and a gentle scrub brush to remove any residue. Then, dry it thoroughly.
Cleaning a Dutch Oven is a simple process that can ensure its longevity and maintain its cooking quality. Whether you are a seasoned chef or a casual home cook, keeping your Dutch Oven clean is essential for optimal cooking results and a pleasant cooking experience.
By following a few easy steps, you can remove any food remnants, grease, or stains that may have accumulated during use. We will discuss the best methods for cleaning a Dutch Oven, including basic maintenance, deep cleaning, and stain removal techniques.
Why Your Dutch Oven Needs Special Care
Your Dutch oven is a versatile and valuable piece of cookware that requires special care to ensure its longevity and optimal performance. Its unique design features and materials make it susceptible to wear and tear if not properly maintained. The coating on the inside of the oven plays a crucial role in preventing food from sticking and enhancing heat distribution, so it’s important to preserve it.
Regular maintenance is key in extending the lifespan of your Dutch oven. Proper cleaning after each use helps prevent buildup of residue and maintains the coating’s integrity. Avoid using abrasive cleaners or utensils that can scratch the surface, as this can damage the coating and impact its non-stick properties. Instead, opt for gentle cleaning methods using mild soap and warm water.
By taking the time to clean and care for your Dutch oven, you can ensure its pristine condition for years to come. Whether you use it for baking, roasting, or braising, a well-maintained Dutch oven will continue to deliver exceptional cooking results.
Pre-cleaning Preparation Steps
- A Dutch oven
- Hot water
- Plastic scraper or wooden spatula
- Dish soap or baking soda
- Sponge or soft scrub brush
- Paper towels or clean cloth
Before diving into the cleaning process, it’s important to remove any excess food or debris from the Dutch oven. Start by allowing the oven to cool down completely. Use a plastic scraper or wooden spatula to gently scrape off any large food particles. Be careful not to damage the surface of the oven. Dispose of the debris properly.
Once the excess food is removed, it’s time to prepare the Dutch oven for a thorough clean. Rinse the oven with hot water to remove any remaining loose particles. Next, apply a small amount of dish soap or sprinkle baking soda inside the oven. Use a sponge or soft scrub brush to gently scrub the interior, paying extra attention to any stubborn stains or residue.
Rinse the oven again with hot water to remove the soap or baking soda. Finally, dry the Dutch oven with paper towels or a clean cloth before storing it or using it for your next culinary adventure.
The Gentle Approach For Everyday Cleaning
Cleaning a Dutch Oven can be done effectively using a gentle approach that ensures your cookware stays in top condition. Start by utilizing warm water and a soft sponge to clean your Dutch Oven. This will help to remove any surface dirt or residue without scratching the enamel or cast iron.
When it comes to selecting the appropriate detergents for enamel or cast iron, it’s important to choose ones that are specifically formulated for these materials. Avoid using harsh chemicals or abrasive cleaners that can damage the surface of your Dutch Oven.
After cleaning, it’s crucial to thoroughly dry your Dutch Oven to prevent rust. You can do this by using a soft cloth or paper towel to remove excess moisture, and then allowing it to air dry completely.
In conclusion, by following these gentle cleaning techniques and using suitable detergents, you can ensure that your Dutch Oven remains clean and in excellent condition for years to come.
Deep Cleaning Strategies
When it comes to cleaning a Dutch oven, addressing tough stains and burnt spots is essential. Fortunately, there are efficient ways to achieve a deep clean. Homemade cleaning solutions are particularly effective, as they are non-toxic and economical.
| Homemade Cleaning Solutions |
| – Create a paste using equal parts baking soda and water. Apply it to the stained areas and let it sit for about 15 minutes. Scrub gently with a sponge or soft brush before rinsing thoroughly. |
| – For burnt spots, fill the Dutch oven with a mixture of 1 part white vinegar and 2 parts water. Boil the mixture for a few minutes, then let it cool. Scrub the burnt areas with a sponge or brush. Rinse well. |
Baking soda and vinegar play important roles in deep cleaning a Dutch oven. Baking soda acts as a natural abrasive, effectively removing stains and odors. Vinegar, with its acidic properties, helps to loosen stubborn burnt spots and residue. Used together or separately, they can leave your Dutch oven looking clean and shiny.
Specialized Tactics For Stubborn Issues
Cleaning a Dutch Oven can be a challenging task, especially when dealing with stubborn issues. One specialized tactic is to use salt as a scrubbing agent. Salt has abrasive properties that can help to remove tough stains and residue. Simply sprinkle a generous amount of salt onto the surface of the Dutch Oven, and then use a damp cloth or sponge to scrub the salt into the stubborn areas. Rinse thoroughly with warm water to remove any remaining salt.
Another important aspect to consider is the proper use of metal utensils without scratching the Dutch Oven. It is recommended to use wooden or silicone utensils instead, as they are less likely to cause damage to the surface. Avoid using metal utensils that can leave scratches and marks, as these can be difficult to remove and can compromise the longevity of your Dutch Oven.
Importance Of Seasoning Cast Iron
A well-seasoned Dutch Oven is essential for optimal cooking and long-lasting use. The process of seasoning involves coating the cast iron with a layer of oil or fat, creating a natural non-stick surface. This seasoning layer not only prevents food from sticking but also adds flavor to your dishes as the oils penetrate and enhance the taste.
Benefits Of A Well-seasoned Dutch Oven
The benefits of a well-seasoned Dutch Oven are numerous. Firstly, the natural non-stick properties make cooking and cleaning a breeze. You can cook various foods without worrying about them sticking to the surface, and cleaning becomes much easier as food residue comes off effortlessly. Additionally, a well-seasoned Dutch Oven retains heat evenly, allowing for consistent cooking results. The seasoning also acts as a protective layer, preventing the cast iron from rusting and extending the lifespan of your cookware. With a properly seasoned Dutch Oven, you can enjoy delicious and evenly cooked meals for years to come.
Step-by-step Seasoning Process
Learn how to clean your Dutch oven with our step-by-step seasoning process. This easy-to-follow guide will help you maintain and care for your Dutch oven to ensure lasting performance and delicious meals.
The seasoning process for a Dutch oven involves using oils suitable for seasoning. The choice of oil depends on personal preference, but options like vegetable oil, canola oil, and flaxseed oil are commonly used. To season the oven, preheat it to around 300°F (150°C). Apply a thin layer of oil to the interior and exterior surfaces using a clean cloth or brush. Place the oven upside down on a baking sheet and bake it for about 1-2 hours. Allow the oven to cool completely before removing it from the oven. To maintain the seasoning over time, avoid using harsh detergents or scrubbing pads. Instead, use a gentle sponge or brush to clean the oven with warm water. Dry it thoroughly and apply a light coat of oil before storing. Regular seasoning and proper care will help keep your Dutch oven in excellent condition for many years to come.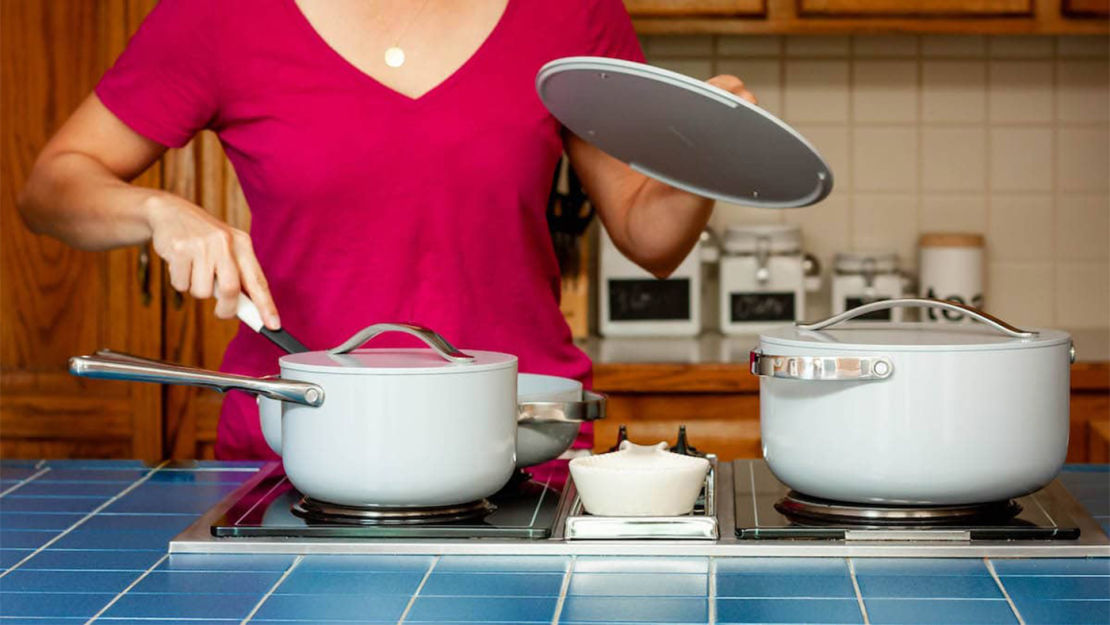
Credit: www.carawayhome.com
Storage Solutions To Avoid Damage
Storage is a critical aspect of maintaining the longevity and quality of your Dutch Oven. To ensure your Dutch Oven remains in optimal condition, it is important to follow best practices for storage.
Firstly, avoiding moisture and humidity is crucial. Excessive moisture can lead to rust and damage to the seasoning on the Dutch Oven. Store it in a dry and well-ventilated area to prevent any moisture buildup.
Additionally, clean and dry the Dutch Oven thoroughly before storing it. Any food residue or grease left in the pot can attract pests or promote the growth of mold and mildew. Proper cleaning will help prevent these issues.
Furthermore, it is advisable to protect the Dutch Oven from potential scratches by storing it separately or placing a soft cloth or paper towel in between when stacking multiple pieces. This will help maintain the integrity of the oven’s surface.
Lastly,”do not store the Dutch Oven with the lid tightly sealed”. This can cause the formation of unwanted odors and condensation, which can be detrimental. Instead, cover the Dutch Oven with a loose-fitting lid or use a breathable storage bag.
Regular Care To Prolong Lifespan
For the longevity of your Dutch Oven, it’s essential to practice regular deep cleaning and re-seasoning. Depending on usage, deep cleaning and re-seasoning should be done periodically to remove food residues and maintain the non-stick surface.
Deep cleaning: After each use, rinse the Dutch Oven with warm water and scrub off any stubborn residues. A mild detergent can be used if necessary. Avoid harsh abrasives that can damage the finish. Rinse thoroughly and dry the pot.
Re-seasoning: Every few months, or as needed, give your Dutch Oven a fresh seasoning layer. Preheat the oven to 350°F (175°C). Apply a thin coat of vegetable oil to the interior and exterior surfaces. Place the pot upside down on the middle rack of the oven with a sheet pan on the bottom rack to catch any drips. Bake for an hour, then let it cool in the oven.
- Use only heat-resistant utensils to prevent scratching the cooking surface. Metal utensils can cause damage.
- Avoid extreme temperature changes. Let the Dutch Oven cool before washing or placing it in a hot oven.
- Store the Dutch Oven with the lid off to allow air circulation and prevent moisture buildup.
- Avoid using high heat settings unnecessarily. Medium to low heat is usually sufficient for cooking in a Dutch Oven.
- Protect the Dutch Oven during storage by using a paper towel or cloth to separate stacked pots to prevent scratches.
Resolving Rust Complications
When it comes to cleaning a Dutch Oven, resolving rust complications is a crucial step. Rust can be stubborn to remove, but there are several methods that can safely get rid of it. One effective way is using a mixture of vinegar and water. Simply soak the affected areas in this solution for a few hours, then scrub off the rust with a brush. Another option is to create a paste using baking soda and water, and gently scrub the rusted spots with it. For tougher rust, using a wire brush or steel wool can be beneficial, but be cautious not to damage the enamel or seasoning of the Dutch Oven.
Preventative measures are also essential to protect your Dutch Oven from future rust formations. After each use, ensure the utensil is thoroughly dry before storing it, as moisture can encourage rust growth. Applying a thin layer of vegetable oil or a specialized seasoning oil also helps in creating a protective barrier. Storing your Dutch Oven in a dry and well-ventilated area is also recommended.
By following these methods and preventative measures, you can keep your Dutch Oven in excellent condition and prolong its lifespan.
Eliminating Persistent Odors
Cleaning a Dutch Oven can sometimes be a challenge, especially when faced with persistent odors. Luckily, there are natural remedies that can effectively deodorize your Dutch Oven. One popular method is to use vinegar and water. Simply add a mixture of equal parts vinegar and water to the Dutch Oven, bring it to a boil, and let it simmer for a few minutes. The vinegar will help neutralize any unpleasant smells. Another effective option is to bake baking soda in the Dutch Oven. Spread a generous amount of baking soda on the bottom of the oven and place it in a preheated oven (around 250°F) for about an hour. The baking soda will absorb odors, leaving your Dutch Oven smelling fresh. To prevent odors from developing in the first place, it’s important to clean your Dutch Oven thoroughly after each use. Remove any food residue and wash it with mild dish soap and warm water. Avoid using abrasive materials that could damage the enamel coating. Additionally, make sure to thoroughly dry your Dutch Oven before storing it, as moisture can contribute to odors. By following these best practices, you can keep your Dutch Oven clean and odor-free.
Must-have Tools For Effortless Maintenance
Cleaning a Dutch Oven is essential to maintain its longevity and performance. To effortlessly maintain your Dutch Oven, there are a few must-have tools you should consider.
Brushes and scrapers specifically designed for Dutch Ovens are an invaluable addition to your cleaning arsenal. They help remove stubborn food residue without damaging the seasoning or surface of your Dutch Oven. Look for brushes with sturdy bristles and scrapers with non-abrasive edges.
Another important aspect of effortless maintenance is protective gear for your hands and surfaces. High-quality oven mitts or gloves provide heat protection while handling your Dutch Oven, ensuring safety and comfort. Additionally, using heat-resistant trivets or silicone mats prevents accidental damage to your countertop or table.
Remember, investing in the right tools and protective gear can make cleaning your Dutch Oven a breeze and protect its integrity for years to come.
Top Cleaning Products For Optimal Results
Achieving a sparkling clean Dutch oven is essential for maintaining its longevity and ensuring the flavors of your dishes aren’t compromised. When it comes to eco-friendly and effective cleaning agents, there are numerous options available. One popular choice is baking soda. Its gentle abrasiveness and odor-absorbing properties make it ideal for tackling stubborn stains and removing odors. Simply create a paste with water and scrub the Dutch oven’s interior, then rinse thoroughly. Another natural option is vinegar, which works wonders for lifting grease and grime. Mix equal parts water and white vinegar, heat the solution in the Dutch oven, and let it sit for a few minutes before scrubbing and rinsing. For specialized products, consider stainless steel cleaner for a polished finish, or cast iron conditioner for seasoning and maintaining cast iron Dutch ovens. Remember to always follow the manufacturer’s instructions for optimal results. Happy cleaning!
Frequently Asked Questions On Cleaning A Dutch Oven
What Is The Best Way To Clean A Dutch Oven?
To clean a Dutch oven, start by soaking it in warm soapy water. Scrub with a gentle brush or sponge to remove any stuck-on food. Rinse thoroughly and dry completely. Avoid using harsh chemicals or abrasive cleaners that may damage the seasoning.
Apply a thin layer of oil to protect the surface. Simple and effective!
How Do You Clean The Inside Of An Enamel Dutch Oven?
To clean the inside of an enamel Dutch oven, scrub gently with warm soapy water using a soft brush or sponge. Rinse thoroughly and dry completely before storing. Avoid using harsh abrasives or metal utensils to prevent damage to the enamel coating.
How Do You Get Stains Out Of Enameled Cast Iron Pans?
To remove stains from enameled cast iron pans, gently scrub the surface with a mixture of baking soda and water. Alternatively, you can try soaking the pan in a solution of equal parts vinegar and water. Rinse thoroughly and dry completely before using again.
Can You Use Baking Soda And Vinegar To Clean Enameled Cast Iron?
Yes, you can use baking soda and vinegar to clean enameled cast iron. They are natural and effective cleaners that can remove stains and grime easily. Mix them together to create a paste, apply it to the surface, scrub gently, and rinse off with water afterward.
Conclusion
To ensure your Dutch oven remains in top condition, regular cleaning is essential. By following the simple steps outlined in this blog post, you can easily remove stubborn stains and burnt residue. Remember, a clean Dutch oven not only ensures better cooking results but also prolongs its lifespan.
So, make cleaning a part of your routine and enjoy the benefits of a well-maintained Dutch oven for years to come.