Last Updated on December 10, 2025
Imagine unlocking the full flavor and juiciness of your meat every time you cook. When you learn how to cook vacuum sealed meat, you take control of taste, texture, and freshness like never before.
Whether you’re aiming for tender steak, perfectly cooked chicken, or juicy pork, this simple technique can transform your meals. Ready to discover the secrets that chefs use to lock in flavor and keep your meat moist? Keep reading, and you’ll find easy tips that make every bite unforgettable.
Choosing The Right Meat
Choosing the right meat is key for cooking vacuum sealed meat. The meat’s cut and quality affect taste and texture. Picking good meat ensures a better meal every time.
Best Cuts For Vacuum Cooking
Some meat cuts work better with vacuum cooking. Tender cuts like ribeye, filet mignon, and sirloin stay juicy and soft. Tougher cuts like brisket and chuck become tender when cooked slowly. These cuts benefit from long, low-temperature cooking in vacuum bags.
Quality Indicators To Look For
Freshness matters most. Choose meat with a bright color and firm texture. Avoid meat that looks dull or feels sticky. Good marbling, or fat within the meat, adds flavor and keeps meat moist. Check the smell; it should be clean and mild. These signs show the meat is fresh and high quality.
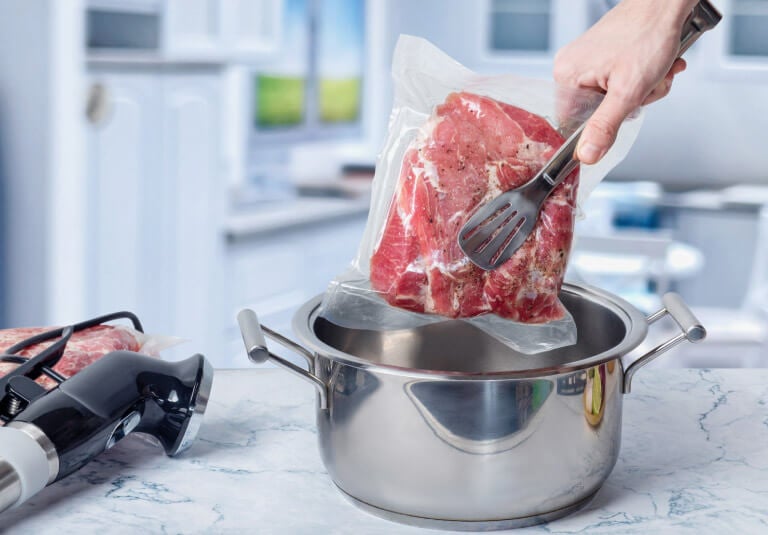
Preparing Meat For Vacuum Sealing
Preparing meat for vacuum sealing improves its taste and storage life. Proper prep keeps the meat fresh and ready to cook. It also helps the flavors soak in better. Taking time to prepare meat well can make a big difference.
Trimming And Seasoning Tips
Start by trimming excess fat and silver skin from the meat. Removing these parts prevents spoilage and uneven cooking. Season the meat lightly before sealing. Use salt, pepper, and simple herbs. Avoid using too much salt; it can draw out moisture. Keep seasoning even on all sides for balanced flavor.
Marinating Inside The Bag
Place the meat and marinade directly inside the vacuum bag. This method helps the meat absorb flavors quickly. Use a marinade with oil, acid, and spices for best results. Seal the bag tightly to keep marinade close to the meat. Marinate for at least 30 minutes or longer for stronger taste. This technique reduces mess and saves time.
Vacuum Sealing Techniques
Vacuum sealing meat helps keep it fresh and tasty for longer. It stops air from spoiling the meat and protects it from freezer burn. Using the right vacuum sealing techniques makes a big difference. These methods help keep the meat safe and preserve its flavor and texture.
Focus on two key steps. First, choose the right bags for sealing. Second, seal the bags without trapping air inside. Both steps improve the quality of your vacuum-sealed meat.
Proper Bag Selection
Choose bags made for vacuum sealing. They are thicker and stronger than regular plastic bags. Thicker bags protect meat from air and moisture better. Look for bags labeled BPA-free and food safe. Avoid thin or low-quality bags that can tear easily.
Size matters. Pick bags that fit your meat well. Too much extra space can let air stay inside. Cut bags larger than the meat size. Leave enough room for sealing at the top.
Sealing Without Air Pockets
Remove all air before sealing. Air pockets can cause freezer burn and spoil meat faster. Press the bag gently to push out air. Use a vacuum sealer for best results. It pulls air out completely and seals tightly.
Check for wrinkles or folds near the seal. They can let air leak in. Smooth the bag flat before sealing. Double seal for extra protection on tough cuts or large pieces.
Cooking Methods For Vacuum Sealed Meat
Cooking vacuum sealed meat offers unique benefits. It locks in flavors and juices. This method ensures tender and tasty results. Different cooking techniques suit vacuum sealed meat. Choosing the right method enhances texture and taste.
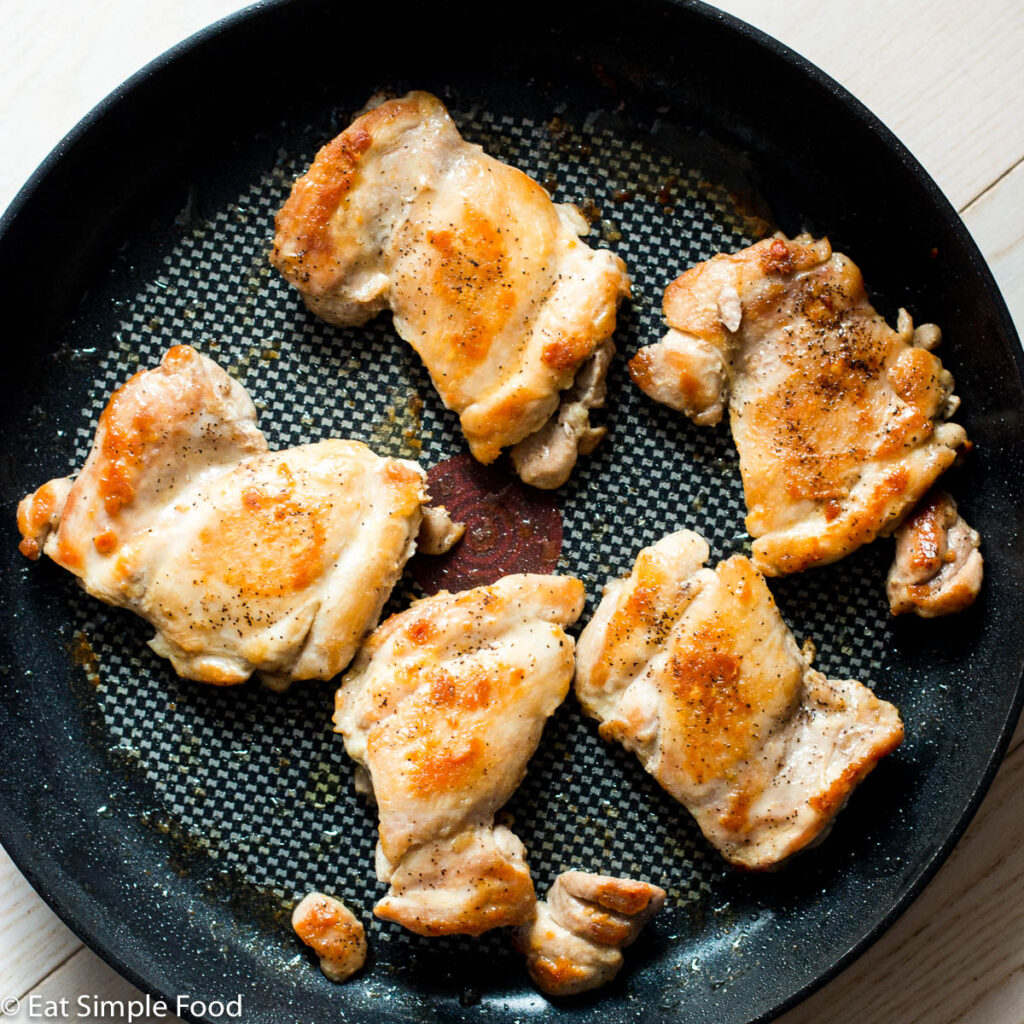
Sous Vide Precision Cooking
Sous vide cooking uses precise temperature control. Meat cooks evenly and stays juicy. The vacuum seal keeps moisture inside. This method cooks meat slowly in water. It prevents overcooking and keeps flavors strong. Perfect for steaks, chicken, and fish. It is easy and reliable.
Slow Cooking Alternatives
Slow cooking works well with vacuum sealed meat. It breaks down tough fibers gently. Meat becomes soft and full of flavor. Use a slow cooker or low oven heat. The vacuum seal protects meat from drying out. Ideal for roasts, stews, and brisket. Slow cooking saves time and effort.
Temperature And Timing Guidelines
Cooking vacuum sealed meat requires attention to temperature and timing. These factors ensure the meat cooks evenly and stays tender. Using the right temperature avoids overcooking or undercooking. Timing depends on the type and thickness of the meat. Understanding these guidelines helps get the best results.
Ideal Temps For Different Meats
Beef cooks well at 130°F to 140°F for medium-rare. Pork needs a slightly higher temperature, around 140°F to 145°F. Chicken should reach at least 150°F for safety. Fish cooks quickly at 120°F to 130°F. These temperatures keep meat juicy and safe to eat.
Adjusting Cook Time For Thickness
Thicker cuts need more time to heat through. A 1-inch steak cooks faster than a 2-inch steak. Add 30 minutes for each extra inch of thickness. Thin cuts like fish or chicken breasts cook in under an hour. Watch the time closely to avoid dryness or raw spots.

Credit: www.reddit.com
Finishing Touches
Finishing touches make vacuum-sealed meat taste perfect. After cooking, small steps add big flavor and better texture. These final actions improve your meal’s look and taste. They turn good meat into great meat.
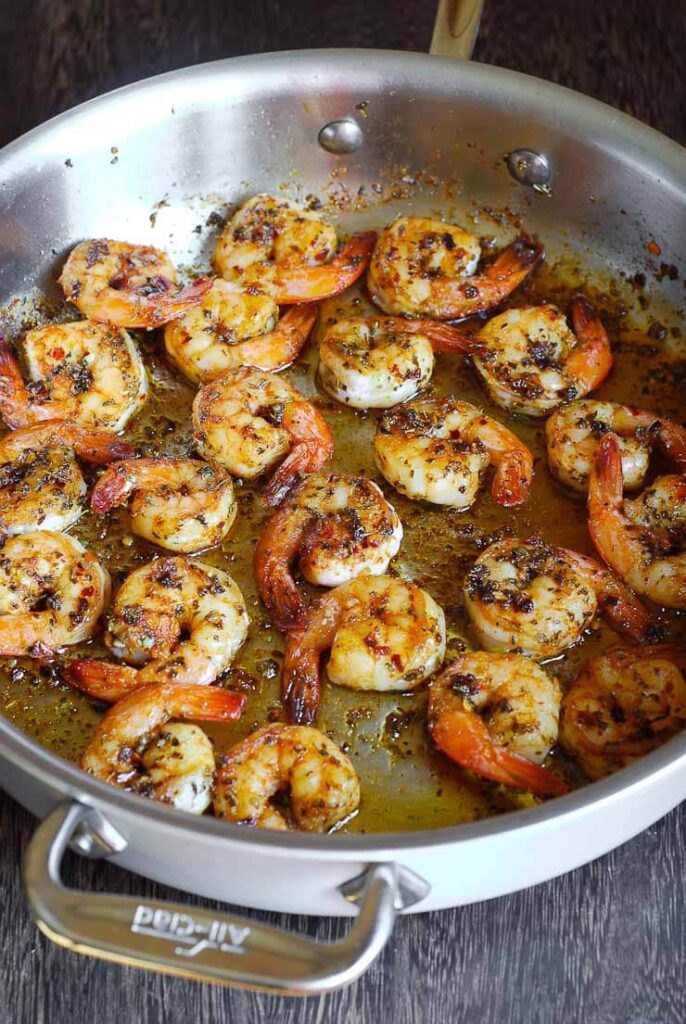
Searing For Flavor And Texture
Searing adds a rich, brown crust to the meat. It creates a tasty outer layer full of flavor. Use a hot pan or grill for a short time. Just 1 to 2 minutes on each side works well. This step locks in juices and adds a nice texture. Avoid overcooking by searing quickly and carefully.
Resting Meat After Cooking
Resting lets meat juices spread evenly inside. Cut the meat too soon, and juices will run out. Let the meat sit on a plate for 5 to 10 minutes. Cover it lightly with foil to keep heat. Resting makes the meat tender and juicy. It is a simple step that changes your meal.
Troubleshooting Common Issues
Cooking vacuum sealed meat can sometimes bring challenges. Some problems are common and easy to fix. Knowing these issues helps keep your meat tender and juicy. This section explains how to solve common cooking problems.
Avoiding Overcooked Meat
Overcooked meat becomes dry and tough. To stop this, control the cooking time carefully. Use a reliable thermometer to check meat temperature. Remove the meat as soon as it reaches the right temperature. Rest the meat before cutting to keep juices inside.
Preventing Texture Problems
Texture issues often come from uneven cooking or sealing mistakes. Make sure the vacuum seal is tight and air-free. Cook the meat at a steady, low temperature. Avoid sudden temperature changes that can affect texture. Pat meat dry before sealing to reduce water inside the bag.
Credit: www.mealpro.net
Storage And Safety Tips
Proper storage and safety are key to enjoying vacuum sealed meat. This helps keep meat fresh and safe to eat. Knowing the right steps protects your food from spoilage and bacteria. Follow these simple tips for the best results.
Keeping Vacuum Sealed Meat Fresh
Store vacuum sealed meat in the coldest part of the fridge. Keep the temperature below 40°F (4°C). Use freezer storage for longer preservation. Vacuum sealed meat can last much longer in the freezer than regular meat.
Check the seal before storing. A broken seal lets air in and spoils the meat. Keep the packaging dry and avoid punctures. Label the meat with date and type for easy tracking.
Safe Handling Practices
Wash hands before and after handling vacuum sealed meat. Use clean utensils and cutting boards to avoid cross-contamination. Thaw frozen meat in the fridge, not on the counter. Cook meat promptly after thawing to prevent bacteria growth.
Never refreeze meat that has fully thawed. Cook vacuum sealed meat to the right temperature to kill harmful bacteria. Use a meat thermometer for accuracy. Follow safe cooking times and temperatures for each meat type.
.jpg)
Credit: www.gastroland.fr
Frequently Asked Questions
How Long Can You Cook Vacuum Sealed Meat?
Vacuum sealed meat cooks faster due to lack of air. Cooking time depends on meat type and thickness. Generally, reduce cooking time by 20-30% compared to non-sealed meat. Always use a meat thermometer to ensure safe internal temperature.
Can Vacuum Sealed Meat Be Cooked Sous Vide?
Yes, vacuum sealed meat is ideal for sous vide cooking. The sealed bag retains juices and flavors during slow cooking. It prevents water from contacting the meat. This method ensures even cooking and tender results every time.
Is It Safe To Cook Meat In Vacuum Sealed Bags?
Cooking vacuum sealed meat is safe if bags are food-grade and heat-resistant. Avoid using regular plastic bags. Use bags specifically designed for cooking or sous vide. Always check packaging for temperature limits before cooking.
How Does Vacuum Sealing Affect Meat Flavor When Cooking?
Vacuum sealing locks in moisture and natural juices, enhancing flavor. It prevents oxidation and freezer burn, preserving freshness. Cooking sealed meat results in tender, juicy, and flavorful dishes. It also allows marinating flavors to penetrate deeply.
Conclusion
Cooking vacuum sealed meat keeps flavors locked and juices inside. It helps meat stay tender and cooks evenly every time. You save time and reduce food waste by sealing meat first. Using this method also makes meal prep easier and more organized.
Try it with different meats to enjoy tasty, healthy dishes. Cooking vacuum sealed meat is simple and worth trying soon.