Last Updated on May 23, 2026
To braise beef, first sear the meat on all sides. Then, cook it slowly in liquid until tender.
Braising beef is a fantastic way to achieve tender, flavorful meat. This cooking method involves two main steps: searing and slow cooking. Start by searing the beef in a hot pan to create a rich, brown crust. Then, cook it slowly in a liquid, such as broth or wine, to infuse the meat with deep flavors.
This technique works well for tougher cuts, breaking down the connective tissues and making the beef tender. The result is a delicious, melt-in-your-mouth dish that pairs perfectly with various sides. Braising is ideal for cozy family dinners or special occasions, making it a versatile addition to any cook’s repertoire.
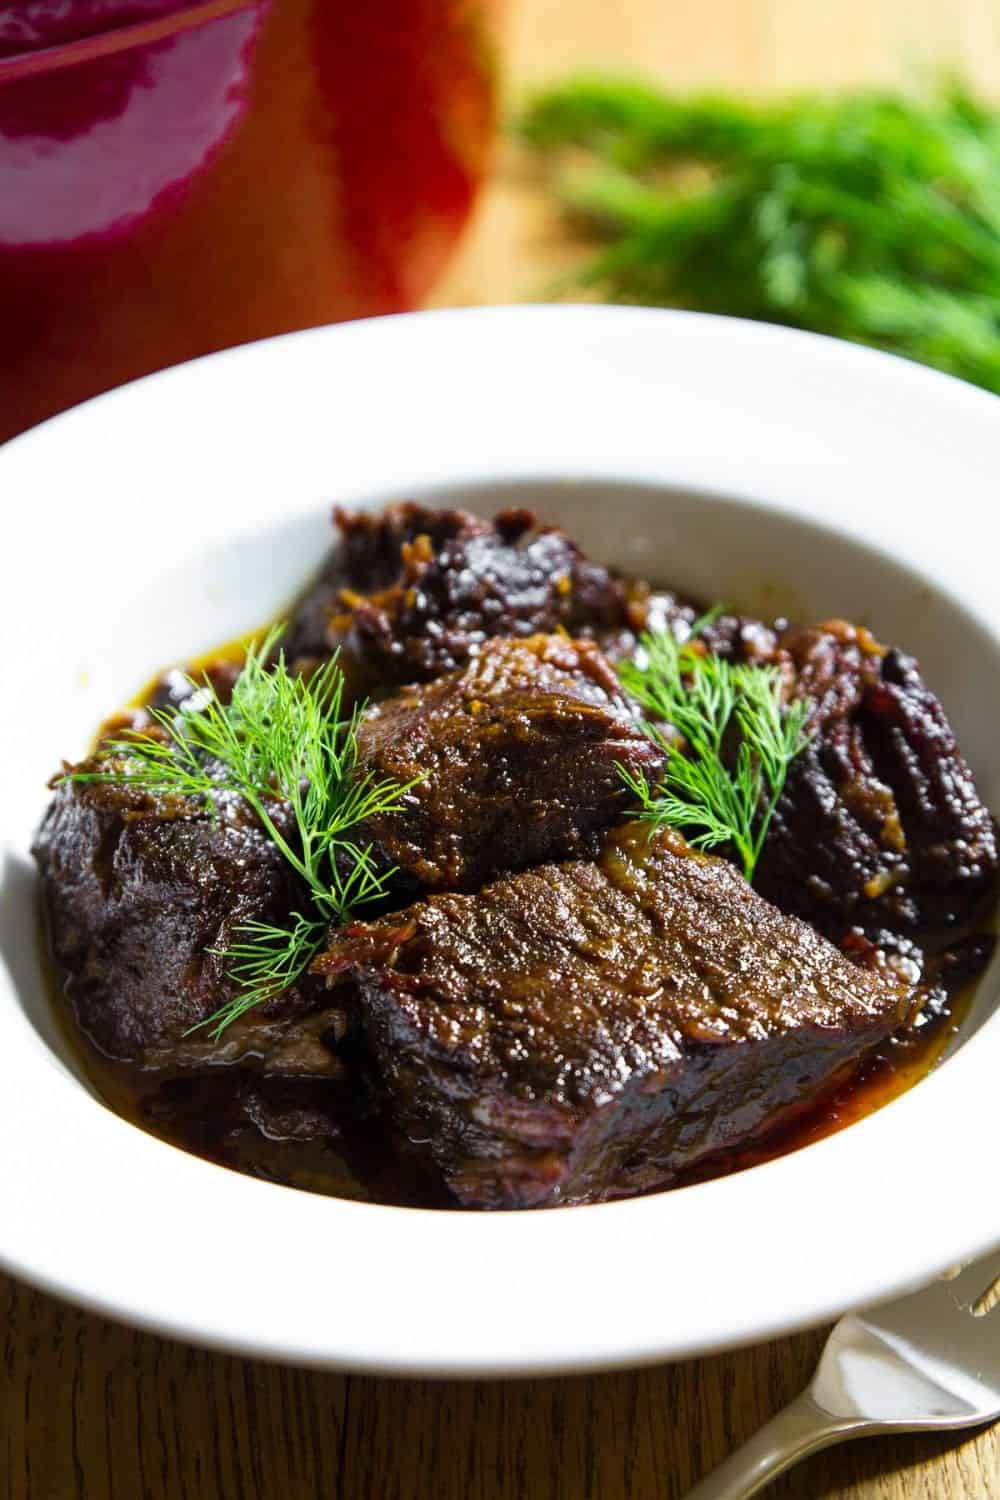
Credit: simplyhomecooked.com
Choosing The Right Cut
Understanding the right beef cut is essential for braising. The cut you select impacts tenderness and flavor. Braising involves slow-cooking, making certain cuts more suitable. Let’s explore the best cuts for braising and why the choice matters.
Best Cuts For Braising
Not all beef cuts are ideal for braising. Here are some top choices:
- Chuck Roast: This cut is from the shoulder. It has rich marbling.
- Brisket: Taken from the breast, it becomes tender and juicy.
- Short Ribs: These ribs are flavorful. They melt in your mouth.
- Oxtail: This cut is gelatinous. It adds depth to dishes.
- Round Roast: Leaner but still suitable for braising.
Why Cut Choice Matters
Choosing the right cut affects your dish’s quality. Here’s why:
- Tenderness: Cuts with connective tissue become tender.
- Flavor: Well-marbled cuts enhance richness and taste.
- Moisture: Proper cuts retain moisture during slow cooking.
Using the right cut ensures a successful braising experience. It guarantees a delicious and tender meal.
Prepping The Beef
Preparing beef for braising is a crucial step for a delicious meal. Properly prepping the beef ensures it cooks evenly and absorbs flavors well. Let’s break down this process into manageable steps.
Trimming Excess Fat
Trimming excess fat from the beef is essential. Fat can cause the dish to be greasy.
- Use a sharp knife to trim the fat.
- Leave a thin layer for flavor.
- Remove any large pieces of silver skin.
Removing excess fat also helps the meat brown better. This step enhances the overall texture of the dish.
Seasoning Techniques
Seasoning the beef is key to infusing it with flavor. You can use various techniques to season the meat effectively.
- Dry Rubs: Mix spices like salt, pepper, garlic powder, and paprika. Rub them evenly on the meat.
- Marinades: Combine ingredients like soy sauce, vinegar, and herbs. Soak the meat for at least one hour.
- Salt and Pepper: Keep it simple with just salt and pepper for a classic taste.
Use your hands to massage the seasoning into the meat. This helps the flavors penetrate deeper.
| Seasoning | Ingredients |
|---|---|
| Dry Rub | Salt, pepper, garlic powder, paprika |
| Marinade | Soy sauce, vinegar, herbs |
| Simple | Salt and pepper |
Proper seasoning enhances the beef’s natural flavors. Choose the method that suits your taste and recipe.
Searing For Flavor
Braising beef starts with a crucial step: searing. This technique locks in flavor, creating a rich, savory base for your dish. Let’s dive into why searing is important and how to do it properly.
Importance Of Searing
Searing beef enhances the taste significantly. The high heat caramelizes the meat’s surface, producing a deep, complex flavor. This process, known as the Maillard reaction, is essential for a delicious braise.
Without searing, the beef might taste bland. Searing also creates a beautiful brown crust, adding texture to the dish. This step is vital for a successful braise.
How To Sear Properly
Follow these steps to sear beef perfectly:
- Pat the Beef Dry: Use paper towels to remove moisture.
- Season Generously: Sprinkle salt and pepper on all sides.
- Heat the Pan: Use a heavy-bottomed pan for even heat.
- Add Oil: Choose a high smoke point oil like canola.
- Sear Each Side: Place beef in the hot pan. Don’t move it until it’s browned.
- Don’t Overcrowd: Sear in batches if necessary.
For best results, use a cast iron skillet. It retains and distributes heat well.
Remember, patience is key. Let each side brown without interruption. This develops maximum flavor.
| Step | Action |
|---|---|
| 1 | Pat the beef dry |
| 2 | Season generously |
| 3 | Heat the pan |
| 4 | Add oil |
| 5 | Sear each side |
| 6 | Don’t overcrowd |
Mastering searing sets the stage for a flavorful braise. Follow these steps, and your beef will taste amazing.
Credit: amandascookin.com
Building The Braising Liquid
Braising beef requires a flavorful braising liquid. This liquid enhances the beef’s taste and texture. Let’s dive into the essentials of building the perfect braising liquid.
Choosing Your Base
The base of your braising liquid is crucial. A good base adds depth to your dish. Here are some popular choices:
- Broth: Beef, chicken, or vegetable broth works well.
- Wine: Red or white wine can enhance the flavor.
- Beer: Dark beer adds a rich, malty taste.
- Tomato Sauce: Adds a tangy and sweet flavor.
Choose a base that complements your beef dish.
Adding Aromatics
Aromatics provide the braising liquid with depth and complexity. They are essential for a rich, flavorful outcome. Consider these common aromatics:
- Onions: Sliced or chopped, they add sweetness and depth.
- Garlic: Crushed or minced, it gives a robust flavor.
- Carrots: Chopped, they add a slight sweetness.
- Celery: Diced, it introduces a subtle earthiness.
- Herbs: Thyme, rosemary, and bay leaves are popular choices.
Start by sautéing these aromatics in your pot. This step releases their flavors, enhancing your braising liquid.
Follow these steps to create a delicious braising liquid. Your beef will be tender and flavorful.
Cooking Methods
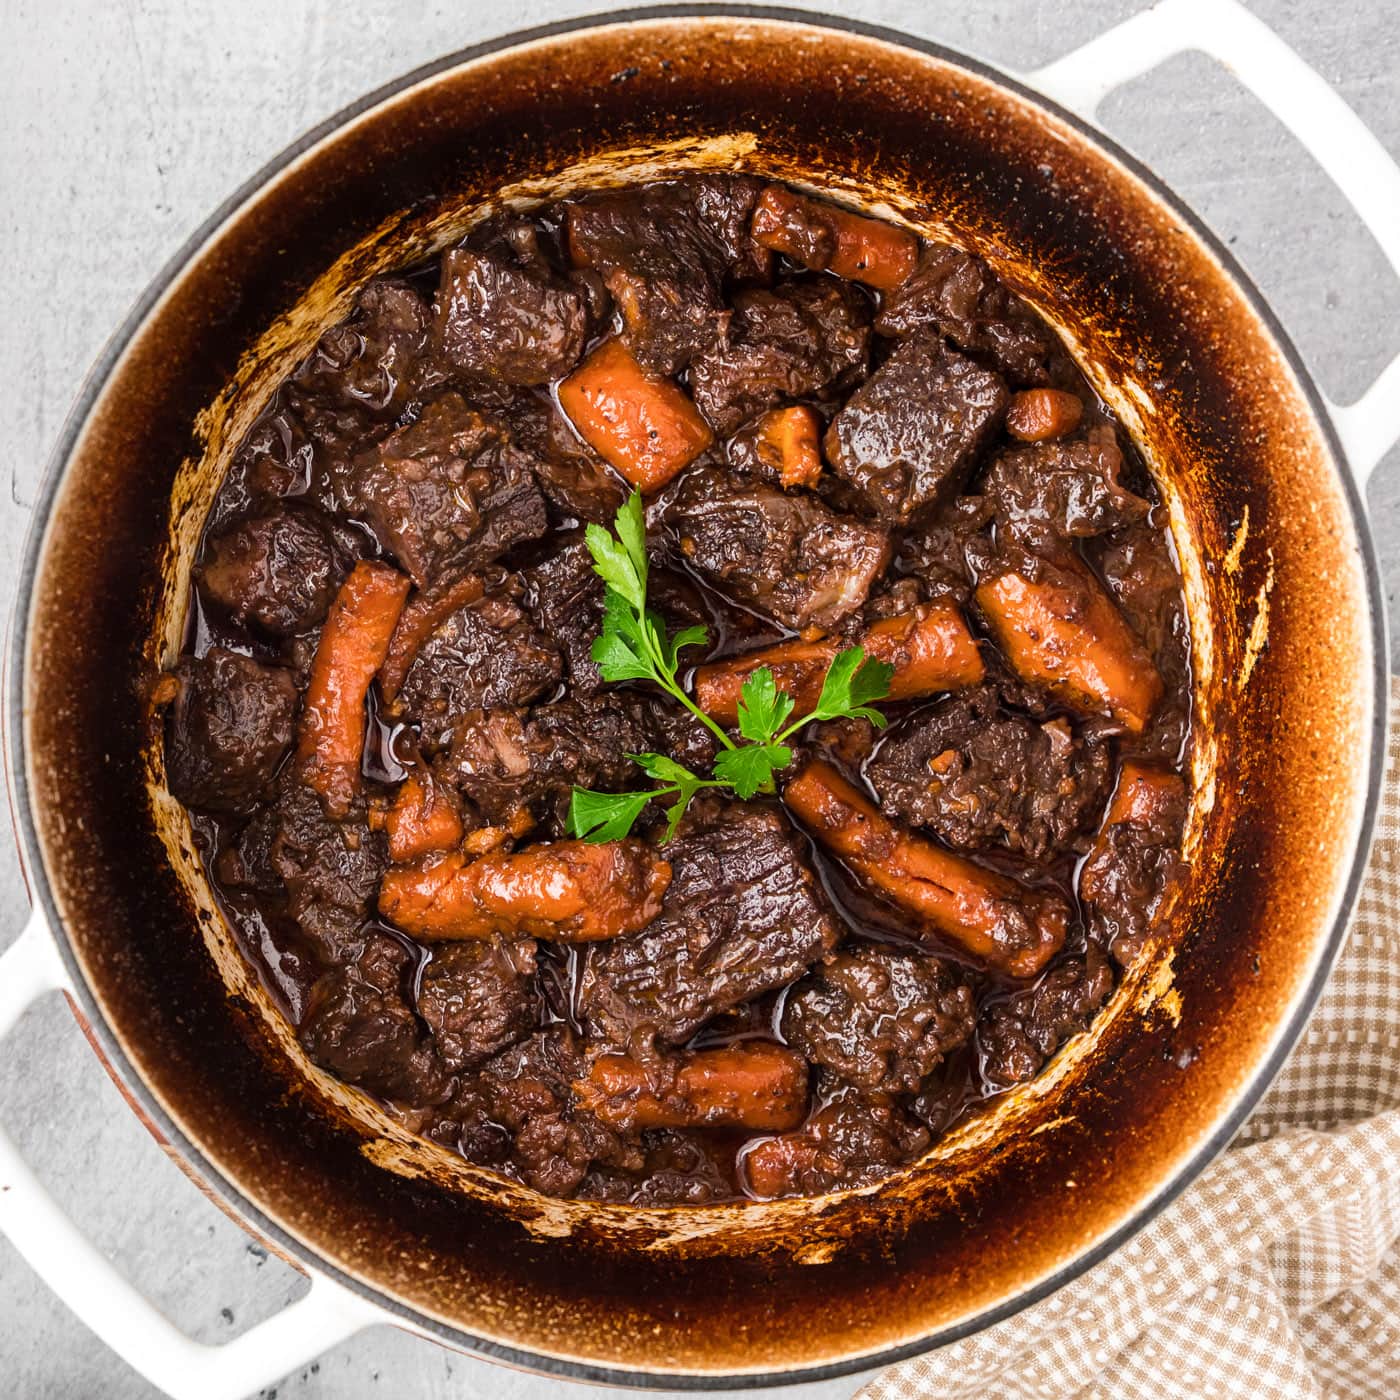
Braising beef can be done in many ways. The most common methods are using an oven, stovetop, or slow cooker. Each method has its own benefits and unique results.
Oven Vs. Stovetop
Braising beef in the oven provides even heat distribution. This helps the meat to cook slowly and evenly. Use a heavy, oven-safe pot with a tight lid.
- Preheat your oven to 325°F (165°C).
- Brown the beef on the stovetop first.
- Add your liquid and vegetables.
- Cover the pot and place it in the oven.
- Cook for 2 to 3 hours until tender.
Stovetop braising also works well. It requires a bit more attention to ensure even cooking. A heavy pot with a tight lid is essential.
- Brown the beef in the pot.
- Add liquid and vegetables.
- Bring to a simmer, then reduce the heat to low.
- Cover the pot and cook for 2 to 3 hours.
- Check occasionally to ensure it doesn’t dry out.
Slow Cooker Options
Using a slow cooker is a convenient method. It requires minimal supervision and delivers tender results. Here’s how to do it:
- Brown the beef in a skillet.
- Transfer the beef to the slow cooker.
- Add liquid and vegetables.
- Set the cooker to low heat.
- Cook for 6 to 8 hours until tender.
Each method of braising beef has its own perks. Choose based on your time and equipment available.
:max_bytes(150000):strip_icc()/ALR-8513083-braised-beef-VAT-4x3-82c7365bb36d4e77ba7368b33ca3f93e.jpg)
Credit: www.allrecipes.com
Monitoring The Braise
Monitoring your braised beef ensures it cooks perfectly. This means checking doneness and adjusting liquid levels. These steps are crucial for juicy and tender beef.
Checking For Doneness
Check the beef for doneness by using a fork. Insert the fork into the beef. The fork should go in easily. If it does, the beef is tender. If not, it needs more time.
Another way is to use a meat thermometer. Insert it into the thickest part. The ideal temperature should be around 190°F to 200°F. At this temperature, the beef is perfectly braised.
Adjusting Liquid Levels
Check the liquid levels every 30 minutes. The liquid should cover at least half the beef. If too much evaporates, add more broth or water.
Too much liquid can dilute the flavors. In this case, remove the lid to let some liquid evaporate. This will make the sauce thicker and richer.
Here is a quick reference table:
| Action | Result |
|---|---|
| Add liquid | Prevents drying out |
| Remove lid | Thickens sauce |
Resting And Serving
After mastering the art of braising beef, the next crucial steps are resting and serving the meat. These steps ensure your efforts yield a tender and flavorful dish. Let’s dive into the specifics of letting the meat rest and the best serving practices.
Letting The Meat Rest
Once the braising process is complete, allow the meat to rest. This step is vital for retaining moisture and flavor. Cover the meat with foil and let it sit for 10-15 minutes. This resting period helps the juices redistribute evenly throughout the beef.
During this time, you can also prepare your side dishes or sauce. A well-rested piece of beef will be easier to carve and serve. Make sure not to skip this important step.
Best Serving Practices
Serving braised beef can be an art. Here are some tips to enhance your presentation:
- Slicing: Use a sharp knife to slice the meat against the grain. This ensures each bite is tender and easy to chew.
- Plating: Arrange the slices neatly on a warm plate. Add a spoonful of the braising liquid over the meat for extra flavor.
- Garnishing: Add fresh herbs like parsley or thyme for a touch of color and aroma.
For a complete meal, consider pairing your braised beef with the following side dishes:
| Side Dish | Description |
|---|---|
| Mashed Potatoes | Rich and creamy, perfect for soaking up the braising liquid. |
| Steamed Vegetables | Light and healthy, a great contrast to the hearty beef. |
| Roasted Carrots | Sweet and caramelized, adding a natural sweetness to the meal. |
Follow these tips to impress your guests with a delicious and visually appealing dish. Proper resting and serving can elevate your braised beef to a restaurant-quality meal.
Troubleshooting Common Issues
Braising beef can be tricky. Sometimes, things don’t go as planned. Here are solutions to common issues you might face.
Tough Meat Solutions
If your beef turns out tough, don’t worry. Here are some quick fixes:
- Cook longer: Tough meat often needs more time.
- Check liquid levels: Ensure there’s enough liquid to keep the beef moist.
- Low and slow: Lower the heat and cook for a longer time.
Remember, patience is key. Good braised beef takes time.
Balancing Flavors
Sometimes the flavors don’t balance right. Here are some tips:
- Too salty: Add a raw potato to absorb excess salt.
- Too bland: Add salt, pepper, or a splash of vinegar.
- Too sour: Add a pinch of sugar or honey.
Fine-tune your dish until it tastes just right.
Here’s a quick reference table for flavor adjustments:
| Problem | Solution |
|---|---|
| Too Salty | Add a raw potato |
| Too Bland | Add salt, pepper, or vinegar |
| Too Sour | Add sugar or honey |
With these tips, your braised beef will turn out perfect.
Frequently Asked Questions
What Is Braising?
Braising is a cooking method combining searing and slow cooking in liquid. This makes meat tender and flavorful.
How Long To Braise Beef?
Braising beef usually takes 2 to 3 hours. Cooking time depends on the cut and size of the beef.
What Cuts Of Beef Are Best For Braising?
Chuck, brisket, and shank are ideal cuts for braising. They become tender when cooked slowly.
Do You Cover Beef While Braising?
Yes, cover beef while braising to retain moisture. This ensures even cooking and tender results.
Conclusion
Mastering the art of braising beef can elevate your cooking skills. This method ensures tender, flavorful meat every time. Practice patience, and enjoy the rich, hearty dishes you create. With these tips, you’ll impress friends and family alike. Happy cooking and savor every delicious bite!