Last Updated on March 7, 2026
Your Keurig is your go-to for quick, delicious coffee, but over time, it can build up with residue and minerals that affect taste and performance. If you’ve noticed your coffee isn’t as fresh or your machine is acting up, it’s time for a deep clean.
You might be wondering how to do this without wasting time or risking damage. This guide will walk you through simple, effective steps to get your Keurig sparkling clean and brewing like new again. Keep reading—you’ll be sipping perfect coffee in no time.
Why Deep Clean Your Keurig
Keeping your Keurig clean is key to enjoying great coffee every day. Over time, minerals and coffee oils build up inside the machine. These can change the flavor of your coffee and cause problems. Deep cleaning removes these deposits and keeps your Keurig working well. It also helps your machine last longer. Regular deep cleaning means better tasting coffee and fewer issues.
Benefits Of Regular Cleaning
Regular cleaning keeps your Keurig fresh and safe. It removes old coffee oils that make your drinks bitter. Cleaning stops mold and bacteria from growing inside. Your coffee will taste pure and smooth every time. A clean machine also runs faster and uses less energy. It helps prevent leaks and clogs. Keeping up with cleaning saves money on repairs and replacements.
Common Issues From Neglect
Neglecting deep cleaning can cause many problems. Mineral buildup clogs the water lines. This leads to slow brewing or no water flow. Coffee oils can cause bad smells and strange tastes. Mold growth inside the machine can be harmful to health. Ignoring cleaning may cause the Keurig to break down early. You might need to buy a new machine sooner. Regular cleaning helps avoid all these issues and keeps your coffee great.
Gathering Cleaning Supplies
Before deep cleaning your Keurig, gather all necessary supplies. Being prepared makes the cleaning process smooth and efficient. Collecting the right tools ensures a thorough clean and keeps your coffee tasting fresh.
Essential Tools And Materials
- White vinegar or water for descaling
- Clean, soft cloths or sponges
- Paper towels
- A small brush or toothbrush
- Measuring cup
- Disposable gloves (optional)
- Access to fresh water
Optional Cleaning Products
- Mild dish soap for extra cleaning power
- Isopropyl alcohol to disinfect
- Q-tips for tight spaces
- Commercial Keurig cleaning pods or solutions
- Soft toothbrush for deeper scrubbing
Preparing Your Keurig
Preparing your Keurig for a deep clean is the first step to keep it working well. It makes the cleaning process safe and easy. Taking time now helps avoid damage and keeps your coffee tasting fresh.
This stage involves simple actions like turning off the machine and taking apart key components. These steps help remove built-up residue and improve the machine’s performance.
Turning Off And Unplugging
Always turn off your Keurig before cleaning. Press the power button to switch it off. Then, unplug the machine from the wall outlet. This stops any electricity flow and prevents accidents during cleaning. Safety first.
Removing Parts For Cleaning
Take out the water reservoir carefully. Empty any remaining water. Remove the drip tray and the pod holder. These parts can hold coffee oils and debris. Cleaning them separately helps remove hidden dirt. Use warm soapy water and a soft cloth to clean all parts. Let them dry fully before putting them back.
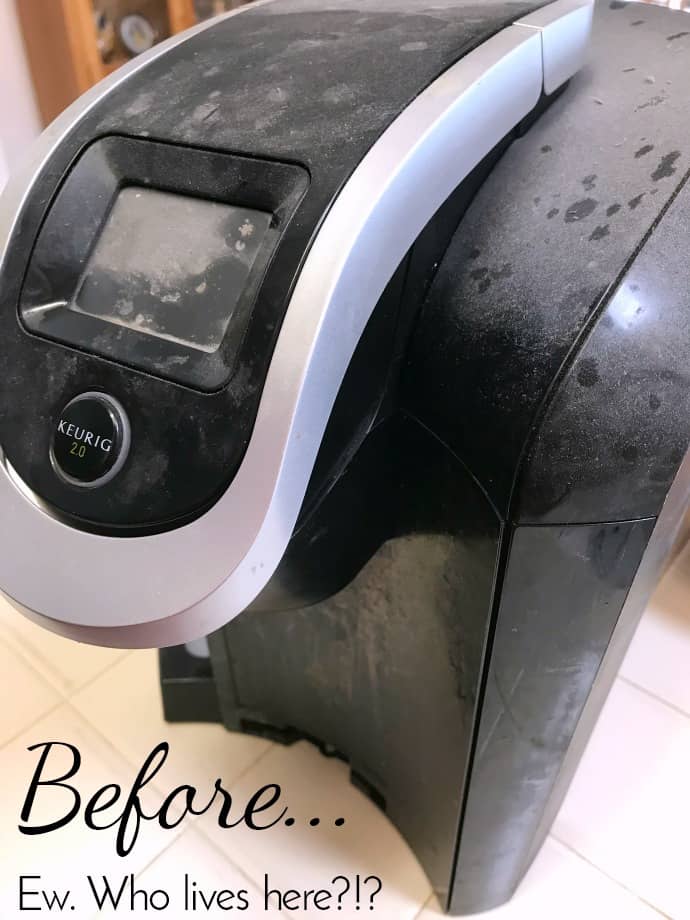
Credit: simpleandseasonal.com
Cleaning The Exterior And Drip Tray
Cleaning the exterior and drip tray of your Keurig keeps it looking good and working well. Dirt and coffee spills can build up over time. Removing these helps your machine last longer.
Regular cleaning stops stains and bad smells. It also makes your coffee taste better. This part of deep cleaning is simple and quick.
Wiping Surfaces
Use a soft cloth dampened with warm water. Gently wipe the machine’s outside surfaces. Focus on the buttons, lid, and sides. Avoid harsh cleaners to protect the finish.
Remove any dust or coffee splashes. Dry the surfaces with a clean towel. Keep your Keurig looking fresh and neat.
Emptying And Washing Tray
Take out the drip tray carefully. Pour out any collected liquid. Wash the tray with warm, soapy water.
Rinse well to remove all soap. Dry the tray completely before putting it back. Clean trays stop mold and keep your kitchen clean.
Descaling The Machine
Descaling a Keurig machine is essential to keep it working well. Over time, minerals build up inside. This can block the water flow and affect the coffee taste. Regular descaling removes these mineral deposits. It helps the machine last longer and brew better coffee.
Choosing A Descaling Solution
Pick a descaling solution made for coffee makers. Some use white vinegar. Vinegar is natural and cheap. Others prefer commercial descalers. These are safe and fast. Avoid harsh chemicals. They may damage your machine. Read the label before buying. Use only recommended products for Keurig.
Step-by-step Descaling Process
Start by emptying the water reservoir. Pour the descaling solution into the reservoir. Fill it with fresh water if needed. Turn on the Keurig and place a large mug under the spout. Run the brew cycle without inserting a K-cup. Repeat until the reservoir is empty.
Let the machine sit for 30 minutes. This lets the solution break down minerals. After waiting, rinse the reservoir well. Fill it with fresh water. Run several brew cycles with water only. This removes any leftover solution. Your Keurig is now clean and ready to use.
Cleaning The Water Reservoir
The water reservoir is a key part of your Keurig. It holds the water needed for brewing coffee. Over time, dirt and minerals build up inside. This buildup can affect the taste of your coffee. It can also cause problems with the machine. Cleaning the water reservoir is important to keep your Keurig working well.
Removing And Washing
First, unplug the Keurig. Take the water reservoir off the machine. Empty any water left inside. Use warm, soapy water to wash the reservoir. A soft cloth or sponge works best. Avoid harsh scrubbing to prevent damage. Rinse the reservoir well with clean water. Dry it with a clean towel before putting it back.
Preventing Mold And Bacteria
Keep the reservoir dry when not in use. Empty and rinse it every few days. Use fresh water each time you refill. Clean the reservoir weekly to stop mold growth. Avoid leaving water standing for long periods. Regular cleaning helps prevent bacteria build-up. This keeps your coffee fresh and safe to drink.
Cleaning The Needle And Brew Head
Cleaning the needle and brew head is a key step in deep cleaning your Keurig. These parts handle the water flow and coffee extraction. Over time, coffee grounds and mineral deposits build up here. This buildup blocks water and affects coffee taste. Regular cleaning keeps your machine working well and your coffee fresh.
Removing Clogs
Start by unplugging your Keurig for safety. Open the brew head to expose the needle. Use a paperclip or a needle to gently clear any blockages. Push the tool through the small holes in the needle. This removes coffee grounds stuck inside. Be careful not to damage the needle. Wipe the area with a damp cloth to remove loose debris.
Using Tools For Deep Cleaning
For a deeper clean, remove the drip tray and water reservoir. Use a toothbrush or small brush to scrub the brew head. Clean the needle with a specialized Keurig cleaning tool if you have one. Soak removable parts in warm, soapy water. Rinse thoroughly before reassembling. Run a few water-only brew cycles to flush out any residue. This keeps your machine clean and your coffee tasting great.
Reassembling And Testing
After cleaning your Keurig, reassembling and testing are key. These steps make sure your machine works well and stays clean. Take your time to put parts back correctly. Testing helps check if everything runs smoothly.
Putting Parts Back
Start by placing the water reservoir back in its spot. Make sure it fits tightly to avoid leaks. Next, reattach the drip tray and the pod holder. Align each part carefully. Press gently until you hear a click. This confirms parts are secure.
Check the needle that punctures the coffee pods. It should be clean and free of debris. Place the pod holder cover on top. Ensure it closes properly without force. A good fit prevents coffee grounds from spilling.
Running A Test Brew
Fill the reservoir with fresh water. Turn on your Keurig and wait for it to heat up. Place a mug under the coffee outlet. Run a brew cycle without a coffee pod. This flushes out any leftover cleaning solution.
Listen for normal brewing sounds. Watch the water flow smoothly into the mug. If the machine stops or leaks, turn it off and check parts again. Repeat the test brew once more to confirm it works well.
Tips For Maintaining A Clean Keurig
Keeping your Keurig clean helps it work well for a long time. Dirt and old coffee can build up inside. This can change the taste of your coffee. It can also cause your machine to stop working.
Follow these tips to keep your Keurig fresh and clean. Small steps every day make a big difference.
Frequency Of Cleaning
Clean your Keurig every 3 to 6 months. This deep cleaning removes buildup inside the machine. Some parts need cleaning more often. For example, the water reservoir should be cleaned monthly. If you use your Keurig a lot, clean it more often.
Daily Care Habits
Empty the drip tray each day. Wipe the machine’s outside with a damp cloth. Use fresh water in the reservoir daily. Remove and clean the pod holder weekly. These small tasks keep your Keurig ready to use. They stop mold and old coffee from building up.

Credit: www.youtube.com

Credit: aqracertification.rs
Frequently Asked Questions
How Often Should I Deep Clean My Keurig?
Deep clean your Keurig every 3 to 6 months. Frequent cleaning prevents mold, mineral buildup, and ensures better coffee taste. Regular maintenance extends your machine’s lifespan and keeps it functioning efficiently.
What Supplies Do I Need To Deep Clean A Keurig?
You need white vinegar, water, a clean cloth, and a small brush. Vinegar helps dissolve mineral deposits, while the brush cleans needle and pods areas. These simple items make the deep cleaning process effective and easy.
Can I Use Vinegar To Clean My Keurig Safely?
Yes, white vinegar is safe for cleaning Keurig machines. It removes buildup and sanitizes internal parts naturally. Always run multiple water-only cycles afterward to clear vinegar taste before brewing coffee.
How Do I Descale My Keurig Machine Properly?
Fill the water reservoir with equal parts white vinegar and water. Run brew cycles without a coffee pod until empty. Then, run several cycles with plain water to rinse thoroughly and remove vinegar residue.
Conclusion
Regular deep cleaning keeps your Keurig working well. It removes buildup that affects taste and machine health. Clean your machine every few months for best results. Use simple steps and safe cleaning products. A clean Keurig means better coffee every time.
Take a little time today to care for your brewer. Your coffee will taste fresher, and your machine will last longer. Small efforts make a big difference in daily coffee enjoyment. Keep your Keurig fresh and ready for each cup.