Last Updated on May 19, 2026
Making buttermilk from cream is simple and quick. You only need cream and a bit of time.
Buttermilk adds a special touch to recipes, making them tastier. Store-bought buttermilk is easy to get, but homemade is fresher and better. With cream, you can whip up buttermilk at home. This helps avoid any added preservatives and keeps it natural.
Plus, it’s a great way to use up extra cream. Whether you are baking, cooking, or just need buttermilk for a recipe, making your own is a handy skill. Let’s dive into how you can make buttermilk from cream with ease.

Credit: www.mightymrs.com
Preparing The Cream
Making buttermilk from cream is easier than you might think. The first step is to prepare the cream properly. This crucial step ensures that your buttermilk turns out perfect every time. Let’s dive into the details on how to prepare the cream.
Choosing The Right Cream
Not all cream is created equal. For the best buttermilk, you need the right type of cream. Always use heavy cream or whipping cream. These creams have a higher fat content, which is essential for making buttermilk. Avoid using light cream or half-and-half as they do not contain enough fat.
When choosing your cream, check the label for the fat percentage. You want a cream with at least 36% fat. This will give you the best results. A quick trip to your local grocery store, and you’ll find plenty of options.
Measuring The Cream
Now that you have the right cream, it’s time to measure it. Accurate measurement is key to achieving the perfect consistency in your buttermilk. Here’s a simple way to do it:
- Take a measuring cup.
- Pour the cream into the cup until it reaches the desired amount.
For a small batch of buttermilk, you can start with 1 cup of cream. If you need more, just scale up the measurements accordingly. Remember, consistency is key!
And there you have it! You’ve successfully prepared your cream for making buttermilk. Isn’t it exciting to know that you’re just a few steps away from delicious homemade buttermilk? Let’s move on to the next step and make some magic happen in your kitchen!
Churning Process
The churning process is essential for making buttermilk from cream. This traditional method separates the butter from the liquid, resulting in fresh buttermilk. It’s a straightforward process but requires patience and the right techniques.
Setting Up The Equipment
Begin by gathering your equipment. You will need a churn, a bowl, and a wooden spoon. A modern electric churn can speed up the process. Ensure the equipment is clean. This helps in achieving the best results. Place your cream in the churn. Secure the lid tightly.
Churning Techniques
Start churning the cream by turning the handle of the churn. Consistent, steady movements are key. The cream will begin to thicken. Continue churning until you see clumps forming. This indicates that butter is separating from the buttermilk. For an electric churn, set it to a low speed. Gradually increase the speed as the cream thickens. Once you have a solid mass, stop churning. Drain the buttermilk into a bowl. Your fresh buttermilk is now ready to use.
Separating The Buttermilk
Separating the buttermilk from cream is an essential step to make buttermilk at home. This process might seem a bit daunting, but with the right techniques, it can be quite simple and satisfying. Here, we’ll break down the steps to help you identify and collect buttermilk from cream with ease.
Identifying The Buttermilk
First things first, how do you know what buttermilk looks like? Well, when you churn cream, it splits into two parts: butter and buttermilk. Butter is the solid part, and buttermilk is the liquid. The buttermilk will be a thin, watery liquid. Here’s how you can spot it:
- Consistency: Buttermilk is much thinner than cream.
- Color: It has a slightly cloudy appearance, not as creamy white as the cream.
- Smell: It has a tangy smell, unlike the sweet smell of cream.
Collecting The Buttermilk
Once you’ve identified the buttermilk, the next step is to collect it. This part is straightforward but requires a bit of patience. Here’s how you can do it:
- Strain the Mixture: Use a strainer or cheesecloth to separate the buttermilk from the butter. Pour the churned cream into the strainer and let the liquid pass through.
- Squeeze the Butter: After straining, gently squeeze the butter to extract any remaining buttermilk. You can use your hands or a spatula.
- Collect in a Bowl: Finally, collect the buttermilk in a bowl or jar. Make sure to use a clean container to avoid contamination.
So there you have it, folks! With these simple steps, you can easily separate and collect buttermilk from cream. It’s a rewarding process that yields fresh, homemade buttermilk for your recipes. Happy churning!
| Steps | Tips |
|---|---|
| Identify Buttermilk | Look for thin, watery liquid with a tangy smell. |
| Strain the Mixture | Use a strainer or cheesecloth to separate the liquid. |
| Squeeze the Butter | Extract remaining buttermilk using hands or spatula. |
| Collect in a Bowl | Use a clean container to store the buttermilk. |
Credit: iambaker.net
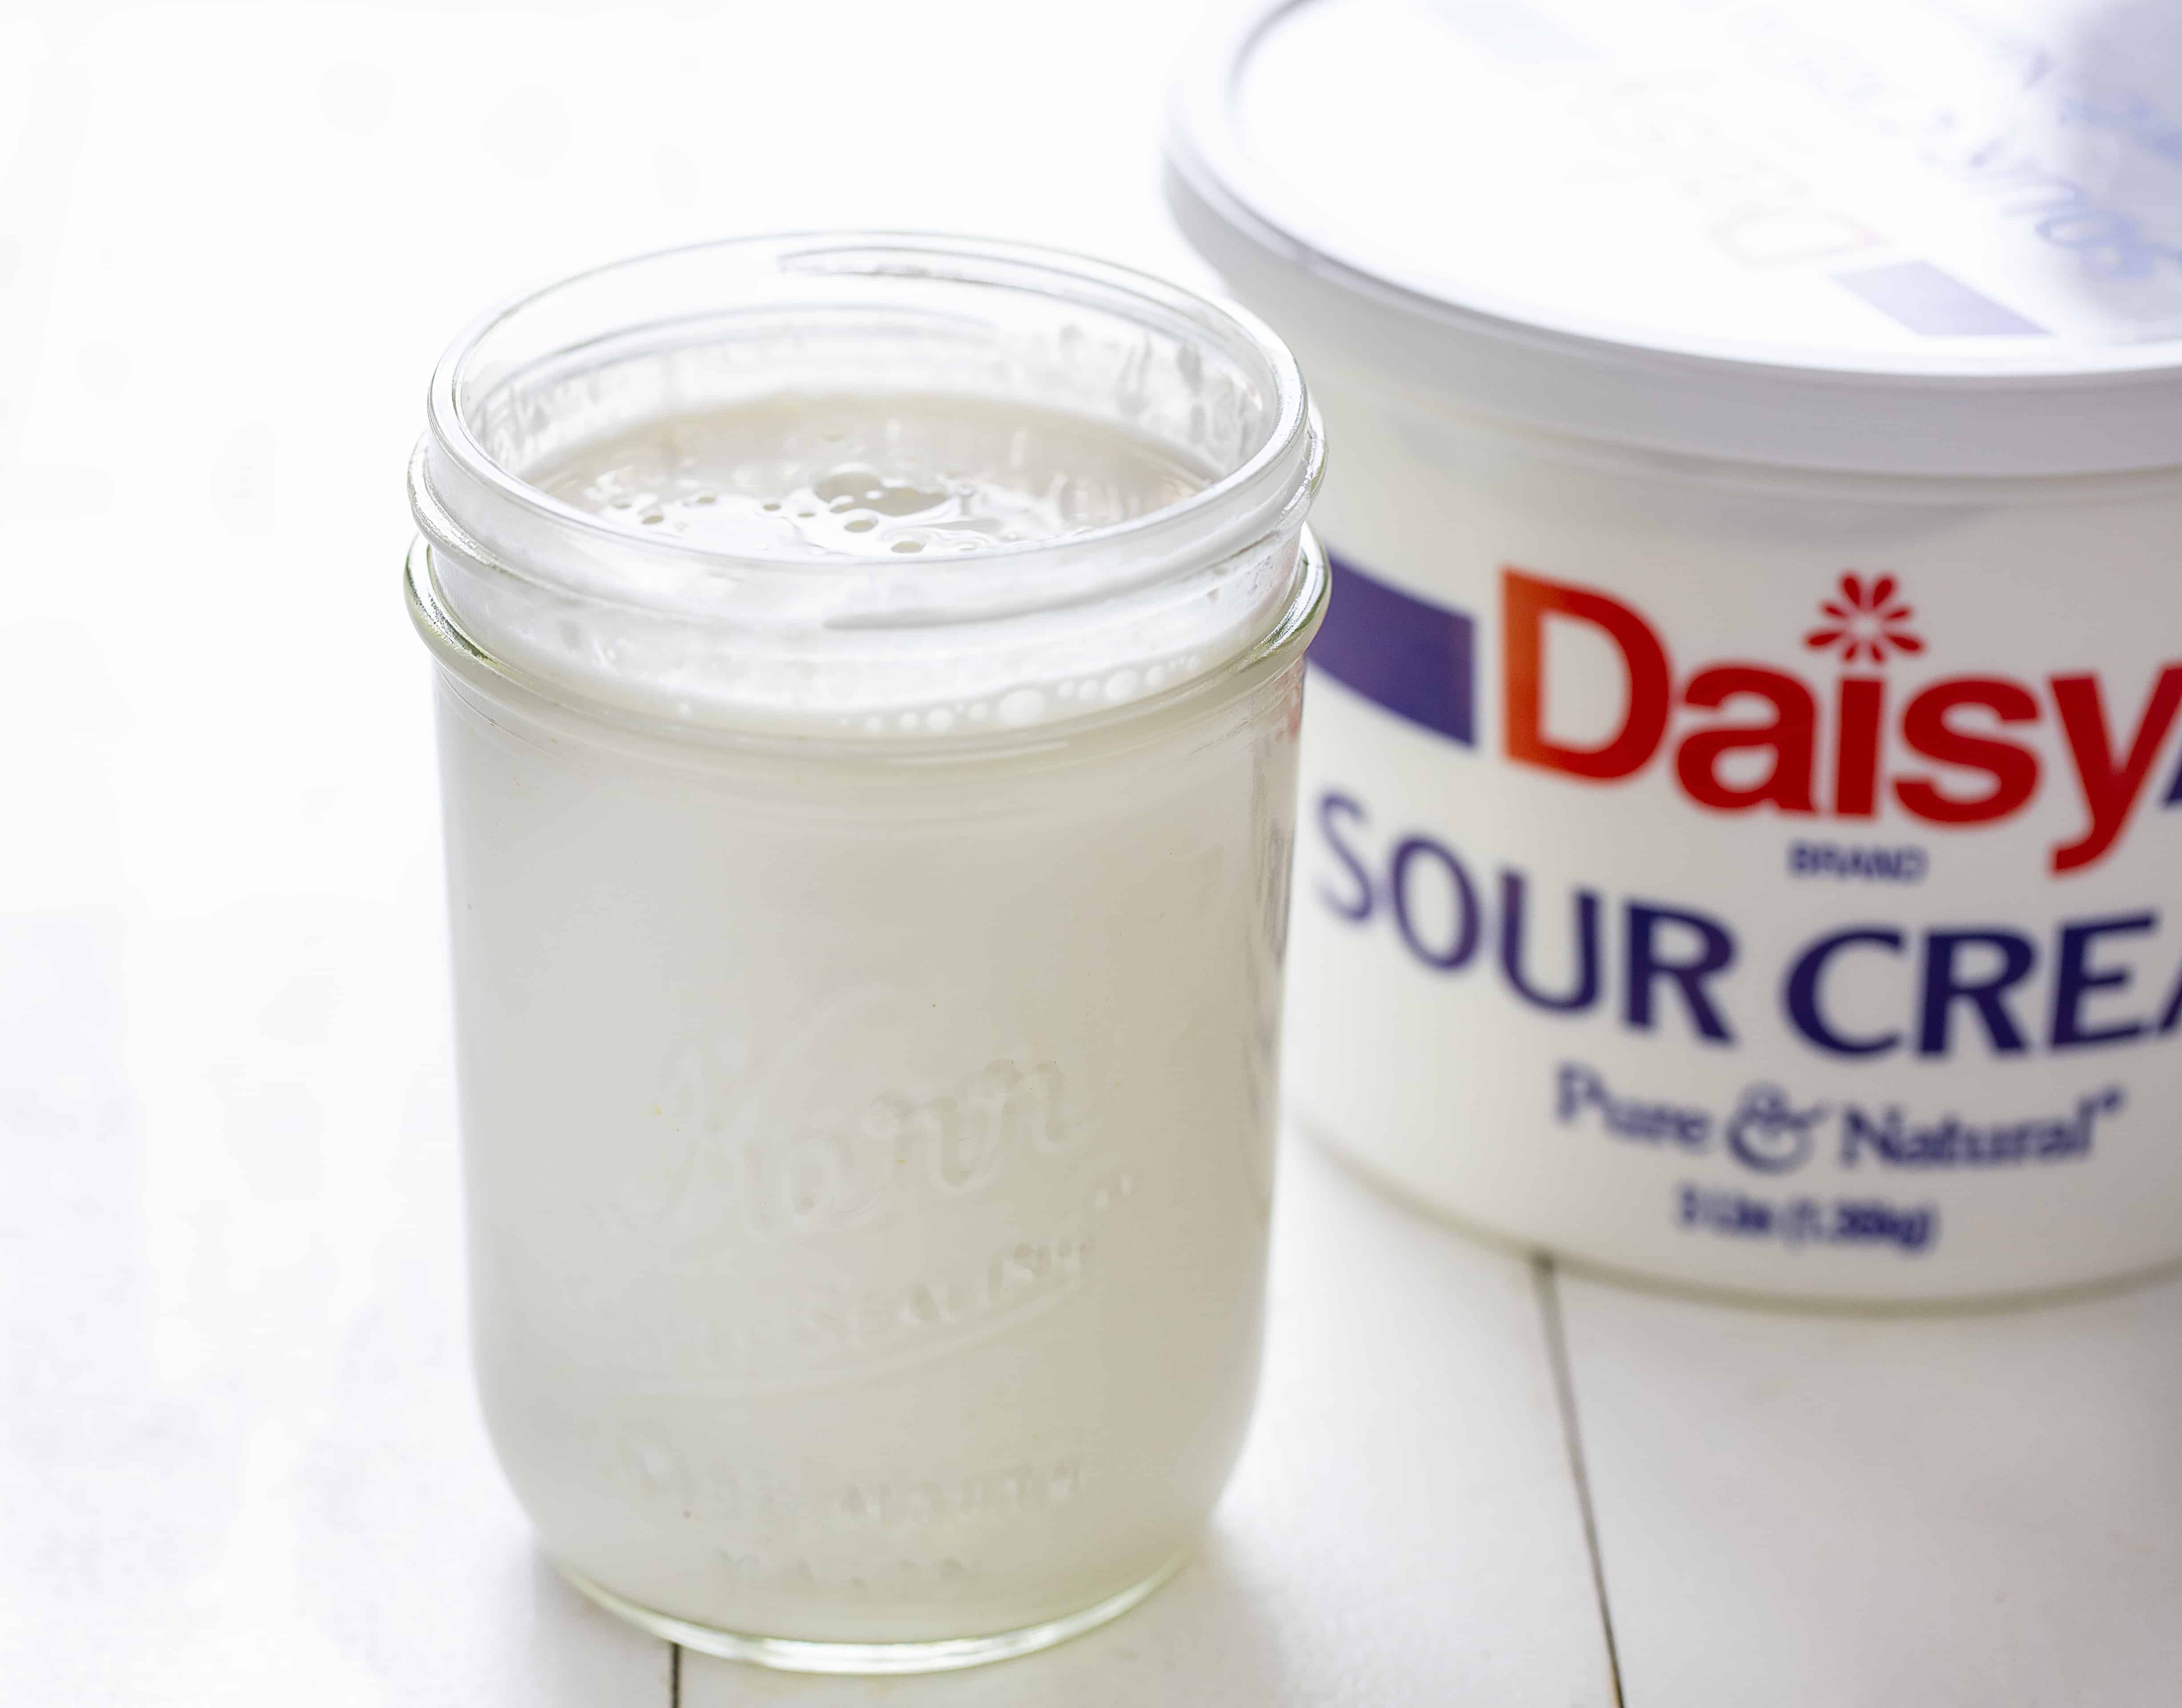
Storing The Buttermilk
Store homemade buttermilk in a clean, airtight container. Keep it in the refrigerator for up to two weeks. Shake well before using.
Storing buttermilk properly ensures it stays fresh and tasty. This section will guide you on how to store your homemade buttermilk.Proper Containers
Use clean, airtight containers to store buttermilk. Glass jars with lids work well. They keep the buttermilk fresh longer. Avoid using plastic containers. They can absorb odors and affect the taste.Refrigeration Tips
Always store buttermilk in the refrigerator. Keep the temperature at or below 40°F (4°C). Place the buttermilk on a shelf, not the door. The door temperature fluctuates more. This can spoil the buttermilk faster. Shake the buttermilk before each use. This mixes any separated liquid back in. “`Using Leftover Butter
If you’ve ever found yourself with leftover butter after making buttermilk from cream, you might be wondering what to do with it. Luckily, there are numerous ways to put that butter to good use. In this section, we’ll explore creative recipes and effective storage solutions, ensuring no bit of that delicious butter goes to waste. Let’s dive in!
Creative Recipes
Leftover butter can transform your dishes from ordinary to extraordinary. Here are some simple and delicious ideas:
- Garlic Butter: Mix your leftover butter with minced garlic, parsley, and a pinch of salt. Spread it on a warm baguette or use it to sauté vegetables.
- Herb Butter: Blend butter with your favorite herbs like rosemary, thyme, or dill. This is perfect for topping grilled meats or adding flavor to mashed potatoes.
- Baking: Use the butter in your baked goods. It’s ideal for cookies, cakes, and pastries. The rich flavor will take your desserts to the next level.
Don’t be afraid to experiment with different combinations. Your taste buds will thank you!
Storage Solutions
Proper storage is key to maintaining the freshness of your leftover butter. Here’s how you can keep it for future use:
- Refrigeration: Store your butter in an airtight container in the fridge. It will stay fresh for up to two weeks.
- Freezing: For longer storage, freeze the butter. Cut it into small pieces, wrap in plastic wrap, and place in a freezer bag. It can last for up to six months.
- Butter Dish: If you use butter frequently, consider a butter dish. It keeps butter at room temperature, making it easy to spread and use daily.
By following these storage tips, you’ll ensure your butter remains fresh and flavorful, ready to enhance your culinary creations.
In conclusion, leftover butter from making buttermilk is a treasure trove of culinary potential. With these creative recipes and storage solutions, you’ll never have to worry about waste again. Happy cooking!
Common Mistakes
When learning how to make buttermilk from cream, it’s easy to stumble upon a few common mistakes that can throw off your whole process. These mistakes can lead to a less-than-desirable outcome, but don’t fret! We’re here to help you identify and avoid these pitfalls. Let’s dive into the two most frequent errors: over-churning and incorrect storage.
Over-churning
One of the most common mistakes when making buttermilk from cream is over-churning. Have you ever turned cream into butter by accident? This happens when you churn the cream for too long. While it might seem easy to know when to stop, it’s actually a bit tricky.
Here’s a simple tip: Keep a close eye on the cream as you churn. When it turns thick and starts to separate, that’s your cue. The liquid part is your buttermilk, and the solid part is butter. Over-churning can result in a thicker consistency that’s more suited for spreading on toast than for using in recipes.
To avoid over-churning:
- Use a timer to keep track of your churning time.
- Churn on a medium speed setting to give you better control.
- Stop and check the consistency regularly.
Remember, practice makes perfect. The more you do it, the better you’ll get at judging the right time to stop.
Incorrect Storage
Another common mistake is incorrect storage. Once you’ve made your buttermilk, you need to store it properly to maintain its freshness and flavor. Incorrect storage can lead to spoilage, which is a waste of your hard work.
Here are some tips for storing buttermilk correctly:
- Use Clean Containers: Always use clean, airtight containers to store your buttermilk. This prevents contamination and keeps it fresh for longer.
- Refrigerate Immediately: Buttermilk should be stored in the refrigerator right after you make it. It should be kept at a temperature of 40°F (4°C) or lower.
- Label and Date: Label your container with the date you made the buttermilk. This helps you keep track of its freshness. Buttermilk typically lasts for about two weeks in the fridge.
Improper storage can lead to a sour taste and even spoilage. By following these tips, you can enjoy fresh buttermilk for your recipes without any worry.
Making buttermilk from cream can be a rewarding process. By avoiding these common mistakes, you’ll be well on your way to perfecting your homemade buttermilk. Happy churning!

Credit: iambaker.net
Frequently Asked Questions
Can You Make Buttermilk From Cream?
Yes, you can make buttermilk from cream. Churn heavy cream until it separates into butter and liquid. The liquid is buttermilk.
How To Make Buttermilk From Full Cream Milk?
Mix 1 cup of full cream milk with 1 tablespoon of white vinegar or lemon juice. Let it sit for 10 minutes until it thickens and curdles. Your homemade buttermilk is ready to use.
How Can I Make My Own Buttermilk?
Mix 1 cup of milk with 1 tablespoon of lemon juice or vinegar. Let it sit for 10 minutes. Your homemade buttermilk is ready!
What Can I Use If I Don’t Have Buttermilk?
Use milk mixed with vinegar or lemon juice as a buttermilk substitute. Combine 1 cup of milk with 1 tablespoon of vinegar or lemon juice. Let it sit for 5 minutes before using.
Conclusion
Making buttermilk from cream is simple and rewarding. Enjoy the rich taste in your recipes. Homemade buttermilk adds a special touch. Follow the steps and you’ll have fresh buttermilk. It’s perfect for baking and cooking. Your dishes will taste better with homemade buttermilk.
Try it today and see the difference. You’ll love how easy it is to make. No special tools needed. Just cream and a few minutes. Fresh buttermilk is always best. Enjoy your homemade buttermilk in pancakes, cakes, and more. Happy cooking!