Last Updated on February 14, 2026
Are you struggling to figure out how to use your water dispenser properly? You’re not alone.
Whether it’s setting it up, cleaning it, or fixing common issues, having a clear manual can save you time and frustration. This guide will walk you through everything you need to know about your water dispenser, so you can enjoy fresh, clean water without any hassle.
Keep reading, and you’ll soon master your water dispenser like a pro.
Credit: adawatco.com
Choosing The Right Water Dispenser
Choosing the right water dispenser is important for daily use. It ensures clean, fresh water anytime. The right dispenser fits your needs and space perfectly. This guide helps you pick a suitable water dispenser easily.
Types Of Water Dispensers
Water dispensers come in various types. Bottleless dispensers connect directly to water lines. They offer unlimited water without bottle changes. Bottled dispensers use replaceable water bottles. They are easy to move and install. Hot and cold dispensers provide both warm and cool water. Room temperature dispensers offer water at normal temperature. Choose the type based on your water source and preferences.
Key Features To Consider
Look for features that improve convenience and safety. Hot water safety locks prevent burns. Energy-saving modes reduce electricity use. Filters improve water taste and remove impurities. Easy-to-clean designs save time and effort. Some models offer child locks and night lights. Pick features that match your lifestyle and family needs.
Size And Capacity Options
Water dispensers come in different sizes. Small units fit on desks or counters. Larger models serve many people in offices or homes. Capacity depends on water bottle size or tank volume. Consider space availability and number of users. A compact dispenser suits small spaces well. Larger capacity reduces frequent refills and bottle changes.
Unboxing And Initial Setup
Unboxing and setting up your new water dispenser is the first step to enjoying fresh, cool water at home or office. This process is simple and does not take much time. Careful attention during initial setup helps your dispenser work well and last longer.
Inspecting The Package
Start by checking the outer box for any damage. Open the package carefully to avoid harming the parts inside. Make sure all pieces listed in the manual are present. Look for the main unit, drip tray, water taps, and user guide. Report any missing or broken items before proceeding.
Assembling Components
Follow the instructions in the manual to assemble the dispenser. Attach the drip tray and taps securely. Most models require simple clicks or screws. Do not force parts together. Tighten screws only as much as needed. Keep all accessories close for easy installation.
Placement Tips For Stability
Place the dispenser on a flat, sturdy surface. Avoid uneven floors to prevent tipping. Leave space around the unit for ventilation. Keep it away from direct sunlight and heat sources. Ensure easy access to the water taps. Proper placement improves safety and dispenser performance.
Connecting To Water Source
Connecting your water dispenser to a water source is key for fresh, clean water anytime. The right connection method depends on your dispenser type and water needs. This section explains simple ways to connect your dispenser to water.
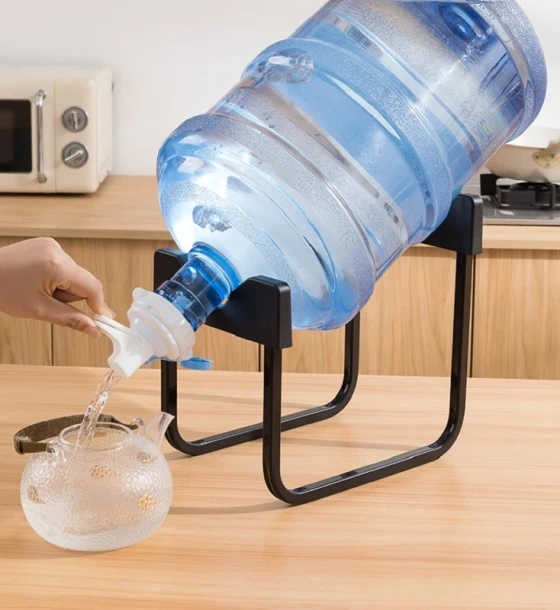
Using Bottled Water
Bottled water is the easiest way to connect your dispenser. Place the bottle upside down on the dispenser’s top. Make sure the bottle fits well and seals tightly. This prevents leaks and keeps water fresh. Change bottles when empty to keep water flowing.
Direct Water Line Setup
A direct water line provides continuous water without changing bottles. Connect a water hose from your home’s supply to the dispenser’s inlet valve. Use a T-valve for easy water flow control. Tighten all connections to avoid leaks. Some models need a water filter in the line for clean water.
Ensuring Proper Water Flow
Check water flow after setup to avoid problems. Open the dispenser tap and watch the water stream. If it flows slowly or stops, check for blockages or loose connections. Clean or replace filters regularly. Proper flow keeps water fresh and your dispenser working well.
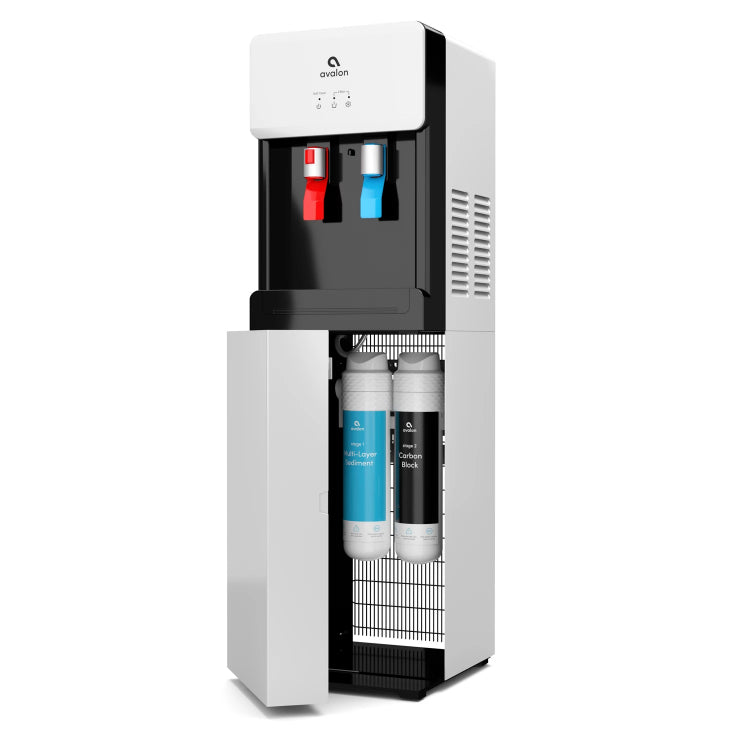
Credit: www.avalonh2o.com
Powering On And Testing
Powering on and testing your water dispenser is the first step to enjoy fresh water. This process ensures the dispenser works properly and delivers clean water. Follow these simple steps to start safely and check for any issues.
Plugging In Safely
Choose a dry place near a power outlet. Avoid using extension cords for safety. Make sure your hands are dry before plugging in. Check the power cord for damage. Plug the dispenser directly into the wall socket. Turn on the power switch if your model has one.
Initial Water Dispensing Test
Wait a few minutes for the dispenser to cool or heat the water. Place a cup under the cold water spout first. Press the lever or button gently. Check the water flow for steady pressure. Repeat the step for hot water carefully. Ensure water comes out clear and fresh.
Troubleshooting Common Issues
If water does not flow, check the power connection again. Make sure the water bottle is properly seated. Look for any air bubbles in the tube. Clean the dispenser nozzle if water is slow. If hot water is not warm, wait longer or check the heating function. Contact support if problems continue.
Regular Maintenance And Cleaning
Keeping your water dispenser clean and well-maintained is very important. It helps the machine work well and keeps your water safe. Dirt and germs can build up inside. Regular cleaning stops this problem. It also makes your dispenser last longer. Simple steps can keep your dispenser fresh and healthy.
Cleaning Schedule
Set a regular cleaning schedule for your water dispenser. Clean it every 1 to 3 months. This depends on how often you use it. Wipe the outside and drip tray every week. Deep clean the inside parts monthly. This stops mold and bacteria growth. Regular cleaning keeps the water fresh and tasty.
Sanitizing The Dispenser
Sanitize the dispenser to kill germs. Use a mild bleach solution or vinegar. Empty the water tank first. Fill it with the sanitizer and let it sit for 5 to 10 minutes. Rinse well with clean water several times. This removes any leftover sanitizer taste. Sanitizing keeps your water safe to drink.
Replacing Filters
Filters clean the water before you drink it. Change filters as the manufacturer says. Most filters last 3 to 6 months. Old filters do not clean well. They can make water taste bad. Always use the right filter for your model. Replacing filters keeps water pure and fresh.
Maximizing Efficiency And Safety
Using a water dispenser safely and efficiently saves energy and prevents accidents. Small steps make a big difference in daily use. Understanding key tips helps maintain your dispenser well.
Focus on energy use, child safety, and leak prevention. These factors keep your home safe and your dispenser working longer. Let’s explore simple ways to improve both efficiency and safety.
Energy Saving Tips
Turn off the dispenser when not in use. This reduces electricity waste. Avoid placing the dispenser near heat sources. Heat makes the machine work harder. Clean the dispenser regularly. Dust and dirt lower efficiency. Use energy-saving modes if your model has them. They reduce power without losing performance.
Child Safety Features
Many dispensers have safety locks on hot water taps. This stops children from accidental burns. Teach children not to play with the dispenser. Place the dispenser in a safe spot. Avoid areas where kids run or play. Check the dispenser’s manual for all safety features. Use those features every day.
Preventing Leaks And Spills
Check water bottles for cracks before use. Replace damaged bottles immediately. Tighten bottle caps properly to avoid drips. Clean drip trays often to catch spills. Inspect the dispenser for leaks regularly. Fix leaks quickly to prevent damage. Position the dispenser on a flat surface. This keeps it stable and prevents spills.
Common Problems And Fixes
Water dispensers are helpful appliances, but they can face some common issues. Knowing these problems and their fixes saves time and effort. This section highlights typical troubles and simple solutions.
No Water Dispensing
Water may not come out due to a clogged filter. Check and clean or replace the filter regularly. Another cause is an empty water bottle. Replace the bottle if empty. The dispenser’s water valve can also be stuck. Turn off the power and gently press the valve to free it.
Strange Noises
Unusual sounds often come from air trapped inside the machine. Run the water several times to clear the air. A loose part inside may rattle. Tighten screws and check the internal components. Sometimes, the compressor makes noise. This needs professional service if it continues.
Temperature Issues
Water too hot or cold often means thermostat problems. Adjust the thermostat to the correct setting. A dirty condenser coil can reduce cooling. Clean the coils with a brush carefully. If the issue stays, the cooling system may need repair by a technician.

Credit: cnqinyou.en.made-in-china.com
Frequently Asked Questions
How Do I Install A Water Dispenser Manually?
To install a water dispenser manually, place it on a flat surface. Connect the water bottle securely. Plug in the power cord and allow the dispenser to cool or heat water as needed.
How Often Should I Clean My Water Dispenser?
Clean your water dispenser every 4 to 6 weeks. Use a mixture of water and vinegar or mild detergent. Regular cleaning prevents bacteria buildup and ensures safe, fresh water.
What Is The Best Way To Troubleshoot Dispenser Issues?
Check power supply and water bottle placement first. Clean the dispenser if water flow is slow. Refer to the manual for specific error codes or contact customer support.
Can I Use Any Water Bottle With My Dispenser?
Most dispensers support standard 3 to 5-gallon bottles. Ensure the bottle fits securely and has a clean, sealed cap. Using improper bottles may cause leaks or damage.
Conclusion
A water dispenser manual helps you use your device safely and well. It guides you through setup, cleaning, and maintenance steps. Following the instructions keeps water clean and fresh. It also prevents damage and extends the dispenser’s life. Simple care makes your experience better every day.
Trust the manual to answer your common questions fast. Enjoy fresh water easily with clear, helpful directions. Stay informed and keep your dispenser working smoothly.