Last Updated on June 27, 2026
Imagine enjoying the creamy, velvety texture of cold foam right in your own kitchen—no fancy coffee shop needed. You might think it’s complicated or requires special equipment, but making cold foam at home is simpler than you expect.
If you’ve ever wanted to add that smooth, frothy layer to your iced coffee or latte, this guide is for you. Keep reading, and you’ll discover easy steps and handy tips that will have you crafting perfect cold foam every time.
Your coffee moments are about to get a delicious upgrade.
Credit: masalaandchai.com
Ingredients Needed
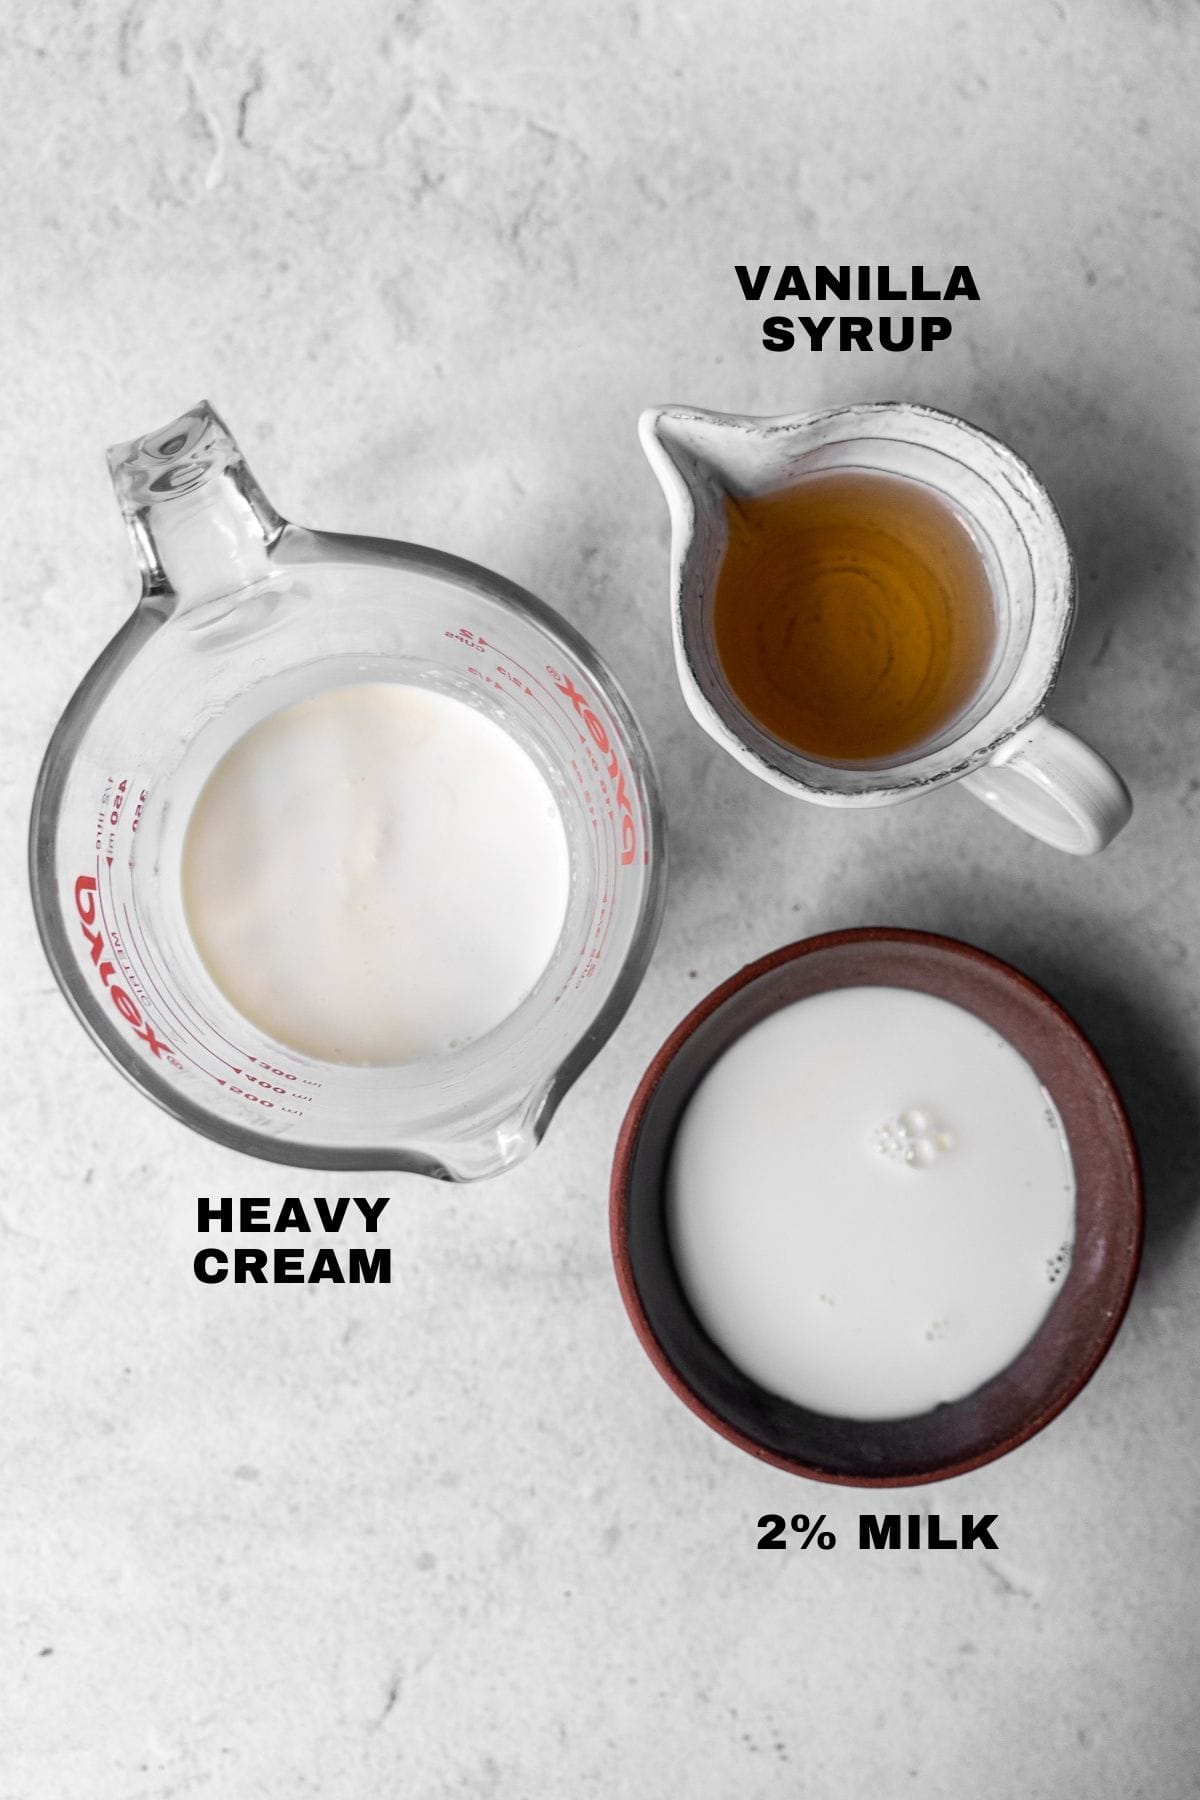
Making cold foam at home needs just a few simple ingredients. These ingredients create a creamy, light texture perfect for coffee or tea. Knowing what to use helps you get the best result every time.
Choosing The Right Milk
Milk is the main ingredient in cold foam. Whole milk creates a rich and creamy foam. Skim milk makes a lighter foam with bigger bubbles. Non-dairy milks like almond, oat, or soy work too. Use fresh, cold milk for the best foam. Avoid warm or old milk as it won’t froth well.
Optional Flavorings
Flavorings add a special touch to your cold foam. Vanilla syrup gives a sweet, smooth taste. Cinnamon or nutmeg adds warmth and spice. You can also try a little honey or chocolate syrup. Add these after frothing to keep the foam light and fluffy. Use small amounts to avoid overpowering the milk taste.
Credit: anerdcooks.com
Equipment Options
Making cold foam at home needs the right tools. Different tools give different results. Some tools are simple and cheap. Others are fast and easy to use. Choose the best fit for your kitchen and budget.
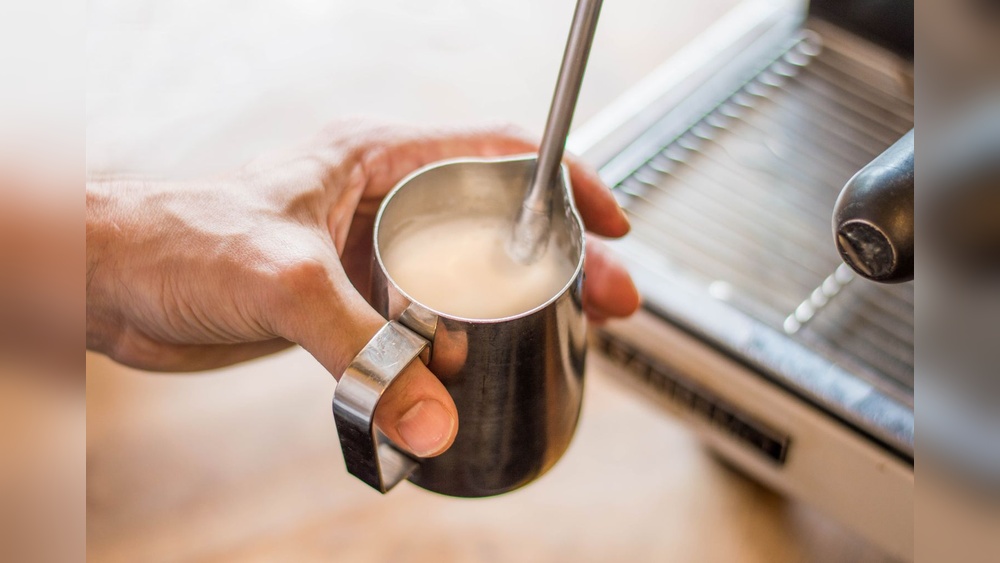
Manual Frothers
Manual frothers are hand-pumped devices. They have a plunger and mesh whisk inside. Pump the handle up and down to create foam. They need a bit of effort but work well. No electricity needed. Easy to clean and store.
Electric Frothers
Electric frothers work with a motor. Just press a button and watch foam form. They make smooth, creamy foam in seconds. Ideal for daily coffee lovers. Some models also heat milk. They cost more but save time and energy.
Jar Method
The jar method uses a simple jar with a lid. Pour cold milk inside, close the lid tight. Shake the jar hard for 30 seconds. Foam will form on top of the milk. No special tools needed. Easy and quick for small amounts.
Step-by-step Frothing Process
Making cold foam at home is simple with the right steps. The frothing process helps create smooth, creamy foam that tastes great. Follow the steps below to get fresh cold foam every time.
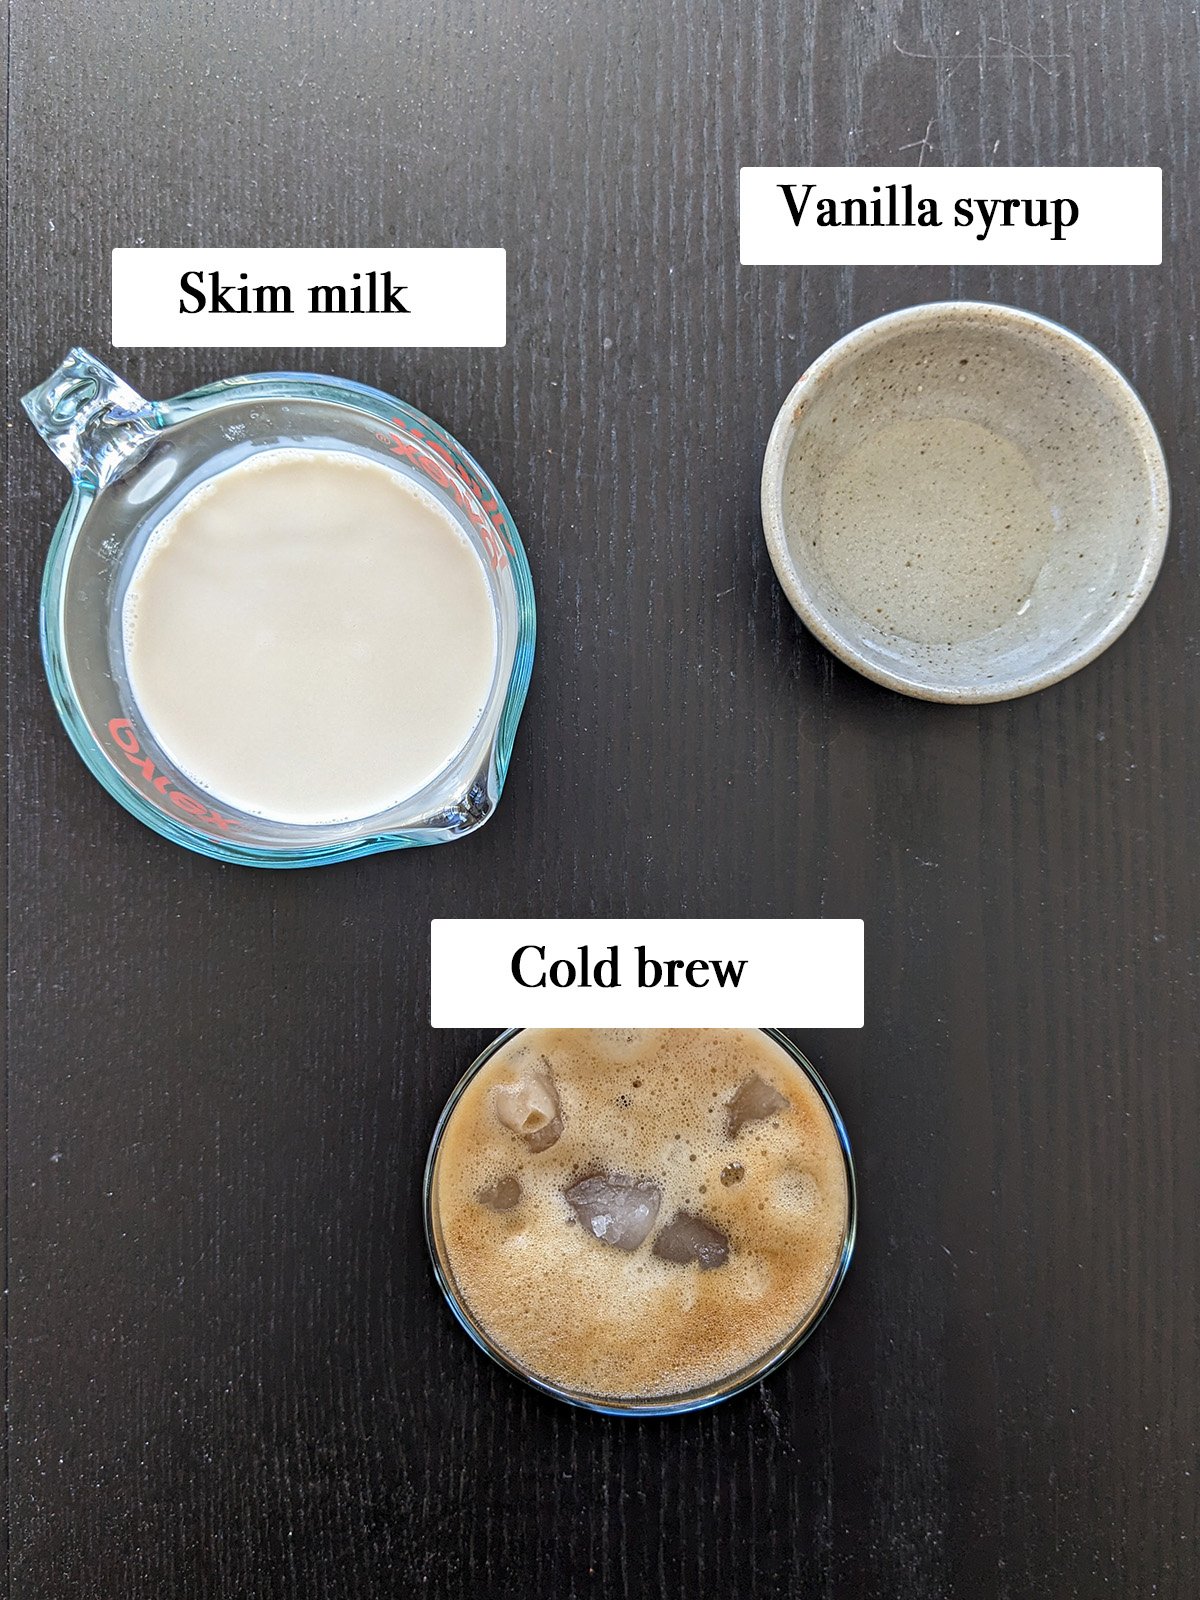
Chill The Milk
Start with cold milk from the fridge. Cold milk froths better and lasts longer. Use whole or 2% milk for creamier foam. Pour the milk into a clean container. Keep it cold until you are ready to froth.
Frothing Techniques
Use a handheld frother, a blender, or a jar with a lid. Turn on the frother and move it up and down in the milk. If using a jar, shake it hard for 30 seconds. Watch the milk turn into thick foam. Stop once the foam doubles in size.
Achieving The Perfect Texture
The goal is smooth and silky foam. Avoid big bubbles or foam that is too stiff. Tap the container gently on the counter to remove large bubbles. Swirl the foam lightly to mix it well. Use the foam immediately for best taste and texture.

Credit: myeverydaytable.com
Tips For Creamy Foam
Creating creamy cold foam at home takes a few simple steps. Small details make a big difference in texture and taste. Follow these tips to get smooth, rich foam every time.
Milk Temperature Tricks
Use cold milk straight from the fridge. Cold milk froths better and holds foam longer. Avoid warm or room temperature milk. It won’t create a thick foam. For best results, chill your container too. This keeps the milk cold while frothing. Cold milk helps make creamy and stable foam.
Avoiding Common Mistakes
Do not overfill your frother or jar. Leave space for milk to expand. Overfilling causes spills and thin foam. Use fresh milk for better taste and texture. Avoid low-fat or non-dairy milk as they foam less. Froth with quick, strong motions for a few seconds only. Over-frothing breaks down foam and makes it watery. Clean your equipment regularly to stop milk residue. Dirty tools affect foam quality and flavor.
Serving Suggestions
Serving cold foam at home can turn a simple coffee into a special treat. It adds a creamy texture and a light, airy feel that lifts your drink. There are many ways to serve cold foam, making your coffee more enjoyable.
Topping Your Coffee
Pour cold foam gently on top of your iced coffee or cold brew. The foam floats, creating a smooth layer. Sprinkle a pinch of cinnamon or cocoa powder for extra flavor. Drizzle some caramel or chocolate syrup for a sweet touch. Use a spoon to swirl the foam into the drink for a creamy mix.
Cold Foam Variations
Try different milk types like almond, oat, or coconut for unique foam flavors. Add a drop of vanilla or almond extract to the milk before frothing. Blend in a little sweetener like honey or maple syrup for a tasty twist. Use flavored creamers to change the taste and aroma. Experiment with these options to find your favorite cold foam style.
Storage And Shelf Life
Cold foam is best enjoyed fresh for the best texture and flavor. Knowing how to store it properly helps keep its creamy texture longer. The shelf life of cold foam is short because it contains milk or cream. Storing it correctly slows down spoilage and keeps it tasty.
Keeping Foam Fresh
Store cold foam in a clean, airtight container. Keep it in the refrigerator at a temperature below 40°F (4°C). Use cold foam within 24 hours for the best taste and texture. Avoid leaving foam at room temperature for long. Stir gently before use to restore some of the texture.
Reusing Leftovers
Leftover cold foam can be reused for a short time. Use it on coffee or desserts within one day. Avoid refreezing or reheating foam as it breaks down the texture. Always check for any sour smell or taste before reuse. Toss it if the foam looks watery or has changed color.
Frequently Asked Questions
What Ingredients Are Needed To Make Cold Foam At Home?
To make cold foam, you need milk, a sweetener, and a frothing tool. Use cold milk with high protein for best foam. Sweeteners like vanilla syrup add flavor. A handheld frother or blender works well for frothing.
How Long Does It Take To Make Cold Foam?
Cold foam takes about 1 to 3 minutes to prepare. Froth the milk until it becomes light and airy. Avoid over-frothing to keep the foam smooth and creamy.
Can I Use Non-dairy Milk For Cold Foam?
Yes, you can use non-dairy milk like almond, oat, or soy. Choose barista versions for better frothing results. Some non-dairy milks may produce less stable foam.
How Do I Store Leftover Cold Foam?
Store leftover cold foam in an airtight container in the fridge. Use it within 24 hours for best freshness. Shake gently before using as foam might separate.
Conclusion
Making cold foam at home is simple and fun. You only need a few ingredients and tools. Practice a little, and you will get smooth, creamy foam every time. Cold foam adds a nice touch to your coffee or drinks.
Enjoy crafting your favorite flavors with ease. Try different milks to find what you like best. Your homemade cold foam will impress friends and family. Start today and enjoy a café-style drink at home.