Last Updated on April 15, 2026
Are you tired of store-bought bread that lacks freshness and flavor? Imagine waking up to the smell of warm, homemade bread crafted exactly to your taste.
A manual bread maker puts you in control, letting you create delicious loaves without complicated gadgets or confusing settings. Whether you’re a beginner or love baking, this simple tool can transform your kitchen and your meals. Keep reading to discover how a manual bread maker can make baking easy, fun, and rewarding for you.
Choosing The Right Manual Bread Maker
Choosing the right manual bread maker can make a big difference in your baking experience. The right tool helps you bake fresh bread easily and enjoyably. It’s important to pick one that fits your needs and kitchen space.
Types Of Manual Bread Makers
Manual bread makers come in various types. Some are hand-cranked, letting you mix and knead dough without electricity. Others use simple mechanical parts to help shape and bake bread. Each type suits different baking styles and skill levels.
Hand-cranked models are great for small batches and simple recipes. Mechanical models often include features like timers or temperature control. Choose the type that matches how often you plan to bake.
Key Features To Consider
Look for features that improve your baking process. Check if the bread maker has easy-to-clean parts. A non-stick surface saves time and effort. Size matters too. Small machines fit small kitchens better.
Also, consider how many bread sizes the maker can handle. Some models offer multiple loaf sizes. A clear lid lets you watch the dough rise and bake. Simple controls are best for beginners.
Budget And Brand Options
Manual bread makers come in many price ranges. Set a budget before you start shopping. Affordable models can offer good quality and durability. Higher-priced options may have extra features or better materials.
Brands with good reviews tend to produce reliable products. Look for brands known for kitchen tools. Warranty and customer support are important too. This protects your investment and ensures help when needed.
Essential Ingredients For Homemade Bread
Baking bread at home needs a few key ingredients. Each one plays a special role in making your bread soft, tasty, and fresh. Knowing these basics helps you create bread with the texture and flavor you want. Let’s explore the main ingredients needed for homemade bread.
Flour Varieties And Their Uses
Flour is the main ingredient in bread. Different flours give different results. All-purpose flour works well for most bread types. Bread flour has more protein, making bread chewier and stronger. Whole wheat flour adds a nutty taste and more fiber. Rye flour gives bread a dense texture and earthy flavor. Choose flour based on the bread you want to bake.
Yeast Types And Activation
Yeast makes bread rise by producing gas bubbles. Active dry yeast is common and easy to store. Instant yeast works faster and mixes directly with dry ingredients. Fresh yeast is soft and perishable, used by some bakers for better flavor. To activate yeast, dissolve it in warm water with a bit of sugar. It should bubble and foam within minutes, showing it is ready.
Additional Ingredients For Flavor And Texture
Salt controls yeast growth and adds flavor. Sugar feeds the yeast and helps brown the crust. Fat like butter or oil makes bread soft and moist. Milk adds richness and helps crust brown. Eggs improve texture and add color. Seeds, nuts, or herbs can add taste and crunch. Use these extras to make your bread unique and tasty.
Preparing The Dough
Preparing the dough is the first important step in making bread with a manual bread maker. This step sets the base for good texture and taste. Careful attention here helps create soft, well-risen bread. Each part of the process matters, from measuring ingredients to kneading the dough by hand.
Measuring Ingredients Accurately
Use a kitchen scale for best results. Measuring by weight is more precise than using cups. Flour should be spooned into the measuring cup, then leveled off. Too much flour makes the bread dry and dense. Too little flour makes the dough sticky and hard to shape. Salt and yeast amounts must be exact to help the dough rise well.
Mixing Techniques
Combine dry ingredients first for even distribution. Slowly add water or milk to the dry mix. Use a spoon or spatula to mix until the ingredients come together. Avoid over-mixing at this stage. The dough should be sticky but manageable. Proper mixing helps yeast activate and gluten develop.
Kneading By Hand
Kneading develops gluten, giving bread its structure. Turn the dough onto a clean, floured surface. Push and fold the dough with your hands. Use the heel of your palm to stretch it. Knead for about 10 minutes until smooth and elastic. The dough should bounce back when poked. Proper kneading improves bread texture and rise.
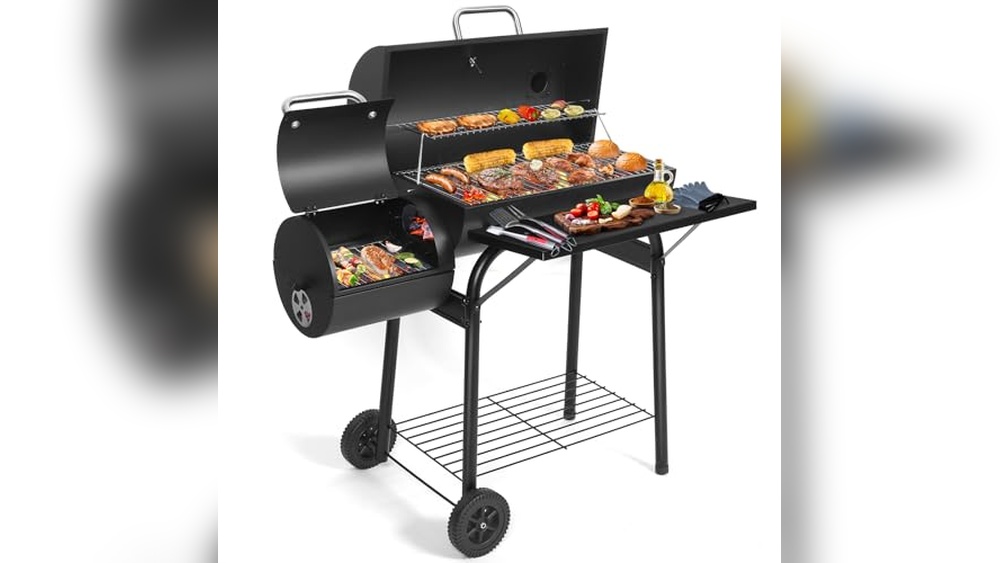
Credit: www.ebay.com
Shaping And Proofing Loaves
Shaping and proofing are key steps in making bread by hand. They affect the bread’s texture and look. Shaping gives the dough form and helps it rise evenly. Proofing lets the dough rest and develop flavor.
Good shaping and proofing create soft, airy loaves with a nice crust. This section covers how to shape different bread styles and proof dough correctly. Tips and common problems are also explained.
Shaping Different Bread Styles
Each bread style needs a special shape. For a round loaf, tuck edges under to form a tight ball. For baguettes, roll dough into a long cylinder. For rolls, divide dough into small equal pieces and shape into balls.
Use light pressure to avoid pushing out air. Smooth dough surfaces help bread rise well. Practice shapes slowly for better results.
Proofing Conditions And Tips
Proof dough in a warm, draft-free spot. Ideal temperature is about 75°F (24°C). Cover dough with a cloth to keep moisture. Avoid letting dough dry out or get too warm.
Proof time depends on dough type and room temperature. Usually, it takes 1 to 2 hours. Dough is ready when it doubles in size and springs back slowly when poked.
Troubleshooting Common Proofing Issues
If dough does not rise, it might be too cold or yeast is old. Check room temperature and use fresh yeast. If dough over-proofs, it will collapse and lose shape. Bake it immediately or start over.
Sticky dough can mean too much water or under-kneading. Add flour gradually and knead more. Dry dough needs more water. Adjust ingredients carefully for best results.
Baking With A Manual Bread Maker
Baking with a manual bread maker brings a special joy to the kitchen. It lets you control every step of the baking process. From mixing to baking, the manual approach gives hands-on experience. This control helps create bread that fits your taste and texture perfectly.
Setting The Right Temperature
Temperature is key for good bread. Most manual bread makers have simple dials or settings. Choose the temperature based on the bread type. For white bread, a moderate heat around 350°F works well. Whole grain bread needs a slightly lower temperature. Too hot can burn the crust; too low may leave the bread doughy inside.
Baking Times For Various Breads
Baking time changes with bread type and size. Small rolls bake faster, about 20-25 minutes. Larger loaves take 30-40 minutes. Denser breads like rye or whole wheat need more time. Keep an eye on the color. A golden crust usually means the bread is ready. Use a toothpick to test inside; it should come out clean.
Using Steam And Other Techniques
Steam helps make crusts crispy and shiny. Add a small pan of water in the oven or spray water during baking. This creates steam around the bread. Some bakers brush milk or egg wash for a shiny look. Let the bread cool on a rack to keep the crust crisp. Small tricks like these improve texture and flavor.
Maintaining And Cleaning Your Bread Maker
Keeping your manual bread maker clean and well-maintained helps it last longer. It also keeps your bread tasting fresh and safe. Regular care prevents damage and mechanical problems. Follow simple steps to keep your machine in good shape.
Routine Cleaning Tips
Unplug the bread maker before cleaning. Wipe the outside with a damp cloth. Remove the bread pan and kneading blade. Wash these parts with warm, soapy water. Use a soft brush to clean hard-to-reach spots. Dry all parts completely before reassembling. Never immerse the main unit in water.
Preventing Mechanical Issues
Check the kneading blade for dough buildup. Clean the blade after every use. Avoid forcing the bread pan into place. Ensure the pan locks securely before baking. Use only recommended ingredients and amounts. Overfilling can strain the motor and cause damage. Regular checks keep your bread maker working well.
Storage Recommendations
Store your bread maker in a dry place. Keep it covered to avoid dust buildup. Remove the bread pan and blade before storing. Ensure all parts are clean and dry. Avoid placing heavy objects on top. Proper storage keeps your machine safe and ready to use.
Troubleshooting Common Problems
Troubleshooting common problems with a manual bread maker helps improve baking results. Understanding what causes issues saves time and reduces frustration. This section covers typical problems and how to fix them quickly.
Dense Or Heavy Bread
Dense bread often means too much flour or not enough liquid. Measuring ingredients carefully helps avoid this problem. Overmixing the dough can also make bread heavy. Mix just until ingredients combine for lighter bread.
Old or expired yeast can stop bread from rising well. Always check the expiration date on yeast packets. Using fresh yeast gives better results and fluffier bread.
Uneven Crust Or Baking
Uneven crust can come from uneven heat inside the bread maker. Place the bread maker on a flat, stable surface. Avoid opening the lid during baking to keep heat steady.
Too much sugar or fat may cause crust to brown too fast. Reduce these ingredients slightly for a more even crust. Also, check the bread maker’s settings match the recipe.
Dough Not Rising Properly
Dough needs warm temperature to rise well. Cold rooms slow yeast activity and rising time. Keep the bread maker in a warm place or use the dough setting.
Too much salt can kill yeast and stop rising. Measure salt carefully and avoid direct contact with yeast. Use fresh, active yeast for best results.

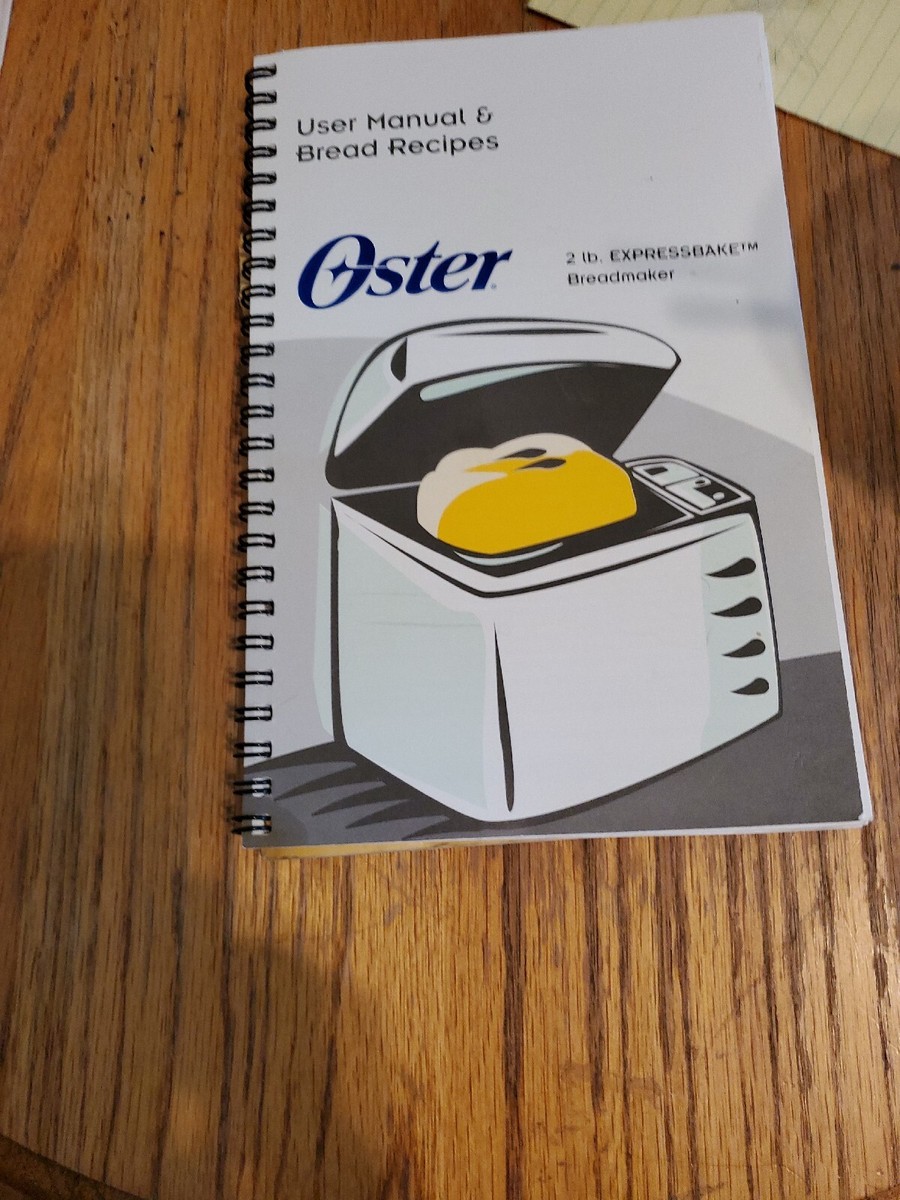
Credit: www.reddit.com
Creative Bread Recipes To Try
Baking bread with a manual bread maker opens many tasty possibilities. You can try simple loaves or explore creative recipes. Each recipe offers a new flavor and texture to enjoy fresh at home.
Experimenting with different breads helps you find favorites for any meal. Baking at home means control over ingredients and freshness. Here are some creative bread recipes to try next.
Whole Wheat And Multigrain Loaves
Whole wheat bread has a rich, nutty flavor. It uses whole grains that add fiber and nutrients. Multigrain loaves mix different grains like oats, barley, and rye. These grains create a hearty texture and a complex taste. Both breads are healthy and filling. They work well for sandwiches or toast. Try adding seeds like flax or sunflower for extra crunch.
Sweet And Savory Variations
Sweet breads can include ingredients like cinnamon, raisins, or honey. These make bread perfect for breakfast or snacks. Savory breads may have herbs, cheese, or olives. They add bold flavors and aroma. Mixing sweet and savory elements can create exciting combinations. For example, try adding rosemary and dried cranberries together. These breads pair well with soups and salads.
Specialty Breads And Add-ins
Specialty breads include focaccia, ciabatta, and sourdough styles. Each has a unique texture and crust. Add-ins like nuts, seeds, or dried fruits enhance flavor and nutrition. You can also include garlic, caramelized onions, or sun-dried tomatoes. These ingredients create complex layers of taste. Specialty breads can be a great choice for gatherings or gifts.

Credit: www.reddit.com
Frequently Asked Questions
What Is A Manual Bread Maker?
A manual bread maker requires hands-on control for mixing and kneading dough. It offers flexibility in ingredient choices and baking styles, unlike automatic machines. Users can tailor bread texture and flavor by adjusting settings manually, making it ideal for bakers who enjoy a hands-on baking experience.
How Does A Manual Bread Maker Work?
Manual bread makers mix, knead, and proof dough using mechanical or hand-operated methods. Users add ingredients, control timing, and shape dough by hand. This process allows greater customization and learning about bread making compared to fully automated machines, enhancing baking skills and creativity.
Are Manual Bread Makers Easy To Use?
Yes, manual bread makers are user-friendly but require some baking knowledge. They involve more effort than automatic models but provide better control over the process. Beginners may need practice, but detailed instructions and patience make manual bread makers accessible for most users.
What Are The Benefits Of Manual Bread Makers?
Manual bread makers offer control over ingredients and baking steps, producing personalized bread. They are often more affordable and durable than electric models. Additionally, they foster a deeper understanding of baking techniques, making bread making more rewarding and creative for enthusiasts.
Conclusion
A manual bread maker lets you enjoy fresh bread anytime. You control the ingredients and baking process easily. It saves money and brings a cozy feel to your kitchen. Baking bread by hand also offers a fun, creative experience. Simple tools and steps make it good for beginners.
Choose a manual bread maker to bake with more care and joy. Fresh, warm bread is just a few steps away. Try it and enjoy homemade bread every day.