Last Updated on April 16, 2026
Are you ready to turn your kitchen into a fun and delicious doughnut shop? With a Doughnut Maker Kit, you can create fresh, warm doughnuts anytime you want—right at home.
Imagine the joy of making your favorite flavors, sharing sweet moments with family, and impressing friends with homemade treats. This guide will show you how a simple kit can change your snack game, save you money, and bring endless smiles.
Keep reading to discover everything you need to know about choosing and using the perfect Doughnut Maker Kit for you.
Choosing The Right Doughnut Maker Kit
Choosing the right doughnut maker kit can make your baking easier and more fun. Different kits offer different features and designs. Picking one that fits your needs helps you bake delicious doughnuts quickly. Consider the types, features, and your budget before buying.
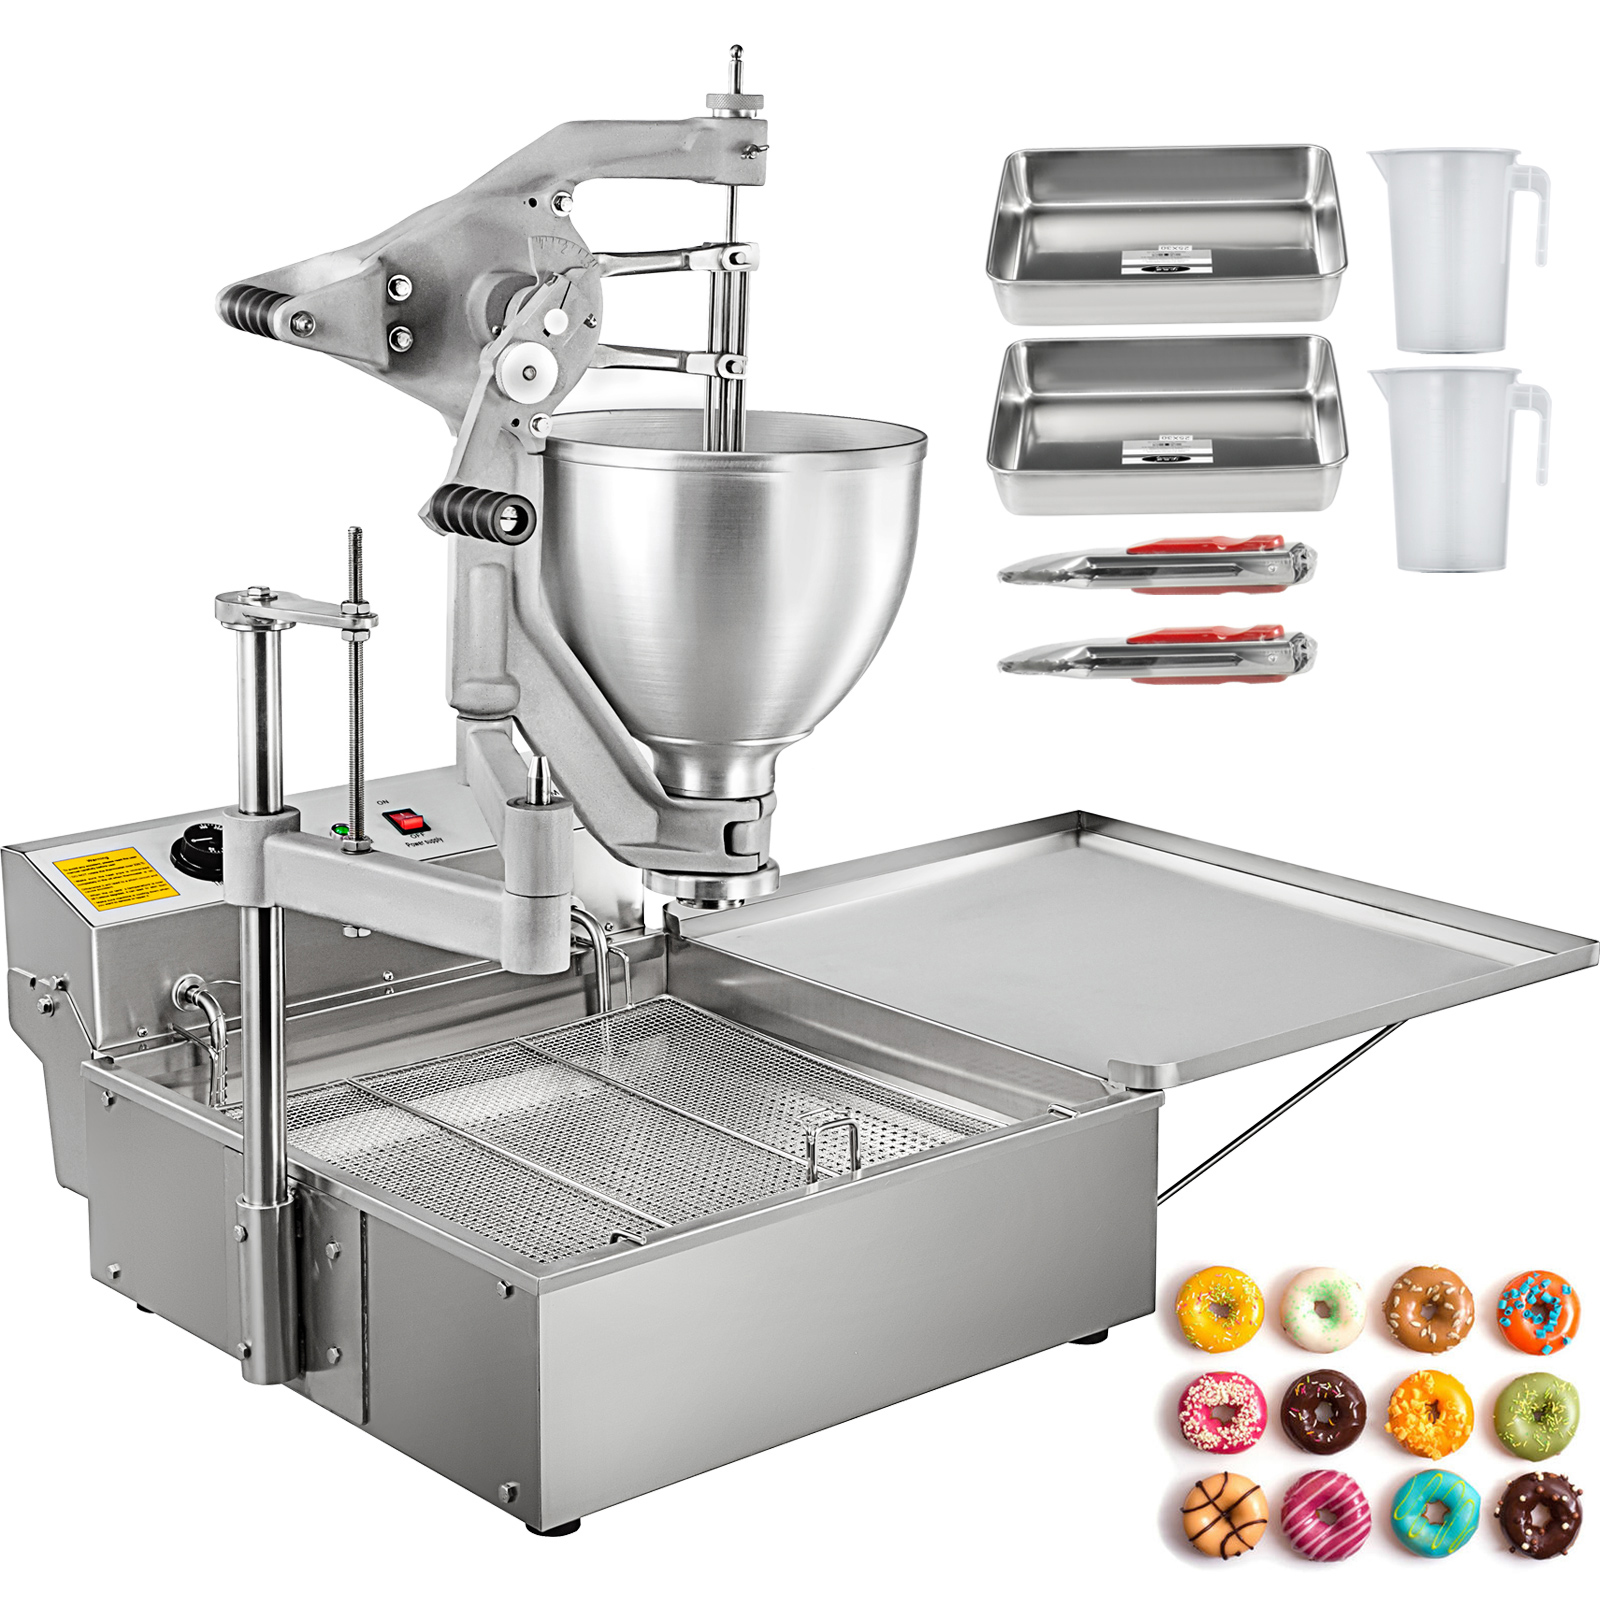
Types Of Doughnut Makers
Doughnut makers come in various styles. Some have electric heating plates that cook doughnuts fast. Others use molds for the oven or air fryer. Some kits include tools like batter dispensers or shaping rings. Choose a type that matches your kitchen setup and cooking style.
Essential Features To Look For
Look for non-stick surfaces to avoid doughnuts sticking. Easy-to-clean parts save time. Adjustable temperature controls help make perfect doughnuts. Compact size is good for small kitchens. Safety features like cool-touch handles protect your hands.
Budget Considerations
Doughnut maker kits come in many price ranges. Basic models cost less but may lack extra tools. Higher-priced kits offer more accessories and better build quality. Decide how often you will use it and what features matter most. Balance cost with quality for the best value.
Credit: farmsteady.com
Setting Up Your Doughnut Maker
Setting up your doughnut maker is the first step to enjoying fresh, homemade doughnuts. A proper setup ensures your device works well and your treats come out perfect. Follow these simple steps to prepare your doughnut maker for use.
Initial Cleaning And Preparation
Before using the doughnut maker, clean it thoroughly. Wipe the cooking plates with a damp cloth. Avoid using harsh chemicals or soaking the device. This removes dust and manufacturing residues. Make sure the plates are dry before plugging in the machine.
Preheating Tips
Preheat the doughnut maker for best results. Turn it on and let it warm up for five minutes. The indicator light will show when it is ready. Preheating helps the dough cook evenly. It also prevents dough from sticking to the plates.
Safety Precautions
Use the doughnut maker on a flat, stable surface. Keep it away from water and flammable materials. Always handle the device with dry hands. Avoid touching hot surfaces during and after use. Unplug the machine when not in use to prevent accidents.
Selecting Doughnut Recipes
Choosing the right doughnut recipes makes your doughnut maker kit more fun. You can create classic treats or try new flavors. Recipes vary by ingredients and taste. This helps you enjoy doughnuts every time you bake.
Here are some recipe ideas to try with your doughnut maker kit. Each offers a different taste and texture. Pick what suits your mood or diet.
Classic Doughnut Batter
Classic doughnut batter uses simple ingredients like flour, sugar, eggs, and milk. It creates soft, fluffy doughnuts with a light crumb. This recipe is easy to follow and great for beginners. You can add vanilla or cinnamon for extra flavor. It works well for both fried and baked doughnuts.
Gluten-free And Vegan Options
Gluten-free doughnut recipes use almond or rice flour instead of wheat. This helps people with gluten intolerance enjoy doughnuts. Vegan recipes skip eggs and dairy. Use flaxseed or applesauce as egg replacements. Plant-based milk like almond or oat milk works well too. These options are healthy and tasty.
Creative Flavor Variations
Try adding chocolate chips, fruit, or nuts to your doughnut batter. Spices like nutmeg and cardamom give a warm taste. You can also mix in cocoa powder for chocolate doughnuts. Top doughnuts with glaze, sprinkles, or powdered sugar. These variations make each batch unique and fun.

Credit: www.amazon.com
Making Doughnuts Step-by-step
Making doughnuts at home is fun and simple with a Doughnut Maker Kit. This step-by-step guide helps you create fresh, warm doughnuts in no time. Each part of the process is easy to follow and perfect for beginners.
Mixing Ingredients
Start by gathering all ingredients. You need flour, sugar, eggs, milk, and baking powder. Mix them well in a large bowl. Stir until the batter is smooth and free of lumps. Keep the batter thick but easy to pour. This makes the doughnuts soft and fluffy.
Filling The Doughnut Maker
Preheat your doughnut maker according to the instructions. Use a spoon or small cup to pour the batter into each mold. Fill only three-quarters full to avoid overflow. Close the lid gently. This helps the doughnuts cook evenly and keep their shape.
Cooking Time And Techniques
Cook the doughnuts for about 3 to 5 minutes. Check the maker’s light or timer if available. Open the lid carefully to avoid breaking the doughnuts. Use a fork or wooden stick to remove them. Let the doughnuts cool slightly before serving.
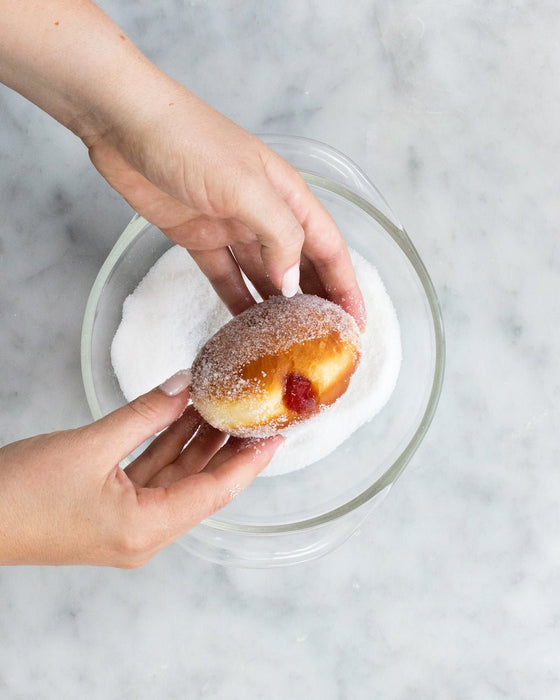
Decorating And Serving
Decorating and serving doughnuts made with a Doughnut Maker Kit is a fun part of the process. It lets you add color, flavor, and creativity. Simple touches can turn plain doughnuts into delightful treats. The right decorations make eating doughnuts more enjoyable for all ages.
Glazing And Icing Ideas
Start with a smooth glaze to give doughnuts a shiny look. Classic sugar glaze works well. Mix powdered sugar with a bit of milk and vanilla extract. Chocolate icing adds a rich taste and dark color. Use store-bought icing or melt chocolate chips. Spread or drizzle icing evenly on the warm doughnuts.
Toppings And Fillings
Sprinkle toppings on wet glaze for better stickiness. Use colorful sprinkles, crushed nuts, or shredded coconut. Fresh fruit pieces add natural sweetness. Fill doughnuts with jam, cream, or chocolate by injecting with a piping bag. Fillings surprise with a burst of flavor inside. Experiment with different combinations for variety.
Presentation Tips
Arrange doughnuts on a pretty plate or tray. Stack them in a pyramid for a festive look. Use cupcake liners or paper doilies to keep things neat. Serve with small forks or napkins for easy eating. Add a cup of coffee or tea on the side. Simple presentation makes doughnuts look inviting and tasty.
Cleaning And Maintenance
Cleaning and maintaining your doughnut maker kit keeps it working well. It helps avoid damage and keeps your doughnuts tasty. Regular care makes the kit last longer. Follow simple steps to clean and store your device safely.
Removing Residue Safely
Unplug the doughnut maker and let it cool down. Use a soft cloth or sponge to wipe away leftover batter. Avoid using sharp tools that can scratch the surface. For stuck bits, dampen the cloth with warm water. Never submerge the entire machine in water. Dry all parts completely before storing.
Storing Your Doughnut Maker
Store the doughnut maker in a dry place. Keep the lid closed to prevent dust buildup. Wrap the power cord neatly to avoid damage. Avoid placing heavy items on top of the device. A clean, safe spot helps keep the machine ready for use.
Troubleshooting Common Issues
Check if the power cord is plugged in correctly. Clean the heating plates if doughnuts stick too much. If the machine does not heat, test another outlet. Avoid using metal utensils that may cause damage. Follow the user manual for specific error codes or warnings.
Tips For Perfect Doughnuts Every Time
Making doughnuts with a Doughnut Maker Kit can be fun and tasty. Small changes can make big differences in your doughnuts. Follow these tips for perfect doughnuts every time.
These tips help avoid common problems and improve your doughnut texture and taste.
Avoiding Common Mistakes
Do not overfill the doughnut molds. Overfilling causes doughnuts to spill and cook unevenly.
Preheat your doughnut maker fully. This prevents doughnuts from sticking or cooking too slow.
Use fresh ingredients. Old baking powder or flour can make doughnuts flat or tough.
Adjusting For Altitude And Humidity
High altitude needs less baking powder and more liquid. This keeps doughnuts soft.
In humid weather, reduce liquid slightly. Too much moisture makes dough sticky.
Watch dough texture closely. Adjust ingredients step-by-step for best results.
Experimenting With Dough Consistency
Start with the recipe’s suggested dough. Then add flour or liquid slowly to adjust.
Dough should be thick but easy to drop into molds. Not runny, not stiff.
Try adding a bit of sugar or vanilla. Small changes can improve flavor and texture.
Credit: www.g-locbrakes.com
Frequently Asked Questions
What Is Included In A Doughnut Maker Kit?
A Doughnut Maker Kit typically includes a mini doughnut maker, batter dispenser, recipes, and sometimes decorating tools. It offers everything needed to make homemade doughnuts easily and quickly.
How Do I Use A Doughnut Maker Kit?
Simply prepare the batter, pour it into the doughnut maker, and cook for a few minutes. The kit’s instructions guide you step-by-step for perfect doughnuts every time.
Can I Make Different Doughnut Flavors With This Kit?
Yes, you can customize doughnut flavors by adding ingredients like chocolate, vanilla, or fruit. The kit allows creative variations to suit your taste preferences.
Is The Doughnut Maker Kit Easy To Clean?
Most Doughnut Maker Kits have non-stick surfaces, making cleaning quick and simple. Wipe down the plates after use and wash removable parts with warm soapy water.
Conclusion
A doughnut maker kit brings fun and ease to your kitchen. You can enjoy fresh, warm doughnuts anytime you want. It saves time and cuts down on mess. Kids and adults both will love making treats together. This kit offers a simple way to try new recipes.
Baking at home feels special with this handy tool. Give your family tasty snacks and happy moments. Cooking becomes a joyful experience with a doughnut maker kit.