Last Updated on May 23, 2026
Dutch Oven Apple Crisp is a simple, delicious dessert made with fresh apples and a crunchy topping. It’s perfect for outdoor cooking or cozy home baking.
Dutch Oven Apple Crisp combines the natural sweetness of apples with a crispy, buttery topping. This dessert is ideal for both camping trips and home kitchens. The Dutch oven’s even heat distribution ensures perfectly cooked apples and a golden-brown crust.
Use a mix of tart and sweet apples for the best flavor. Add cinnamon and nutmeg for a warm, spiced aroma that fills your home. Serve it warm with a scoop of vanilla ice cream or a dollop of whipped cream. This easy recipe will quickly become a family favorite.

Credit: letscampsmore.com
Ingredients
Creating the perfect Dutch Oven Apple Crisp starts with selecting the right ingredients. In this section, we’ll dive into the essentials and some optional additions that can elevate your dish.
Essential Items
| Ingredient | Quantity |
|---|---|
| Apples | 6-8 medium-sized |
| Rolled Oats | 1 cup |
| All-Purpose Flour | 1 cup |
| Brown Sugar | 1 cup |
| Butter | 1/2 cup (melted) |
| Cinnamon | 1 teaspoon |
| Nutmeg | 1/2 teaspoon |
| Salt | 1/4 teaspoon |
Optional Additions
- Vanilla Extract – 1 teaspoon for extra flavor.
- Chopped Nuts – 1/2 cup for added crunch.
- Raisins – 1/2 cup for a sweet touch.
- Fresh Lemon Juice – 1 tablespoon to enhance the apple flavor.
- Maple Syrup – 2 tablespoons for a richer taste.
These optional additions can make your Dutch Oven Apple Crisp unique. Choose your favorites and experiment.
Choosing The Right Apples
Picking the right apples is crucial for a perfect Dutch Oven Apple Crisp. The flavor and texture of your apples can make or break the dish. Let’s explore the best varieties and where to buy them.
Best Varieties
Different apples bring unique flavors and textures. Here are the best options:
- Granny Smith: Tart flavor and firm texture. Perfect for baking.
- Honeycrisp: Sweet, juicy, and crisp. Adds a delightful sweetness.
- Golden Delicious: Mildly sweet and soft. Blends well with other apples.
- Fuji: Very sweet and juicy. Great for a softer crisp.
Where To Buy
Fresh and quality apples are key. Here are reliable places to find them:
- Local Farmers’ Markets: Fresh, organic, and locally grown apples.
- Grocery Stores: Wide variety of apples available year-round.
- Orchards: Pick your own apples for the freshest option.
Check the apples for firmness and avoid any with bruises.
| Apple Variety | Flavor | Texture |
|---|---|---|
| Granny Smith | Tart | Firm |
| Honeycrisp | Sweet | Crisp |
| Golden Delicious | Mildly Sweet | Soft |
| Fuji | Very Sweet | Juicy |
Choosing the right apples ensures your Dutch Oven Apple Crisp is delicious and memorable.
Preparing The Dutch Oven
Making the perfect Dutch Oven Apple Crisp starts with preparing your Dutch oven. This step is crucial for an even cook and a delicious result. Below are key tips to get your Dutch oven ready for action.
Seasoning Tips
Seasoning your Dutch oven is essential. It prevents food from sticking and adds flavor. Follow these simple steps to season your Dutch oven:
- Clean your Dutch oven with warm water and mild soap.
- Dry it completely with a soft cloth.
- Apply a thin layer of vegetable oil inside and out.
- Place it upside down in your oven at 350°F for an hour.
- Let it cool inside the oven to complete the seasoning process.
Preheating
Preheating your Dutch oven ensures an even cook. This step is crucial before adding your apple crisp ingredients. Follow these tips to preheat your Dutch oven:
- Set your Dutch oven on a stovetop over medium heat.
- Allow it to heat up for about 10 minutes.
- Check the temperature using a thermometer. It should be around 375°F.
- Once preheated, remove it from the stovetop and let it rest for a minute.
Your Dutch oven is now ready for the apple crisp. With these preparation tips, you’re set for a delightful cooking experience.
Making The Crisp Topping
Creating the perfect crisp topping for your Dutch Oven Apple Crisp is simple and fun. The right mix of ingredients will give your dessert a delightful crunch. Follow these steps for a delicious topping that complements the soft, baked apples.
Ingredients Needed
- 1 cup of rolled oats
- 1 cup of all-purpose flour
- 1 cup of brown sugar
- 1 teaspoon of cinnamon
- 1/2 cup of unsalted butter, cold and cubed
- 1/2 teaspoon of salt
Mixing Instructions
- In a large bowl, combine the rolled oats, flour, brown sugar, cinnamon, and salt.
- Use a pastry cutter or your fingers to mix in the cold, cubed butter.
- Continue mixing until the mixture resembles coarse crumbs.
- Ensure the butter is evenly distributed for a consistent crisp topping.
- Sprinkle the topping evenly over the prepared apple filling in your Dutch oven.
This crisp topping adds a delightful crunch to your Dutch Oven Apple Crisp. Enjoy making this simple yet delicious topping!
Assembling The Apple Crisp
Assembling a Dutch Oven Apple Crisp is a delightful process. It involves layering apples and adding a delicious topping. Follow these steps to create a perfect dessert.
Layering Apples
Start with fresh, crisp apples. Choose varieties like Granny Smith or Honeycrisp. Peel, core, and slice the apples into even pieces.
Place the apple slices in the Dutch oven. Arrange them in an even layer. This ensures they cook uniformly. Sprinkle a bit of lemon juice over the apples. This prevents browning and adds a tangy flavor.
Next, add a mix of sugar and cinnamon. This adds sweetness and warmth. A pinch of nutmeg can also enhance the flavor. Stir gently to coat all the apple slices. Now, your apple layer is ready for the next step.
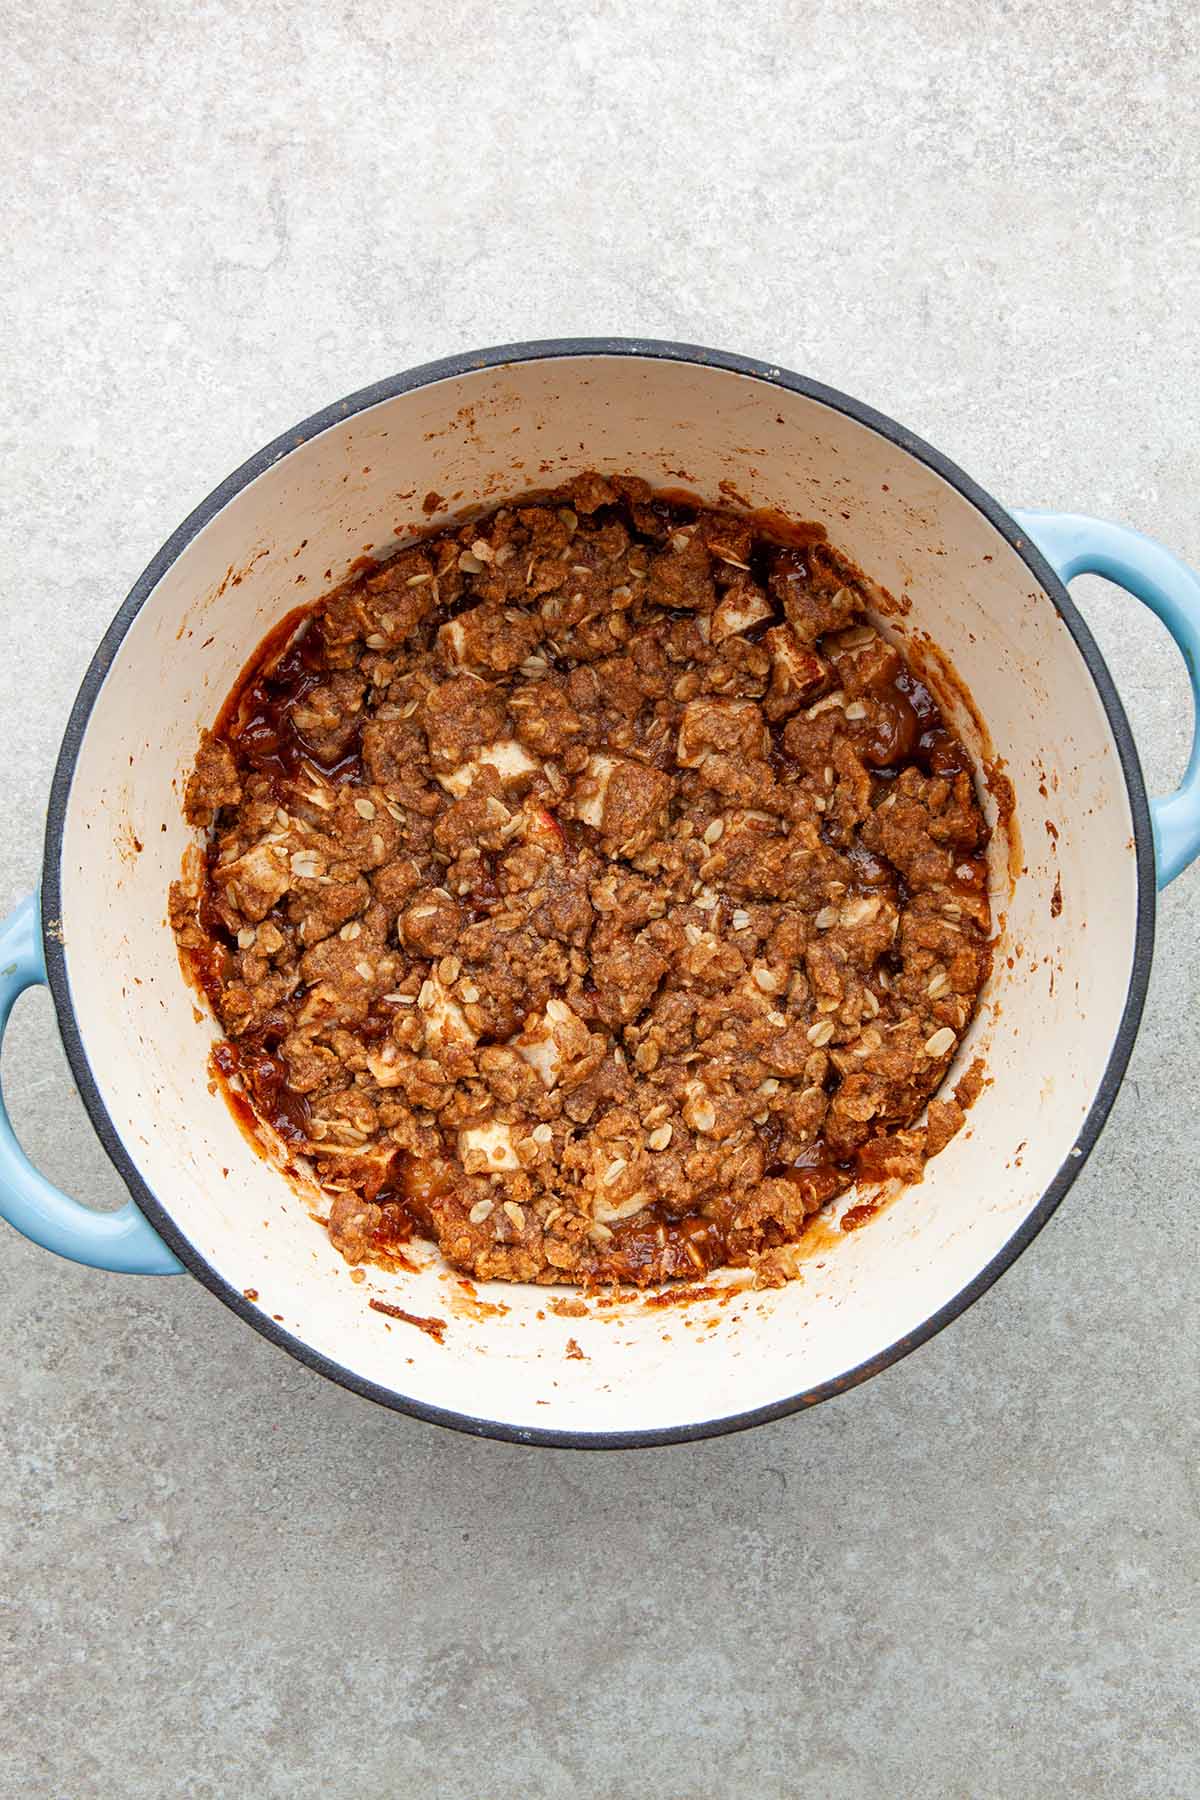
Adding Topping
Prepare the topping in a separate bowl. Mix together oats, flour, brown sugar, and melted butter. Add a pinch of salt to balance the sweetness. Stir until the mixture is crumbly.
Sprinkle the topping evenly over the apples. Make sure to cover all the apples. This ensures every bite has a crunchy texture. Press down lightly to compact the topping.
For extra flavor, add chopped nuts. Pecans or walnuts work well. These add a delightful crunch. Now, your Dutch Oven Apple Crisp is ready to bake. Place the lid on the Dutch oven and bake until golden brown.
Credit: kellyneil.com
Baking Instructions
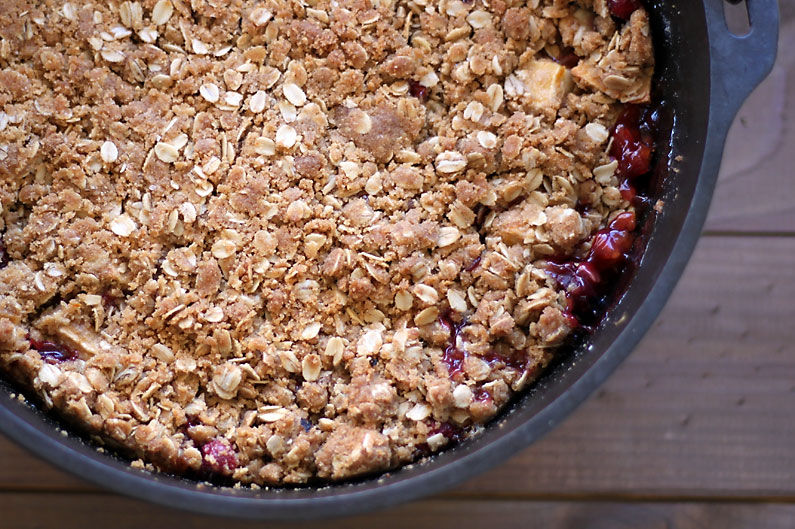
Get ready to bake the best Dutch Oven Apple Crisp! Follow these simple instructions to achieve a perfect, golden-brown dessert. Ensure you have all ingredients ready.
Temperature Settings
Preheat your oven to 350°F (175°C). This temperature ensures a balanced cooking process. It helps the apples soften while the topping gets crispy. If using a campfire, arrange hot coals on the lid and under the Dutch oven.
Baking Time
Bake the apple crisp for 45-50 minutes. Check after 30 minutes to ensure it’s cooking evenly. The topping should be golden brown and the apples tender. Use a toothpick to test the apples. If it goes through easily, your dessert is ready.
Serving Suggestions
Enhance your Dutch Oven Apple Crisp experience with these serving suggestions. Learn the best pairings and presentation tips to make your dessert unforgettable.
Best Pairings
Pair your Dutch Oven Apple Crisp with these delicious options:
- Vanilla Ice Cream: The creamy texture complements the crisp’s crunch.
- Whipped Cream: Adds a light, airy contrast to the warm dessert.
- Caramel Sauce: Drizzle for extra sweetness and a rich flavor.
- Chopped Nuts: Sprinkle for added crunch and nutty flavor.
Presentation Tips
Serve your Dutch Oven Apple Crisp with style using these tips:
- Individual Portions: Use small ramekins for a personalized touch.
- Cast Iron Skillet: Serve straight from the skillet for a rustic look.
- Garnish: Add a sprig of mint or a dusting of powdered sugar.
- Layering: Create layers with crisp, ice cream, and toppings.
For a visual guide, refer to the table below:
| Pairing | Benefit |
|---|---|
| Vanilla Ice Cream | Creamy texture complements the crisp’s crunch. |
| Whipped Cream | Light, airy contrast to the warm dessert. |
| Caramel Sauce | Extra sweetness and a rich flavor. |
| Chopped Nuts | Added crunch and nutty flavor. |
Storing Leftovers
Leftover Dutch Oven Apple Crisp can be a delightful treat for later. Proper storage ensures it stays fresh and delicious. Follow these tips for optimal results.
Storage Tips
Store your leftover Apple Crisp in an airtight container. This prevents it from drying out.
Keep it in the refrigerator. It will last for up to 5 days.
For longer storage, freeze the Apple Crisp. It can last for up to 3 months.
Reheating Instructions
Reheat the Apple Crisp in the oven for best results. Preheat the oven to 350°F (175°C).
Place the Apple Crisp in an oven-safe dish. Cover it with aluminum foil.
Heat for about 15-20 minutes. Check if it’s warm and bubbly.
Use a microwave for a quicker option. Place a portion in a microwave-safe bowl.
Heat for 1-2 minutes on high. Ensure it’s evenly heated.
| Storage Method | Duration |
|---|---|
| Refrigerator | Up to 5 days |
| Freezer | Up to 3 months |
Enjoy your Dutch Oven Apple Crisp, whether fresh or reheated!
Credit: dirtygourmet.com
Frequently Asked Questions
What Is A Dutch Oven Apple Crisp?
A Dutch oven apple crisp is a dessert made by baking spiced apples and a crumbly topping in a Dutch oven.
How Do You Make Apple Crisp In A Dutch Oven?
To make apple crisp, combine sliced apples, sugar, and spices. Top with a crumbly mixture and bake in the Dutch oven.
Can I Use Any Apples For Apple Crisp?
Yes, you can use any apples, but tart varieties like Granny Smith work best for balance.
How Long To Bake Apple Crisp In A Dutch Oven?
Bake the apple crisp in a Dutch oven at 350°F for about 45 minutes, until the topping is golden.
Conclusion
Creating a Dutch Oven Apple Crisp is simple and rewarding. This delicious dessert will impress everyone at your table. Enjoy the warm, comforting flavors of apples and cinnamon. Perfect for any occasion, this recipe is a must-try. Give it a go and share the joy with loved ones.