Last Updated on January 13, 2026
Making chocolate chips is simpler than you might think. With basic ingredients and a few steps, you can create delicious homemade chocolate chips.
Perfect for baking or snacking, this guide will help you master the art of crafting your own chocolate chips at home. Chocolate chips are a staple in many desserts, from cookies to muffins. While store-bought options are convenient, making them at home offers freshness and customization.
You can choose the type of chocolate and sweetness level you prefer. The process involves melting chocolate, forming it into small drops, and letting them cool. This ensures rich, flavorful chips that enhance your recipes. Homemade chocolate chips bring a personal touch to your baking. They add depth and taste that can transform ordinary treats into extraordinary delights. So, why not try making your own? It’s easy, fun, and rewarding.
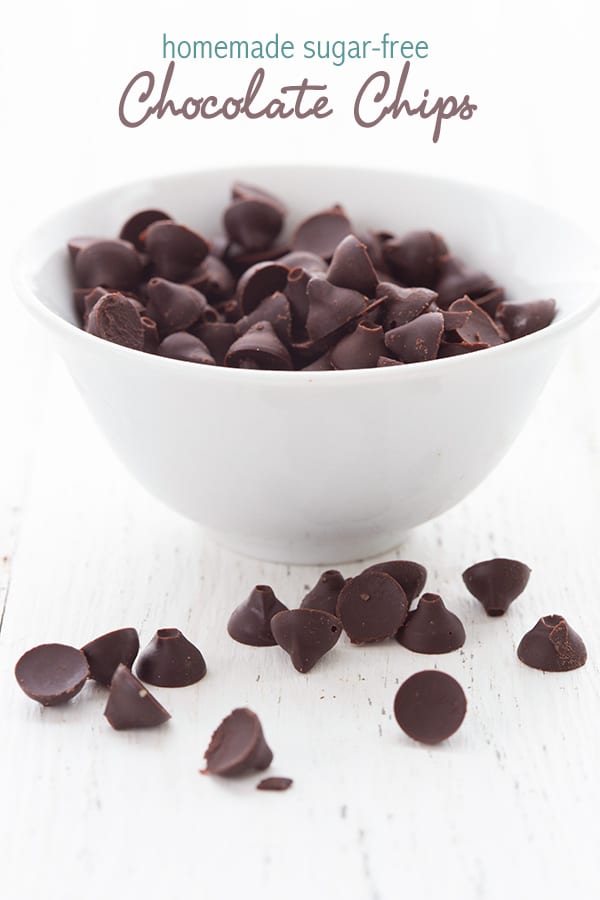
Credit: alldayidreamaboutfood.com
Introduction To Homemade Chocolate Chips
Crafting chocolate chips at home is easy and fun. Melt chocolate, pipe small dots on parchment, and let them cool. Enjoy these homemade treats in cookies or desserts.
Making homemade chocolate chips can be a delightful and rewarding experience. Imagine biting into a cookie and knowing that the rich, chocolatey morsels were crafted by your own hands. It’s not just about the end result; it’s about the journey of creating something uniquely yours. You might wonder why you should bother making chocolate chips when you can easily buy them. Let’s dive into the world of homemade chocolate chips and uncover the joy they bring to your kitchen.Benefits Of Making Your Own
There’s a certain satisfaction in knowing exactly what’s in your food. By making chocolate chips at home, you control the ingredients, ensuring they are fresh and free from preservatives. Homemade chocolate chips can be customized to suit your taste. You can adjust the sweetness, choose the type of chocolate, and even add flavors like vanilla or mint. When you make your own, you’re not just creating a treat. You’re also honing a skill that can be shared with friends and family, turning simple ingredients into cherished memories.A Brief History Of Chocolate Chips
Chocolate chips have an interesting story that dates back to the 1930s. They were created by accident by Ruth Wakefield when she ran out of baker’s chocolate and substituted it with broken pieces of a Nestlé chocolate bar. Her invention led to the iconic Toll House cookie, which has become a staple in households worldwide. Nestlé even struck a deal with Ruth, granting her a lifetime supply of chocolate in exchange for her recipe. The evolution of chocolate chips has been remarkable. From accidental creations to a global phenomenon, they have become an essential ingredient in countless recipes. Have you ever wondered what new twist you might discover when you make your own?Ingredients Needed
To create chocolate chips, gather cocoa butter, sugar, cocoa powder, and vanilla extract. These ingredients form the base. Add a pinch of salt for flavor balance.
Creating the perfect chocolate chips starts with understanding the ingredients needed. Each component plays a vital role in achieving that delightful taste and texture we all love. When I first tried making chocolate chips at home, I realized how each ingredient’s quality and quantity impacted the final product.Essential Components
The foundation of any chocolate chip recipe begins with cocoa butter. This ensures your chips have a smooth texture and melt beautifully in your mouth. Sugar adds sweetness, but you can choose the type based on your preference—white for a cleaner taste or brown for a hint of caramel. You’ll need cocoa powder to provide that rich chocolate flavor. Opt for high-quality cocoa for a more intense taste. Milk powder is essential if you prefer milk chocolate chips. It adds creaminess and balances the bitterness of cocoa. Lastly, a touch of vanilla extract can enhance the overall flavor profile, giving your chocolate chips a comforting aroma.Optional Add-ins For Flavor
Consider adding nuts like almonds or hazelnuts for a crunchy texture. These not only add flavor but also complement the smoothness of chocolate. Dried fruits such as cranberries or cherries can introduce a delightful tanginess. They pair wonderfully with dark chocolate chips. Spices like cinnamon or cardamom can create unexpected flavor twists. Imagine the surprise of biting into a chocolate chip with a hint of spice! If you’re adventurous, try a sprinkle of sea salt. It enhances the sweetness and creates a delightful contrast. Finally, think about adding espresso powder for a mocha twist. It intensifies the chocolate flavor and adds a coffee aroma.What unique ingredient will you try next time to make your chocolate chips stand out?
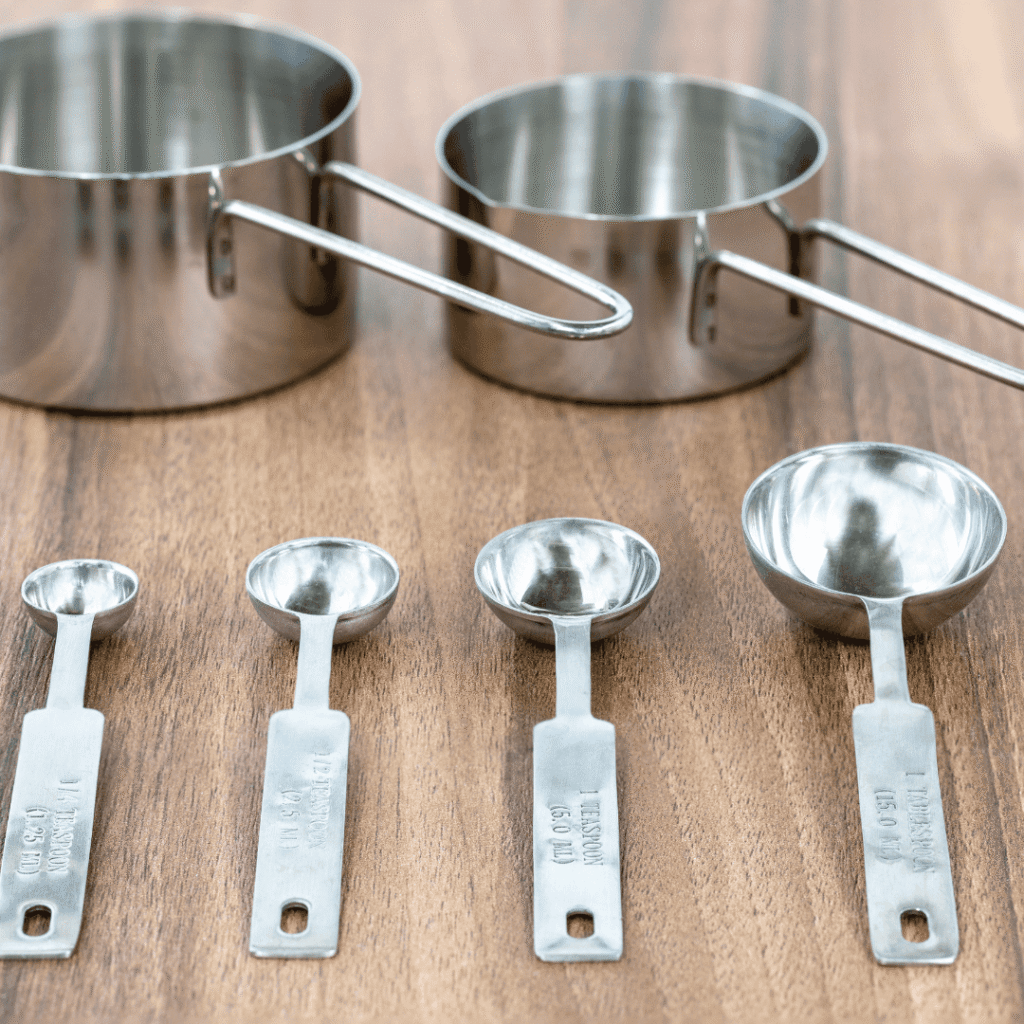
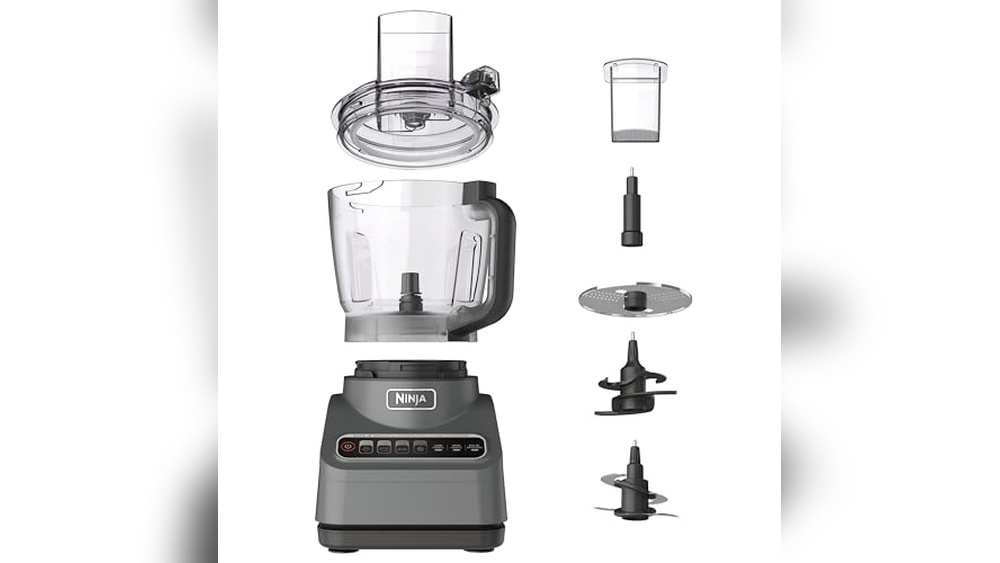
Tools And Equipment
Creating delicious chocolate chips at home requires the right tools and equipment. With the correct kitchen tools, the process becomes efficient and enjoyable. Let’s explore the essential tools and how to choose the right molds for perfect chocolate chips.
Kitchen Tools Required
Start with a double boiler or microwave-safe bowl. These help melt chocolate evenly. A spatula is essential for stirring the chocolate smoothly. Use a piping bag to create uniform chocolate chips. If you don’t have one, a plastic bag with a snipped corner works too.
Baking sheets lined with parchment paper are necessary. They keep the chocolate chips from sticking. A thermometer is optional but useful. It ensures the chocolate is at the right temperature. This prevents seizing or burning.
Choosing The Right Molds
Molds determine the shape and size of your chocolate chips. Silicone molds are popular. They are flexible and easy to clean. They help in easy removal of the chocolate chips. Choose molds with small cavities for traditional chocolate chip size.
If you prefer unique shapes, find molds in various designs. Just ensure they are food-grade quality. Ensure the molds are dry before using. Moisture can ruin the chocolate texture. Proper molds make your chocolate chips look professional and tasty.
Preparation Steps
Making chocolate chips at home can be a delightful experience. The process is simple and rewarding. Starting with the right preparation steps is crucial. This ensures your chocolate chips turn out perfectly. Let’s dive into the main steps to get started.
Melting The Chocolate
First, select a good quality chocolate. Dark or semi-sweet works best. Break the chocolate into small, even pieces. This helps it melt evenly. Place the chocolate in a heatproof bowl. Use a double boiler for gentle melting. Stir the chocolate until smooth and shiny. Be careful to avoid any water contact. Water can cause the chocolate to seize.
Mixing The Ingredients
Once melted, let the chocolate cool slightly. But not too much, as it needs to stay fluid. Prepare a piping bag or plastic zip-lock bag. Pour the melted chocolate into the bag. Cut a small tip at one corner. Pipe small dots onto a baking sheet lined with parchment. Make sure each dot is evenly spaced. Allow the chocolate chips to set at room temperature.
These steps are essential for homemade chocolate chips. They ensure a smooth texture and perfect shape. Enjoy the process and the delicious results!
Shaping The Chocolate Chips
Crafting the perfect chocolate chip involves precision and creativity. Melt chocolate, pour into molds, and cool to shape. Enjoy homemade chips in cookies or snacks.
Shaping the chocolate chips is a crucial step in the process. The right shape adds to the texture and presentation. You can use different methods to achieve perfect shapes. This section will guide you through some practical techniques.Using Molds
Molds offer a simple way to shape chocolate chips. They come in various sizes and designs. Choose a mold that suits your preference. Silicone molds are popular for their flexibility. Pour the melted chocolate into the mold cavities. Use a spoon or piping bag for precision. Tap the mold gently to remove air bubbles. This ensures a smooth surface on each chip. Place the mold in the fridge to let the chocolate set. Once firm, pop out the chocolate chips gently. You’ll have uniform, well-shaped chips.Creating Unique Shapes
Unique shapes can add fun to your chocolate chips. Use cookie cutters to form different designs. Pour melted chocolate onto a baking sheet. Spread it evenly with a spatula. Press cookie cutters into the chocolate before it sets. Remove excess chocolate around the edges. Let the chocolate cool and harden. Carefully lift the cutters to reveal the shapes. You can also use a knife for custom shapes. Draw patterns on parchment paper. Follow the lines with a knife to cut shapes. Experiment with various designs to find your favorite.Cooling And Setting
Cooling and setting chocolate chips is a crucial step. This process ensures your chocolate chips have the right texture and shine. Without proper cooling, they may not set well. This can lead to a less appealing appearance and taste.
Optimal Cooling Methods
Place your chocolate chips on a cool, flat surface. A marble slab or a baking sheet works well. Ensure the surface is clean and dry. Spread the chocolate chips evenly. This helps them cool uniformly. Keep the temperature consistent. A cool room with no direct sunlight is ideal.
For faster results, use a refrigerator. Lay the chocolate chips on a baking sheet first. Then, place them in the fridge for 10 to 15 minutes. Check them regularly to prevent condensation. Moisture can affect the texture.
Ensuring Proper Texture
Proper texture is key for chocolate chips. Cooling too quickly can make them brittle. This affects their melting quality. Let them cool slowly at room temperature. This helps retain their smoothness and gloss.
Use a fan to circulate air around them. This speeds up the process without harsh temperature changes. Avoid placing them in direct airflow, as this may cause uneven cooling.
After cooling, test a few chips. They should break cleanly and melt in your mouth. If they are too soft, allow more cooling time. If too hard, adjust your cooling method.
Storage Tips
Storing homemade chocolate chips properly is essential. It ensures they remain fresh and delicious. Proper storage also prevents melting. You can enjoy your treats without disappointment.
Preserving Freshness
Store chocolate chips in an airtight container. This prevents exposure to moisture. Moisture can spoil the taste. Keep the container in a cool, dry place. Direct sunlight is a threat. It can alter flavor and texture. Use the refrigerator for longer storage.
Avoid freezing chocolate chips. Freezing can change their texture. It may lead to a grainy feel. Always check for any unusual odors. This helps ensure freshness. Label containers with the date. This helps track shelf life easily.
Preventing Melting
Heat is a chocolate chip’s enemy. Always store them below room temperature. The fridge is a safe choice. It prevents unwanted melting. Never leave them near heat sources. Ovens, stoves, or direct sunlight are risky.
If transporting chocolate chips, use cool packs. They keep the temperature stable. A thermal bag can be useful. It helps maintain a cool environment. Always seal the container tightly. Air exposure can increase melting chances.
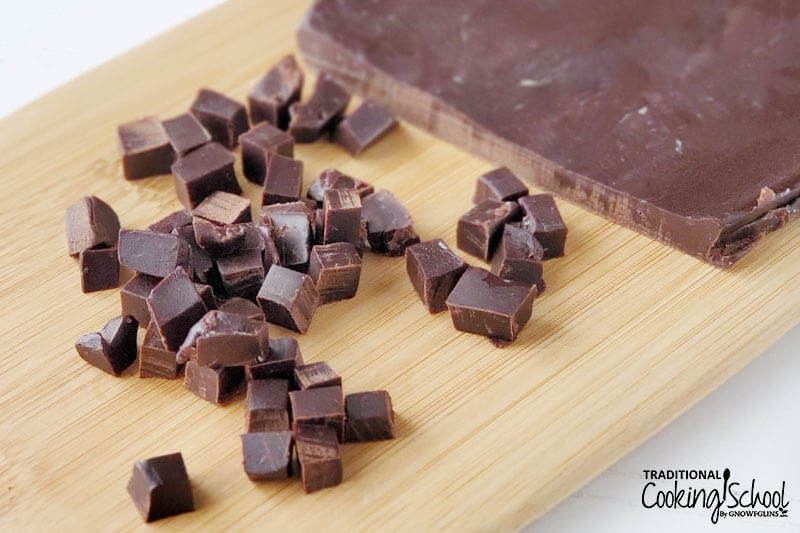
Credit: traditionalcookingschool.com
Creative Uses For Homemade Chocolate Chips
Homemade chocolate chips can transform your culinary creations. They’re not just for cookies. Their versatility makes them a delightful addition to various dishes. From baking to decoration, these small chocolate pieces offer endless possibilities. Explore creative uses and elevate your homemade treats. Let’s dive into some exciting ideas to make the most of your chocolate chips.
Baking Ideas
Chocolate chips add richness to muffins. Sprinkle them on top before baking. They melt slightly, creating a gooey texture. For brownies, mix them into the batter. They enhance the chocolate flavor. Try adding them to pancake batter. Chocolate-chip pancakes are a breakfast favorite. You can also use them in banana bread. Their sweetness complements the banana’s natural flavor.
Consider using chocolate chips in scones. They make a tasty addition to the dough. Chocolate chip scones are perfect for tea time. In cakes, scatter them between layers. They add a burst of chocolate with every bite. Use them in granola bars for a sweet touch. Homemade granola bars with chocolate chips are great snacks.
Decorative Uses
Chocolate chips make stunning cake decorations. Arrange them in patterns on frosting. They add texture and appeal. For cupcakes, place them on top of swirls. Chocolate chips offer a simple but effective decoration. Use them to create faces on cookies. Kids love cookies with chocolate-chip eyes.
Chocolate chips can decorate ice cream sundaes. Scatter them over whipped cream. They provide a crunchy element to soft ice cream. In fruit salad, sprinkle them lightly. They add a sweet surprise among the fruits. For chocolate bark, press them into melted chocolate. They create an attractive design. Chocolate bark with chips is a great gift idea.

Credit: www.youtube.com
Frequently Asked Questions
Can You Make Your Own Chocolate Chips?
Yes, you can make your own chocolate chips at home. Melt chocolate, spread it thin, cool, and cut. Use quality ingredients for the best taste. Customize with flavors or sweetness. Store homemade chips in a cool, dry place. Enjoy them in cookies, muffins, or pancakes.
Is It Cheaper To Make Your Own Chocolate Chips?
Making your own chocolate chips can be cheaper if you buy ingredients in bulk. Homemade versions may also offer better quality and control over ingredients. Prices vary depending on the type of chocolate and other factors. Compare costs with store-bought options for the best choice.
What Are The Ingredients In Chocolate Chips?
Chocolate chips typically contain cocoa mass, sugar, cocoa butter, lecithin, and vanilla. Milk chocolate chips add milk solids. Dark chocolate chips have higher cocoa content. Some chips may include stabilizers or flavor enhancers. Always check packaging for specific ingredients and variations.
What Is The Process Of Chocolate Chips?
Chocolate chips are made by mixing cocoa, sugar, and milk. This blend is melted and molded into tiny drops. These drops are cooled and packaged for baking or snacking. Quality control ensures taste and consistency. Enjoy these sweet morsels in cookies, muffins, or directly from the pack.
Conclusion
Making chocolate chips is easy and fun for everyone. With simple ingredients, you can create delicious treats at home. Just melt, mix, and chill for perfect chocolate chips. Homemade chips add a personal touch to cookies and desserts. You control the flavors and quality.
No need for fancy tools or skills. Anyone can make them with a little patience. Try different flavors or shapes for variety. Share your homemade goodies with friends and family. Enjoy the sweet satisfaction of crafting your own chocolate chips.
Happy baking!