Last Updated on June 1, 2026
Peeling apples can be a messy and time-consuming task, but it doesn’t have to be. Imagine saving time and effort every time you prepare your favorite apple dishes.
Learning how to operate an apple peeler is the secret to making this simple and quick. You’ll discover easy steps to master your apple peeler, so your kitchen prep becomes faster and more enjoyable. Ready to transform how you handle apples?
Let’s dive in and make peeling effortless for you.
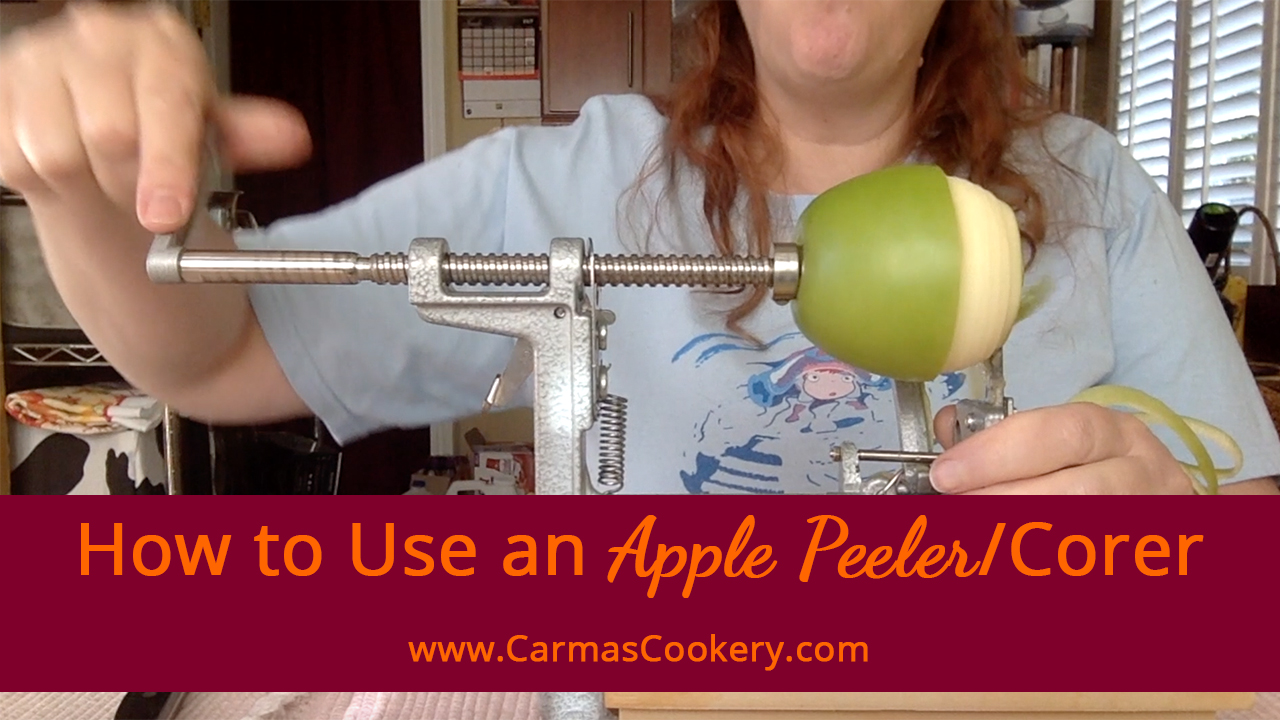
Credit: www.carmascookery.com
Choosing The Right Apple Peeler
Choosing the right apple peeler makes peeling easier and faster. A good peeler saves time in the kitchen. It helps you prepare apples for pies, snacks, or sauces. Understanding different types and features guides you to the best choice.
Manual Vs Electric Peelers
Manual peelers require hand turning to peel apples. They are simple and do not need power. These peelers work well for small tasks or few apples. Electric peelers use a motor to spin the apple. They peel faster and need less effort. These are best for large amounts or frequent use.
Materials And Durability
Apple peelers come in plastic, stainless steel, or cast iron. Plastic peelers are light but less durable. Stainless steel peelers resist rust and last longer. Cast iron peelers are heavy and very strong. Durable materials ensure your peeler works well for years.
Size And Capacity
Size matters depending on your kitchen space. Small peelers fit tight spaces and are easy to store. Larger peelers handle big apples and more at once. Choose a size that fits your needs and kitchen size. Capacity affects how many apples you peel quickly.
Preparing Apples For Peeling
Preparing apples properly makes peeling easier and faster. Good preparation helps the apple peeler work smoothly. It also keeps the apples fresh and clean. Follow simple steps to get your apples ready for peeling.
Selecting Fresh Apples
Choose apples that are firm and free from bruises. Fresh apples peel better and taste sweeter. Avoid apples with soft spots or cuts. Pick apples that are medium to large in size. They fit well in most peelers.
Washing And Drying
Rinse apples under cool running water. This removes dirt, dust, and pesticides. Use your hands to rub the surface gently. Dry each apple with a clean towel. Dry apples stick less to the peeler and are safer to handle.
Removing Stems
Pull out the apple stem carefully. Stems can block the peeler’s blade. Removing them helps the apple sit evenly on the peeler. Use a small knife if the stem is hard to remove by hand.
Setting Up The Peeler
Setting up the apple peeler is the first step to peeling apples quickly and easily. Proper setup ensures smooth operation and saves time. Follow simple steps to get your peeler ready for use.
Assembling Components
Start by identifying all parts of the apple peeler. These usually include the handle, blade, peeling arm, and mounting base. Attach the peeling arm securely to the main body. Fix the blade in place, making sure it is sharp and aligned. Tighten any screws or bolts to keep parts stable. Check that the handle turns smoothly without wobbling.
Securing The Peeler To A Surface
Place the peeler on a flat, sturdy surface like a kitchen counter or table. Most peelers have a suction base or clamp for stability. Press down or tighten the clamp to fix the peeler firmly. Avoid placing it on slippery or uneven surfaces. A secure peeler prevents movement and helps peel apples evenly and safely.
Adjusting For Apple Size
Apples come in different sizes, so adjust the peeler accordingly. Move the peeling arm or blade closer or farther from the center to fit the apple’s width. Check that the apple fits tightly on the prongs or spikes without sliding. Test the setup by turning the handle slowly to see if the blade peels smoothly. Make small changes for better peeling results.
Operating The Apple Peeler
Operating an apple peeler is simple and saves time. This tool peels apples quickly and evenly. Follow these steps to use it right.
Positioning The Apple
Place the apple on the prongs. Make sure it is firm and secure. The apple should be centered for best results. A well-positioned apple peels evenly without slipping.
Turning The Handle Or Activating Motor
Turn the handle slowly to start peeling. For electric peelers, press the power button. Keep a steady speed for smooth peeling. Avoid rushing to prevent damage to the apple.
Monitoring The Peeling Process
Watch the apple as it peels. Stop if the apple slips or peels unevenly. Adjust the blade or apple position if needed. The process takes just a few seconds.
Safety Tips While Peeling
Peeling apples with an apple peeler is quick and easy. Safety is very important during this process. Taking simple precautions keeps your hands safe and your workspace clean. Follow these safety tips to avoid injuries while peeling.
Handling Blades Carefully
The blades on an apple peeler are sharp. Always hold the peeler by the handle. Never touch the blade edges directly. Check blades for damage before use. Replace dull or bent blades immediately. Use slow, steady pressure while peeling. This lowers the risk of slipping and cuts.
Avoiding Slips And Injuries
Keep the apple and peeler steady. Use a clean, dry surface for peeling. Wet or oily surfaces cause slips. Keep hands dry to hold tools better. Peel apples one at a time. Do not rush the process. Stop if the peeler jams or feels stuck. This prevents sudden movements and injuries.
Keeping Children Away
Children should not use the apple peeler. Keep the device out of their reach. Sharp blades can cause serious harm. Supervise children in the kitchen at all times. Explain why they must stay clear. Safety comes first for everyone around.
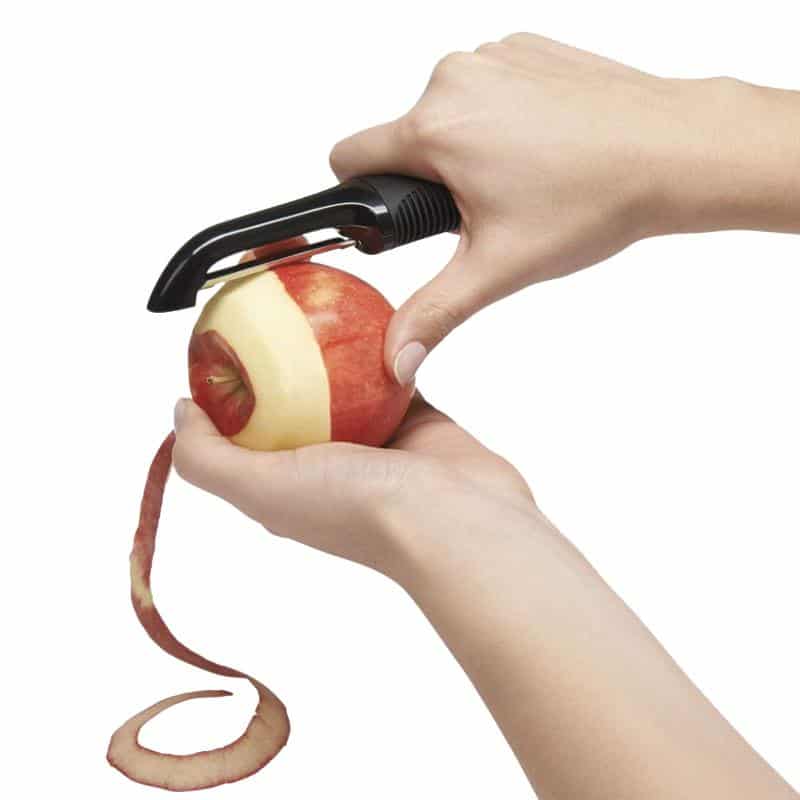
Credit: thedaringkitchen.com
Cleaning And Maintenance
Cleaning and maintaining your apple peeler keeps it working well and lasts longer. Dirt, juice, and small bits of apple can build up on the parts. Regular care stops rust and keeps the peeler safe to use.
Follow simple steps after each use to keep your peeler clean and ready.
Disassembling The Peeler
Take the peeler apart carefully. Remove the handle, blade, and any other removable parts. This helps clean all areas well. Check the manual for exact instructions on how to disassemble.
Washing Components
Wash each part with warm, soapy water. Use a soft brush to remove stuck bits. Avoid soaking metal parts for too long. Dry all pieces completely to stop rust from forming.
Storing Properly
Store the peeler in a dry place. Keep parts together to avoid losing any. Cover the blade to protect it and prevent accidents. Proper storage keeps your peeler ready for the next use.
Troubleshooting Common Issues
Operating an apple peeler can be simple, but issues may occur. These common problems can slow down your peeling or affect the quality. Knowing how to fix them helps keep your peeler working well. Here are some tips to solve typical troubles during apple peeling.
Apple Not Peeling Evenly
Uneven peeling happens if the apple is not fixed tightly. Check if the apple is centered on the spikes. Make sure the apple is firm and fresh. Soft or bruised apples peel poorly. Adjust the blade height to match apple size. Turn the handle slowly and steadily for smooth peeling.
Peeler Jamming
Jamming occurs when the apple is too hard or large. Cut big apples into smaller pieces before peeling. Remove any leftover peel or core stuck in the blade. Clean the peeler regularly to avoid buildup. Lubricate moving parts if they feel stiff. Turn the handle gently to prevent sudden stops.
Blade Dullness
Dull blades cause slow peeling and rough cuts. Test the blade by slicing a soft fruit. Replace or sharpen the blade if it feels blunt. Use a sharpening stone or take it to a professional. Keep the blade dry and clean after each use. A sharp blade makes peeling faster and cleaner.
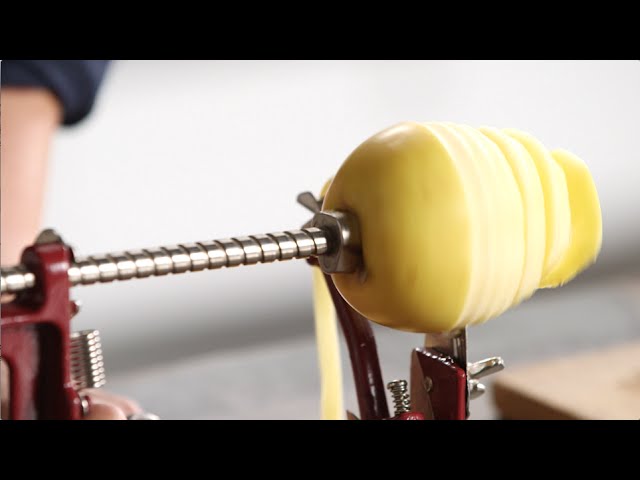
Credit: www.youtube.com
Creative Uses Beyond Peeling
The apple peeler is not just for peeling apples. It can do much more in your kitchen. Using it creatively saves time and effort. You will find new ways to use this simple tool. It can help with slicing, peeling other fruits, and even in cooking recipes. Let’s explore these creative uses beyond peeling apples.
Slicing For Baking
The apple peeler can slice apples thin and even. Thin slices cook faster and look great in pies. Use the peeler to prepare apples for tarts or crisps. It helps you get uniform slices without much work. Slices made this way bake evenly and taste better. You can also slice potatoes or carrots for baking. The peeler makes quick work of hard vegetables.
Peeling Other Fruits
This tool works well with fruits like pears and peaches. It removes the skin smoothly without cutting the fruit. You can peel kiwis or cucumbers too. The peeler handles soft and firm skins alike. Using it saves your hands from sticky or tough skins. Try peeling different fruits to find what works best.
Incorporating Peeler In Recipes
Use the peeler to create thin strips for salads. Apple or pear ribbons add a fresh look to dishes. The peeler also helps make vegetable noodles for healthy meals. Thin strips cook quickly and mix well in recipes. Try adding peeled and sliced fruits in smoothies or desserts. The tool makes food preparation faster and easier.
Frequently Asked Questions
How Do You Set Up An Apple Peeler?
To set up an apple peeler, secure it to a stable surface. Attach the apple to the prongs. Adjust the peeling blade to the apple’s size. Ensure all parts are tightly fixed before use.
What Types Of Apples Work Best With Peelers?
Firm apples like Granny Smith or Fuji work best. Avoid overly soft or bruised apples. Firm apples ensure smooth peeling and better results. This helps prevent the apple from breaking during peeling.
Can An Apple Peeler Remove Cores And Slices?
Yes, many apple peelers can also core and slice. These functions depend on the model and blade attachments. Check your peeler’s features before operation for these options. It saves time and effort in apple preparation.
How Do You Clean An Apple Peeler After Use?
Disassemble removable parts carefully after use. Wash with warm, soapy water to remove residue. Dry all parts thoroughly to prevent rust. Avoid harsh chemicals to maintain the peeler’s longevity.
Conclusion
Operating an apple peeler is simple and saves time. Start by securing the apple firmly. Turn the handle steadily to peel the skin. The blade will remove the peel smoothly and quickly. Always clean the peeler after use to keep it sharp.
Using this tool makes apple preparation easier and faster. Enjoy fresh, peeled apples for your recipes with less effort. Practice a few times to get comfortable with the process. Soon, peeling apples will feel like second nature.