Last Updated on July 24, 2026
If your knives are dull, cutting becomes frustrating and unsafe. You want your blades sharp and ready, but sharpening them can seem tricky.
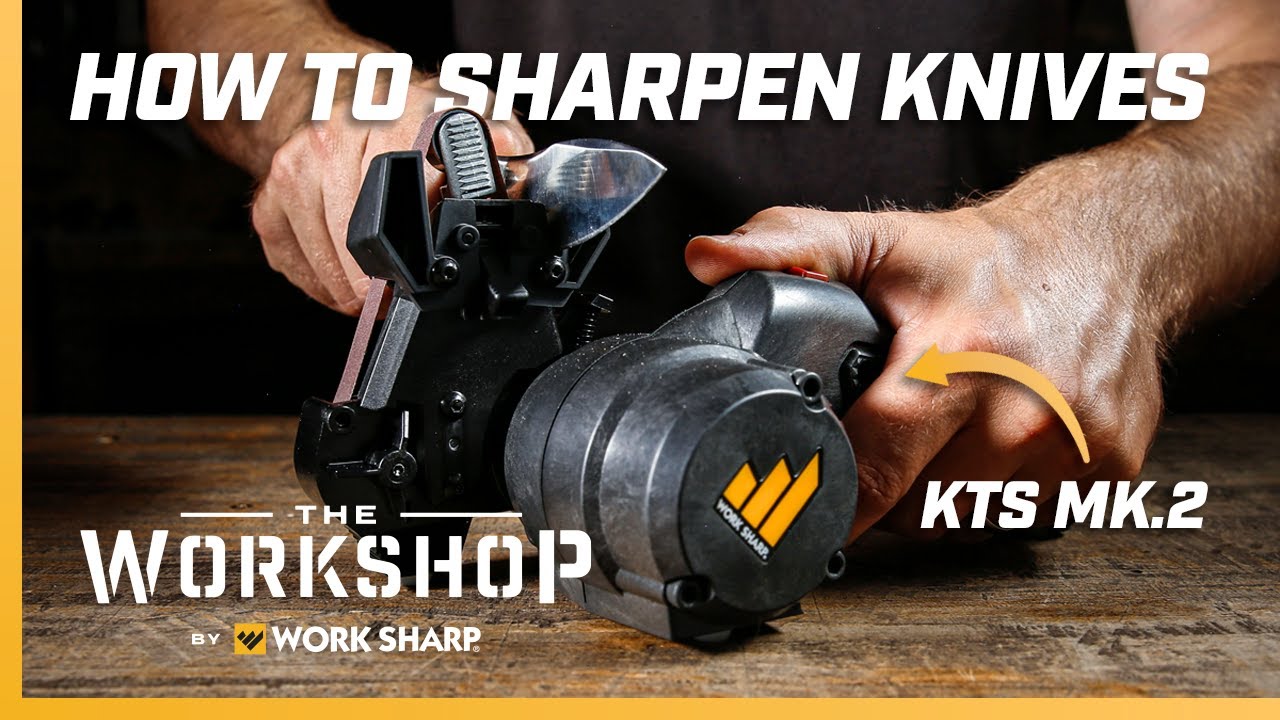
That’s where the Work Sharp Knife Sharpener comes in. It’s designed to make sharpening simple, fast, and effective—right at home. In this guide, you’ll discover step-by-step how to use your Work Sharp to bring your knives back to life. By the end, you’ll feel confident handling your sharpener and enjoy the smooth, precise cuts only a sharp knife can deliver.
Keep reading to unlock the secret to sharp knives every time.
Credit: www.youtube.com
Choosing The Right Work Sharp Model
Choosing the right Work Sharp model is important for sharp knives. Different models suit different needs and knives. Picking the correct one saves time and effort. It also keeps your knives safe and sharp for longer.
Comparing Available Versions
Work Sharp offers several sharpener models. Each has unique features and uses. Some models use belts, others use stones. Some are electric, others manual. Check size, power, and sharpening angle options. These factors affect how well the sharpener works.
Basic models work well for small knives. Professional models handle larger blades and tools. Consider portability if you need to carry it. Think about how often you will use it. This helps narrow down your choices.
Selecting Based On Knife Types
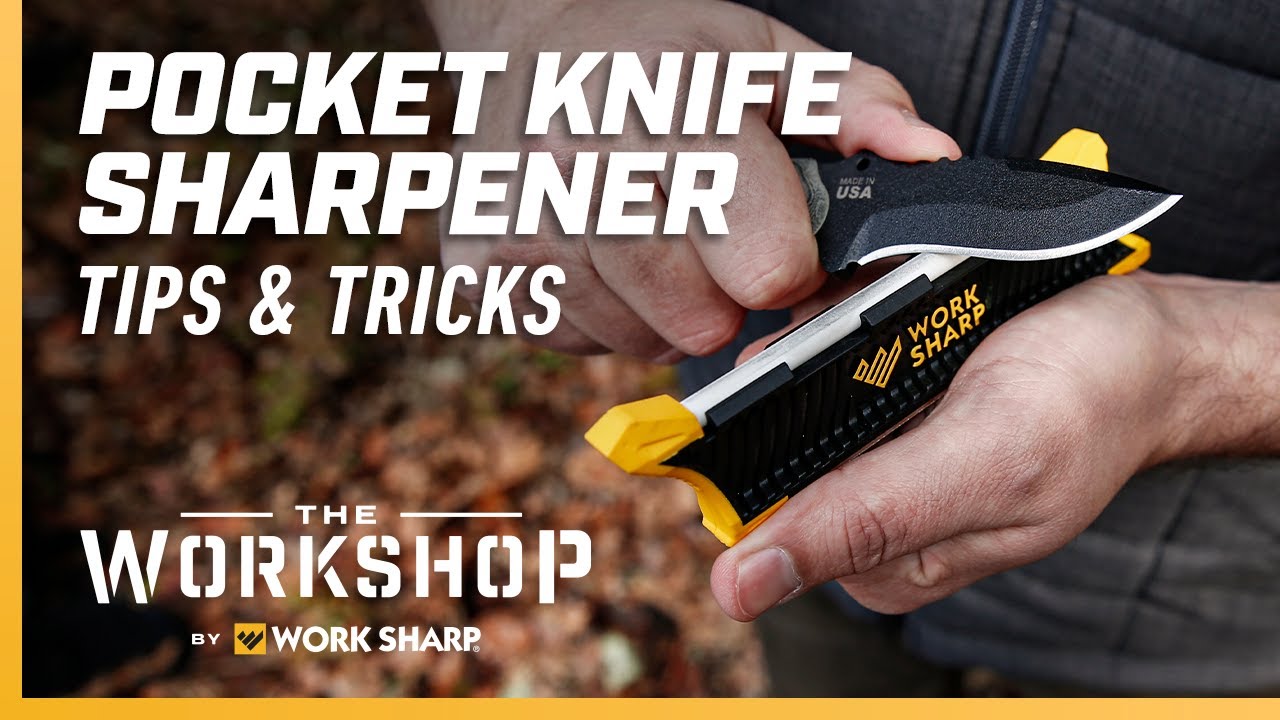
Different knives need different sharpening tools. Chef knives need a sharp edge quickly. Hunting knives require a durable edge for tough use. Pocket knives need a compact sharpener. Some Work Sharp models are better for soft steel. Others work best on hard steel blades.
Choose a model that matches your knife material. Match the sharpener’s angle with your knife’s edge. This protects the blade and keeps it sharp longer. Using the right model makes sharpening easier and safer.

Credit: worksharptools.com
Preparing Your Knife And Workspace
Preparing your knife and workspace sets the stage for effective sharpening. This step ensures safety and better results with the Work Sharp knife sharpener. Taking time to clean and inspect your blade helps avoid damage and improves sharpness. Setting up a safe area prevents accidents and keeps your tools organized.
Cleaning And Inspecting The Blade
Start by cleaning the knife blade with warm water and soap. Remove all dirt, grease, and food particles. Dry the blade completely to avoid slipping during sharpening. Check the blade for any chips, rust, or damage. Small imperfections may affect sharpening quality. If the blade is severely damaged, consider professional repair first.
Setting Up A Safe Sharpening Area
Choose a flat, stable surface to place your Work Sharp sharpener. Ensure the area is well-lit for clear visibility. Keep children and pets away from the workspace. Remove clutter to avoid distractions and accidents. Place a damp cloth or non-slip mat under the sharpener. This prevents it from moving during use. Have a container ready to catch metal filings or debris.
Setting Up The Work Sharp Sharpener
Setting up the Work Sharp sharpener is the first step to a sharp blade. Proper setup helps you sharpen knives quickly and safely. This section covers how to assemble the device and adjust angles for different blades. Follow these easy steps for the best results.
Assembling The Device
Start by unpacking all parts from the box. Place the base on a flat surface. Attach the sharpening arm to the base. Use the screws provided to secure the arm tightly. Connect the power cord to a nearby outlet. Make sure the device is stable before use. Check that the belt or abrasive wheel is in place. The device is ready once all parts fit securely.
Adjusting Angles For Different Blades
Different blades need different sharpening angles. Use the angle guide on the sharpening arm. Move the guide to match the blade type. For kitchen knives, set angles between 15 and 20 degrees. Hunting knives may need a wider angle. Lock the guide firmly to hold the angle. This ensures an even sharpening edge. Adjusting angles helps protect the blade’s shape and sharpness.
Step-by-step Sharpening Process
The step-by-step sharpening process with the Work Sharp Knife Sharpener is simple and effective. Follow each stage carefully to restore your knife’s edge. The sharpener uses different grit levels to shape and polish the blade. This method ensures your knife becomes sharp and smooth.
Starting With Coarse Grit
Begin by attaching the coarse grit belt to the sharpener. Turn on the device and hold your knife at the correct angle. Slowly draw the blade across the belt from heel to tip. Repeat this motion several times. The coarse grit removes dullness and repairs small chips.
Progressing To Fine Grit
Switch to the fine grit belt after the coarse stage. This belt smooths the blade’s edge and refines the sharpness. Move the knife across the belt using the same angle and slow pace. Make several passes until the edge feels smooth and sharp. Fine grit finishes the sharpening process nicely.
Maintaining Consistent Pressure
Apply steady pressure during sharpening for the best results. Avoid pushing too hard or moving too fast. Consistent pressure helps the blade wear evenly. It also prevents damage to both the knife and the sharpener. Keep your hand steady and focus on smooth, controlled strokes.
Testing Sharpness And Making Adjustments
Testing the sharpness of your knife after using the Work Sharp Knife Sharpener is very important. It helps you know how well the blade is sharpened. Making small adjustments can improve the edge for better cutting performance. This step ensures your knife is ready for any task.
Performing The Paper Test
The paper test is a simple way to check sharpness. Hold a piece of paper in one hand. Use the knife to slice through the paper smoothly. If the blade cuts cleanly without tearing, it is sharp. If it tears or struggles, more sharpening is needed. Repeat the test after each sharpening session.
Fine-tuning The Edge
Fine-tuning helps create a smoother, sharper edge. Use the fine grit setting on the Work Sharp sharpener. Lightly run the blade over the sharpener with gentle pressure. Keep the angle steady to avoid damage. Test the knife again with the paper test. Continue fine-tuning until the blade cuts perfectly.
Credit: www.youtube.com
Cleaning And Maintaining The Sharpener
Keeping your Work Sharp Knife Sharpener clean and well-maintained helps it work better and last longer. Dirt, metal dust, and other debris can build up during use. Removing these residues regularly keeps the sharpener running smoothly.
Simple care steps make a big difference. Clean parts prevent damage and ensure safe sharpening every time. Proper storage also protects the sharpener from wear and tear.
Removing Residue And Debris
Unplug the sharpener before cleaning. Use a soft brush to remove metal dust and crumbs. Avoid water or harsh chemicals that can damage the machine. Wipe the exterior with a dry cloth. Check the sharpening belts and discs for buildup. Clean gently but thoroughly. This keeps the sharpener working well.
Storing For Longevity
Store the sharpener in a dry, cool place. Avoid areas with high humidity or dust. Cover the sharpener to protect it from dirt. Keep it away from direct sunlight or heat sources. Proper storage stops rust and damage. It helps the sharpener last longer and stay ready for use.
Common Mistakes To Avoid
Using the Work Sharp Knife Sharpener is simple, but some mistakes can reduce its effectiveness. Avoiding these errors helps keep your knives sharp and safe. Here are common mistakes to watch out for.
Over-sharpening The Blade
Sharpening too often can wear down the blade quickly. Each pass removes metal, which shortens the knife’s life. Stop sharpening once the blade feels sharp. Excessive sharpening makes the edge thin and weak. Use the sharpener only when the knife is dull.
Ignoring Safety Precautions
Not using safety gear can cause injuries. Always wear protective gloves to avoid cuts. Keep your hands clear of the blade and moving parts. Work on a stable surface to prevent slips. Follow the sharpener’s instructions carefully for safe use.
Tips For Prolonging Knife Sharpness
Keeping your knives sharp saves time and effort in the kitchen. Using the Work Sharp Knife Sharpener correctly helps. But taking extra steps can keep your knives sharp longer. These tips focus on care beyond sharpening.
Proper Knife Storage
Store knives carefully to avoid dulling the blade. Use a knife block or magnetic strip. Avoid tossing knives in drawers with other utensils. This prevents nicks and scratches. Keep blades dry before storing to stop rust. Proper storage protects the edge and extends sharpness.
Regular Honing Practices
Honing realigns the blade’s edge between sharpenings. Use a honing rod to maintain sharpness. Perform honing every few uses. Hold the rod steady and swipe the blade at a 20-degree angle. This keeps the edge straight and cuts smoothly. Honing is quick and keeps knives ready for use.
Frequently Asked Questions
How Do I Set Up The Work Sharp Knife Sharpener?
Unbox the sharpener and plug it into a power source. Attach the correct sharpening belt. Adjust the angle guide for your knife’s blade angle. Always read the user manual for specific setup instructions.
What Is The Best Angle For Sharpening Knives?
Most knives sharpen well at a 20-degree angle. Some Japanese knives require 15 degrees. Work Sharp’s adjustable guide helps maintain the right angle. Proper angle ensures a sharper, longer-lasting edge.
How Often Should I Sharpen My Knives?
Sharpen your knives every 3-6 months, depending on use. Frequent users may need sharpening more often. Regular honing can extend sharpness between sharpening sessions. Using the Work Sharp keeps blades performing at their best.
Can I Sharpen Serrated Knives With Work Sharp?
Yes, but use the serrated edge sharpening attachment. Follow the manufacturer’s instructions carefully. Sharpen each serration individually for best results. Avoid using standard belts on serrated blades to prevent damage.
Conclusion
Using the Work Sharp Knife Sharpener keeps your knives sharp and safe. It works fast and is easy to use. Remember to follow the steps carefully for best results. Regular sharpening helps knives cut better and last longer. This tool fits in any kitchen and saves money on new knives.
Try it today and enjoy smooth, sharp blades every time. Keep your knives ready for all your cooking needs. Simple, quick, and effective.