Last Updated on May 20, 2026
Making bread doesn’t have to be complicated. No knead bread is easy and delicious.
This method requires minimal effort and delivers a tasty loaf every time. Imagine enjoying the aroma of fresh bread filling your kitchen without the need for endless kneading. This simple recipe lets you experience the joy of baking without stress.
Just mix, wait, and bake. No fuss, no hard work. Perfect for busy people or beginners. With a few basic ingredients, you can create homemade bread that impresses everyone. Dive into this straightforward process. Feel the satisfaction of making something from scratch. Enjoy the crusty exterior and soft interior. Let’s explore how you can make no knead bread today!

Credit: www.nytimes.com
Introduction To No Knead Bread
No knead bread has taken the world by storm. It’s a game-changer for home bakers. The simplicity and delicious results make it a favorite.
Origins Of The Technique
The no knead bread technique was popularized by Jim Lahey in 2006. His method, featured in The New York Times, showcased a revolutionary way to bake bread. It involved minimal effort, yielding bakery-quality loaves.
Lahey’s technique relies on time rather than effort. The dough ferments slowly over 12-18 hours. This long rise develops gluten naturally, eliminating the need for kneading.
Why It’s Popular
No knead bread is perfect for busy schedules. You mix the ingredients, let them sit, and bake. There’s no need for special skills or equipment.
The results are consistently impressive. You get a crisp crust and airy crumb every time. It’s hard to believe such an easy method can produce such delicious bread.
Have you ever tried making bread at home? If not, this recipe will change your mind. It’s a satisfying and straightforward way to enjoy fresh bread without hassle.
Essential Ingredients
The magic of no knead bread lies in its simplicity. You only need a few essential ingredients. These basic components combine to create a delicious, crusty loaf. Let’s dive into what you’ll need.
Flour Selection
Flour is the backbone of your bread. All-purpose flour works well. It gives a balanced texture and flavor. For a heartier loaf, use whole wheat flour. You can also mix different flours. Try half all-purpose and half whole wheat. This gives the bread a unique taste.
Yeast Types
Yeast is crucial for bread rising. Active dry yeast is common. It needs to be dissolved in water first. Instant yeast is another option. It can be mixed directly with flour. Both types work. The choice depends on your preference. Instant yeast may save you some time.
Tools Needed
Making no knead bread requires just a few basic tools. A large mixing bowl, wooden spoon, and a Dutch oven are essential. Measuring cups and a kitchen scale ensure precise ingredient amounts for perfect bread every time.
Making no-knead bread is a delightful experience that doesn’t require fancy gadgets. But having the right tools can make your baking journey smoother and more enjoyable. Let’s explore the essentials and a few optional extras that can elevate your bread-making. ###Basic Kitchen Tools
To get started with no-knead bread, you need just a few basic items. First, a large mixing bowl is essential. It should be big enough to allow the dough to rise comfortably without spilling over. A wooden spoon or a sturdy spatula will help you mix the ingredients together. You don’t need to use your hands much with this recipe, which is a bonus if you want to keep things tidy. You’ll also need measuring cups and spoons to ensure the right balance of ingredients. Precision in measurement can make a big difference in how your bread turns out. Finally, having a clean kitchen towel or plastic wrap will be useful to cover the dough while it rises. This prevents it from drying out and helps maintain a warm environment for fermentation. ###Optional Equipment
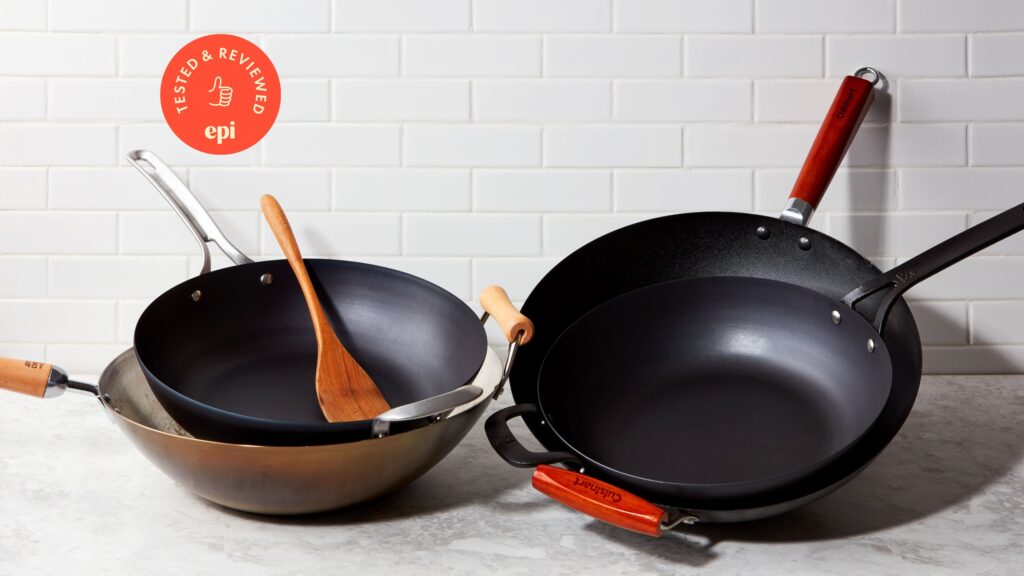
While not strictly necessary, some tools can enhance your bread-making experience. A dutch oven is a popular choice for baking no-knead bread. Its heavy lid traps steam, which creates that sought-after crispy crust. If you don’t have one, a cast-iron pot with a lid will also work well. A bench scraper can be handy for managing sticky dough. It helps in transferring dough and cleaning the work surface effortlessly. If you’ve ever struggled with dough sticking everywhere, this tool can be a lifesaver. Consider using a kitchen scale for more precise measurements, especially if you’re trying to perfect your recipe. Weighing ingredients can lead to more consistent results than using volume measurements alone. Lastly, a baking stone or a pizza stone can be used if you want an extra crispy bottom crust. Preheat it in your oven and place the dough on it directly to bake. Have you ever tried using a stone for baking? The difference can be surprising. By having these tools on hand, you can streamline your no-knead bread-making process. What tools do you already have in your kitchen, and how might they transform your baking adventures?Step-by-step Process
The process of making no knead bread is simple and rewarding. This method requires minimal effort and time. You’ll create a loaf with a crisp crust and soft interior. Let’s dive into this easy step-by-step process.
Mixing The Dough
Start by gathering your ingredients. You need flour, water, yeast, and salt. Use a large bowl for mixing. Add 3 cups of all-purpose flour. Sprinkle in 1/4 teaspoon of instant yeast. Add 1 1/4 teaspoons of salt to the mix.
Pour in 1 1/2 cups of water. It should be at room temperature. Use a wooden spoon to mix. Stir until the mixture becomes a shaggy dough. Cover the bowl with plastic wrap or a damp cloth. Let it rest at room temperature.
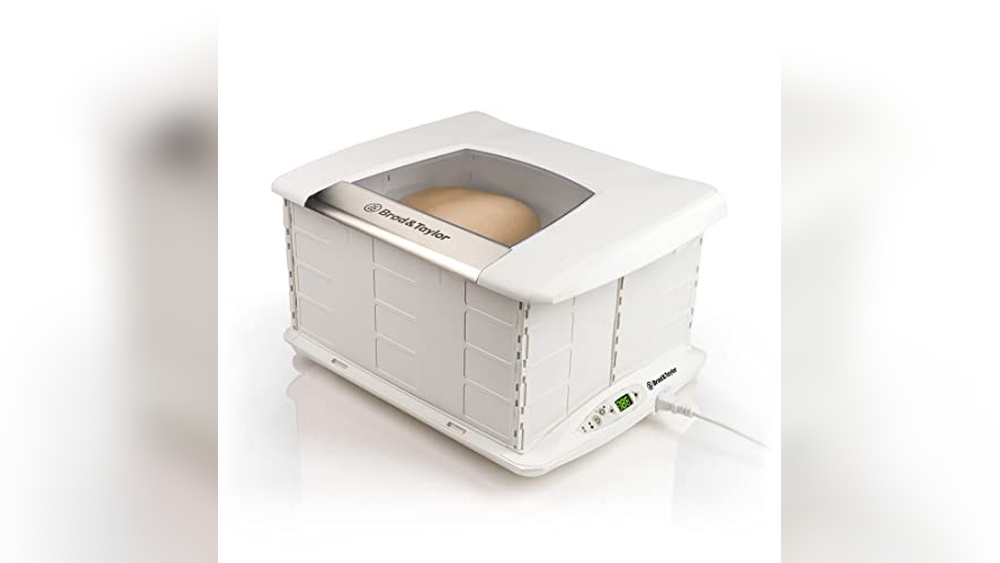
First Rise
Allow the dough to rise for 12 to 18 hours. It should double in size. The surface will have bubbles. This indicates fermentation is happening. The long rise develops flavor and texture.
Once the dough has risen, it’s ready for shaping. Dust a clean surface with flour. Gently turn the dough onto the floured surface. Handle it with care to retain air bubbles. Fold the dough over itself a few times. Shape it into a round ball.
Baking Techniques
Baking Techniques for No Knead Bread can transform your kitchen into a mini artisanal bakery. The magic of no knead bread lies in its simplicity and the unique baking techniques that enhance its flavor and texture. Whether you’re a seasoned baker or a beginner, these methods will elevate your bread-making skills.
Preheating The Oven
Preheating your oven is crucial for achieving that perfect crust. A hot oven ensures your bread rises beautifully and develops a golden exterior. Set your oven to 450°F (232°C) and let it heat up for at least 30 minutes. This might seem like a long time, but it’s essential for a consistent bake.
Think of preheating as giving your bread a warm welcome. The intense initial heat helps the dough expand rapidly, creating airy pockets inside. Have you ever noticed how a bakery’s bread has that irresistible crust? That’s the power of preheating.
Using A Dutch Oven
A Dutch oven is your best friend when baking no knead bread. It acts like a mini steam chamber, trapping moisture and ensuring a crispy crust. Place your Dutch oven inside the oven during preheating. This allows it to reach the same high temperature, ready for the dough.
Once the dough is inside, the lid helps maintain humidity. This steam is vital for a soft interior and crunchy exterior. Imagine biting into a bread that crackles with every chew—this is what a Dutch oven achieves.
Don’t have a Dutch oven? A heavy-duty pot with a lid will work too. The key is to create an enclosed environment where steam can work its magic. Have you tried using a Dutch oven before? If not, it’s worth the investment for bread lovers.
Both preheating the oven and using a Dutch oven are techniques that might seem small but make a huge difference. Why not try them and see how your next loaf turns out? The results might surprise you.
Flavor Variations
No knead bread is a fantastic culinary delight. It’s simple and versatile. You can easily experiment with different flavors. This keeps your baking experience exciting. With a few tweaks, transform this basic recipe. Add unique flavors to suit your taste. Explore the flavorful world of no knead bread with these variations.
Adding Herbs
Herbs enhance the aroma of your bread. They add depth to the flavor. Rosemary is a popular choice. It pairs well with bread’s subtle taste. Thyme offers a fragrant touch. Basil gives a fresh and slightly sweet flavor. Chop the herbs finely. Mix them into the dough before resting. Dried herbs work too. Just use a bit less than fresh ones.
Incorporating Seeds
Seeds provide texture and nutrition. They add a nutty flavor to your bread. Sesame seeds are small yet impactful. They create a gentle crunch. Sunflower seeds are larger. They add a hearty bite. Flaxseeds are tiny powerhouses. They are packed with omega-3. Sprinkle seeds on top for a decorative touch. Mix them into the dough for even distribution.
Troubleshooting Tips
Struggling with no knead bread? Ensure water is warm, not hot. Dough too sticky? Add a bit of flour. Let it rise in a warm spot for best results.
No knead bread is popular for its simplicity and deliciousness. Yet, even easy recipes can have hiccups. Troubleshooting common problems helps achieve the perfect loaf. Let’s explore some solutions.Common Issues
A common issue is dough not rising. Check the yeast’s freshness first. Old yeast won’t rise well. Use warm water, not hot, to activate yeast. Cold water slows the process. Another problem is sticky dough. This can happen with too much water. Add flour gradually until it’s manageable. Bread sometimes has a dense texture. This often happens with insufficient rising time. Let the dough rise in a warm place. Patience is key. Flat bread results from overproofing. Don’t let dough rise too long before baking.Improving Texture
For a better texture, consider the flour type. Bread flour gives a chewier result than all-purpose flour. Experiment with different flours for the desired texture. For a crisp crust, use a preheated Dutch oven. It traps steam, enhancing the crust. For a softer crust, cover bread with a damp cloth after baking. This retains moisture. To enhance flavor, try adding salt. Salt slows yeast growth, improving flavor over time. Use the right amount to avoid overpowering the taste. Ensure the dough rests well. Long fermentation improves texture and flavor. Try an overnight rest in the fridge. This enhances both. Focus on these tips for a delightful no knead bread experience.
Credit: www.emmafontanella.com
Serving Suggestions
Pair no-knead bread with homemade soups or salads for a hearty meal. Try it with butter and jam for breakfast. Serve warm with a side of olive oil and balsamic vinegar.
Imagine the aroma of freshly baked no-knead bread wafting through your kitchen. You’ve mastered the art of this simple yet rewarding recipe. Now comes the fun part—serving suggestions. How can you transform this delightful loaf into a centerpiece of your meal or ensure it remains as delicious in the days to come? ###Pairing With Meals
No-knead bread is incredibly versatile. Its crusty exterior and soft interior make it perfect for a variety of dishes. Picture a warm slice paired with a rich tomato soup. The bread’s hearty texture complements the soup’s smoothness. Or, consider serving it with a fresh salad. The bread adds substance, turning a light meal into something more fulfilling. You could also use it to create rustic sandwiches. Just imagine the crunch as you bite into a sandwich filled with your favorite ingredients. What about breakfast? Toasted slices with a spread of butter or jam can make for a simple yet satisfying start to your day. The possibilities are endless. ###Storing Leftovers
Once you’ve enjoyed your meal, you might find yourself with leftover bread. You want to keep it fresh, right? Proper storage is key. Wrap the bread in a clean cloth and place it in a bread box. This keeps the crust crisp and the inside soft. If you plan to keep it longer, consider freezing. Slice the bread before freezing, so you can easily thaw only what you need. Wrap the slices tightly in plastic wrap and place them in a freezer bag. This method ensures the bread remains fresh for weeks. You can also refresh stale bread by briefly warming it in the oven. A few minutes at a low temperature can restore its original charm. Remember, no-knead bread is a treasure that deserves to be savored, not wasted. What’s your favorite way to enjoy this bread? Let your creativity lead the way, and you might discover new favorites.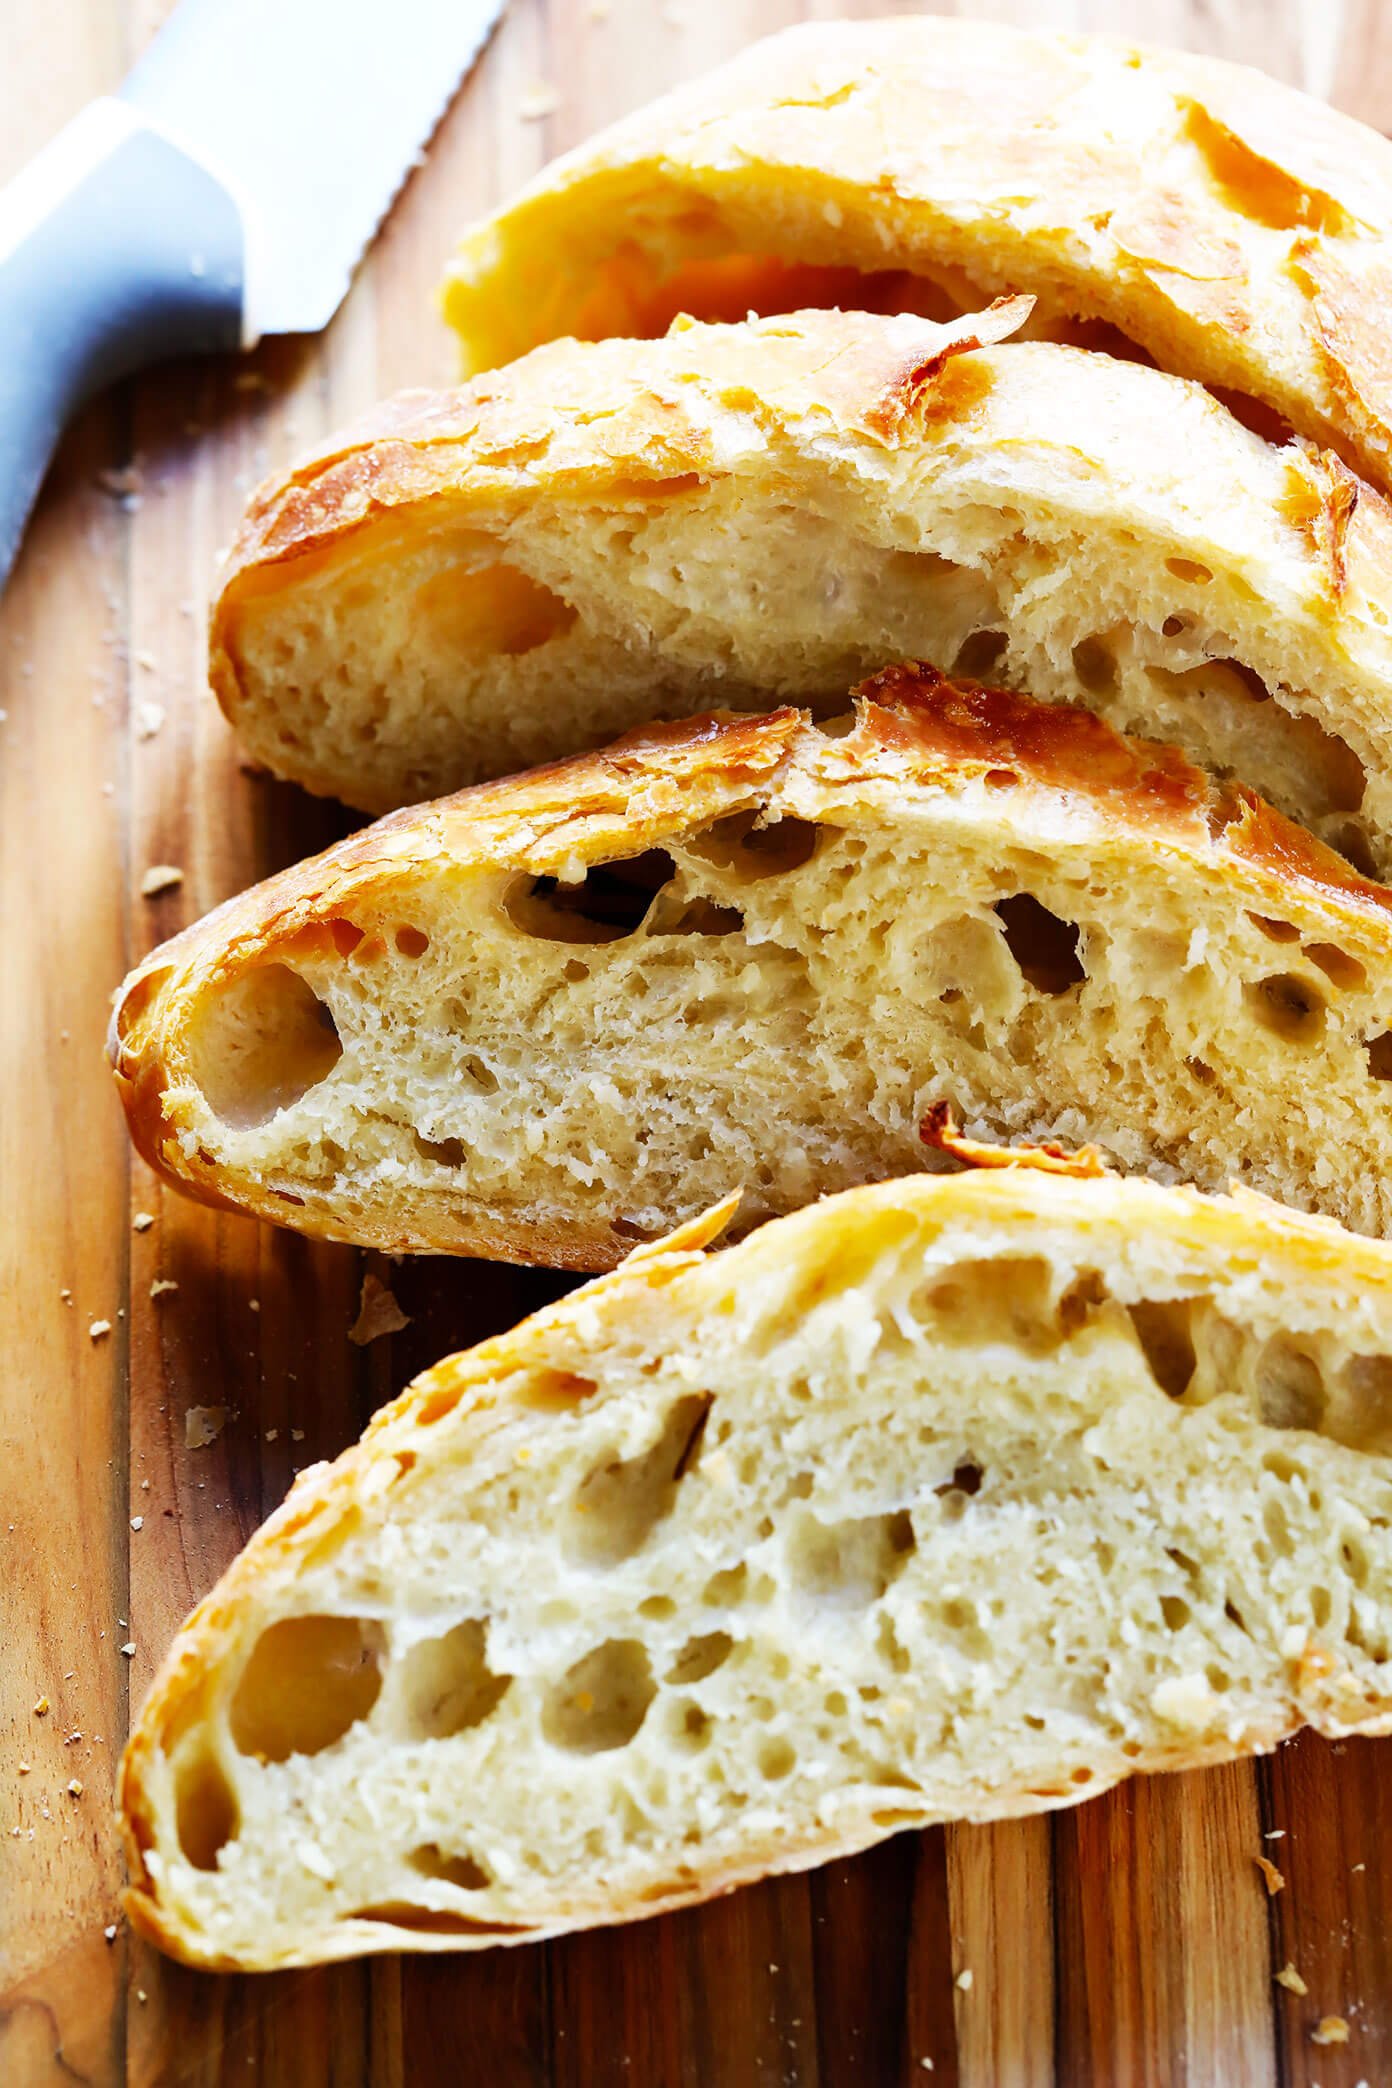
Credit: www.gimmesomeoven.com
Frequently Asked Questions
Can You Make Bread Without Kneading?
Yes, you can make bread without kneading. Use a no-knead recipe with a long fermentation period for great results.
What Is The Point Of No-knead Bread?
No-knead bread simplifies baking by eliminating kneading. It relies on time, not labor, for gluten development. This method creates a crusty, artisan-style loaf with minimal effort. Perfect for beginners, it requires less equipment and skill, making homemade bread accessible and easy to enjoy.
Why Add Vinegar To No-knead Bread?
Adding vinegar to no-knead bread improves texture, enhances flavor, and helps preserve freshness. It strengthens gluten and aids in fermentation.
How Long Does It Take For No-knead Bread To Rise?
No-knead bread typically rises for 12 to 18 hours at room temperature. The longer rise develops better flavor. Ensure the dough doubles in size before baking for best results. Adjust rise time based on room temperature; cooler environments may require more time.
Conclusion
Enjoy making your own no knead bread with this simple recipe. The process is easy, requiring minimal effort and ingredients. Your kitchen will smell amazing, and the bread will taste fantastic. Share this recipe with friends and family. They will love it too.
Try different variations to suit your taste. Baking bread at home has never been so rewarding. Enjoy your homemade bread with your favorite meals. Happy baking!